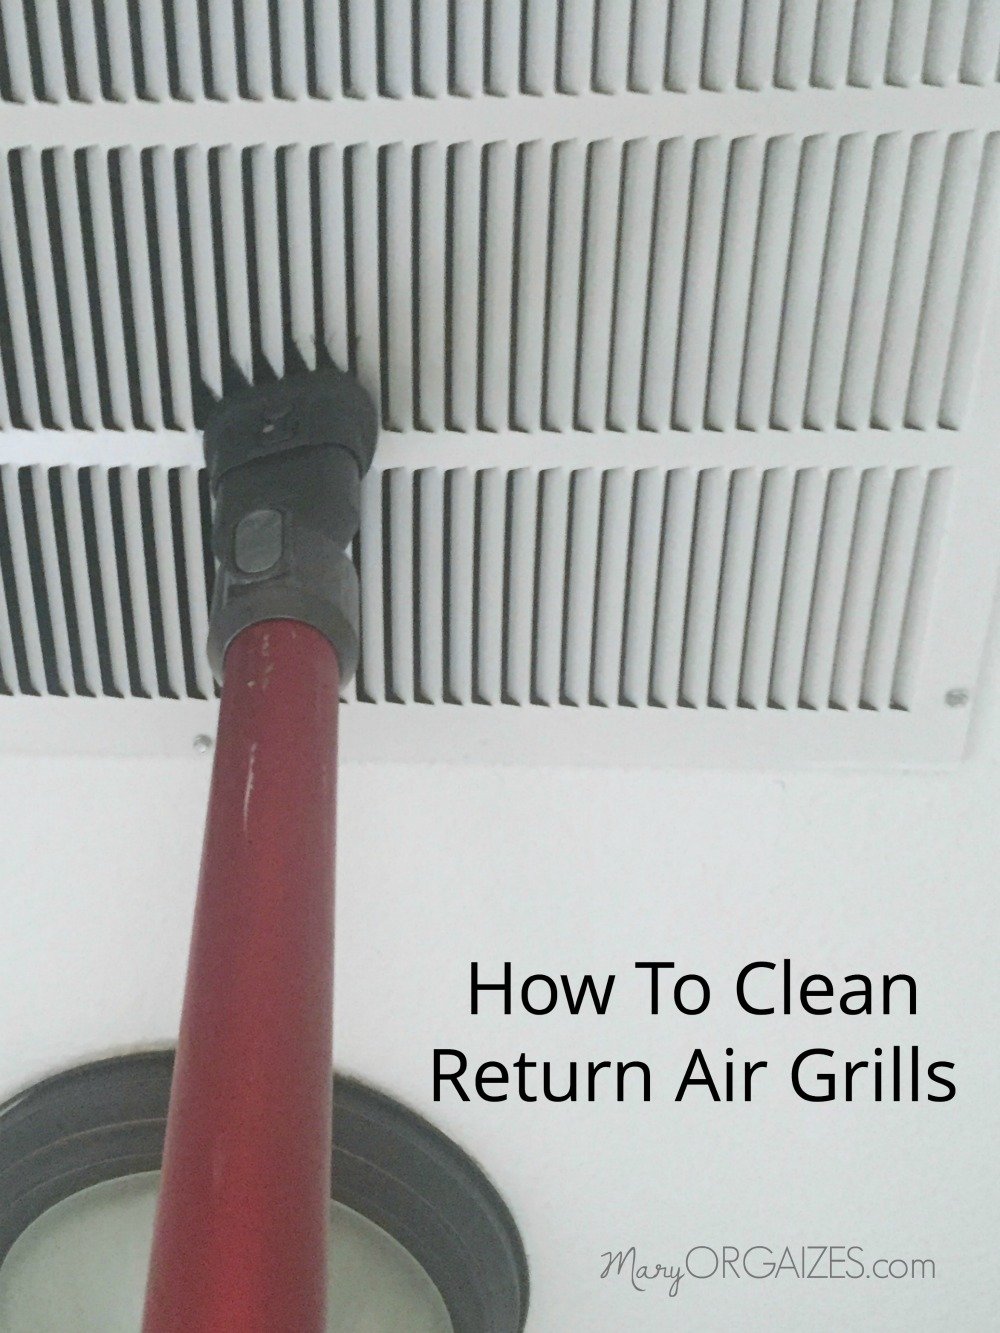
Cleaning an air purifier’s intake vents is crucial. It ensures your air purifier works well.
To clean the intake vents, start by turning off and unplugging the unit. Use a soft brush or vacuum to remove dust and debris from the vents. Regular cleaning helps maintain air quality and extends the life of your purifier.
Air purifiers are great for keeping indoor air clean. They trap dust, allergens, and pollutants, making the air healthier to breathe. But, the intake vents can get clogged with dirt over time. This can reduce the purifier’s efficiency. Regular cleaning of these vents is essential to keep the air purifier working at its best. It’s a simple task that can make a big difference in your indoor air quality. Follow our step-by-step guide to ensure your air purifier remains in top condition.

Credit: www.reddit.com
Introduction To Air Purifier Maintenance
Maintaining your air purifier ensures it works efficiently. Clean air purifiers provide better air quality. Regular maintenance extends their life.
Importance Of Clean Intake Vents
Intake vents draw in air. Dirty vents reduce airflow. This causes the purifier to work harder. Clean vents improve efficiency and air quality.
Common Issues With Dirty Vents
Dirty vents cause many problems. Reduced airflow is common. This leads to poor air purification. The purifier can also overheat. Overheating damages the unit.
Dust and debris can clog vents. This increases energy use. It also shortens the purifier’s life. Regular cleaning prevents these issues.
Credit: www.mayoclinichealthsystem.org
Safety Precautions
Clean air purifier intake vents regularly. Turn off and unplug the device first. Use a soft brush or vacuum to remove dust.
Cleaning an air purifier’s intake vents is crucial. It ensures the device works efficiently. Safety precautions should be your first step. This will prevent accidents and ensure a smooth cleaning process. ###Unplugging The Device
Always unplug the air purifier. This step is vital. Electricity and cleaning tools don’t mix. Unplugging prevents shocks. It also stops the device from running while you clean. This safety measure is simple but important. ###Wearing Protective Gear
Wear protective gear. Gloves protect your hands. Dust masks keep you safe from inhaling particles. Goggles shield your eyes from dirt. These items are easy to find. They add an extra layer of safety.Gathering Necessary Tools
Cleaning your air purifier’s intake vents regularly ensures efficient operation. To start, gather all necessary tools. This preparation saves time and keeps your air purifier in good condition.
Cleaning Supplies Checklist
Create a checklist before you begin cleaning. This ensures you have all items ready. Here are the essential supplies:
- Soft brush
- Microfiber cloth
- Vacuum cleaner with brush attachment
- Mild detergent
- Water
Having these supplies ready makes the cleaning process smooth and effective.
Choosing The Right Tools
Using the right tools prevents damage. A soft brush removes dust gently. A microfiber cloth traps small particles. A vacuum cleaner with a brush attachment is useful for deep cleaning. Mild detergent and water help clean stubborn dirt.
Choose tools designed for delicate surfaces. This ensures your air purifier remains in top condition. The right tools make the task easier and more efficient.
Initial Inspection
Cleaning an air purifier’s intake vents starts with a thorough initial inspection. This step is crucial to ensure the vents are in good condition and free from debris. Below are key aspects to focus on during the initial inspection.
Checking For Visible Debris
Inspect the intake vents for any visible debris. Look for dust, hair, or other particles that may clog the vents. Use a flashlight if needed to see inside the vents clearly.
- Check for dust buildup on the vent surface.
- Look for hair or pet fur trapped in the vents.
- Inspect for larger particles like leaves or paper bits.
Removing these items helps maintain the purifier’s efficiency. Use a soft brush or a vacuum cleaner to remove visible debris.
Assessing Vent Condition
After removing debris, assess the condition of the vents. Look for signs of wear or damage.
- Check for cracks or broken parts.
- Look for rust or discoloration.
- Ensure all parts are securely attached.
If you find any damage, consider replacing the vents. Keeping the vents in good condition ensures optimal performance.
Regular inspection and cleaning prolong the life of your air purifier. It also ensures clean air in your home.
Removing The Intake Vents
Cleaning your air purifier is essential for maintaining its performance. One key step is removing the intake vents. This ensures that your purifier can draw in air efficiently. Follow the steps below to do this safely and effectively.
Locating The Vents
First, you need to find the intake vents on your air purifier. They are usually located on the sides or the back. Check your user manual for exact locations.
Look for small slats or openings where air is pulled into the unit. These are the intake vents. Make sure your purifier is turned off and unplugged before proceeding.
Detaching The Vents Safely
Now, it’s time to detach the intake vents safely. This step requires care to avoid damaging your air purifier.
- Use a screwdriver if the vents are secured with screws.
- Gently remove the screws and keep them safe.
- If your vents are clipped on, press the clips gently to release them.
Once the vents are detached, you can proceed to clean them thoroughly. Remember to handle all parts with care to avoid breakage.
Cleaning Process
Cleaning the intake vents of an air purifier is crucial for its efficiency. Dust and debris can clog the vents, reducing the air purifier’s performance. Following a regular cleaning routine ensures the purifier runs smoothly. Here, we will discuss two main methods: dry cleaning and wet cleaning.
Dry Cleaning Methods
Dry cleaning methods are simple and effective. These methods do not require water, making them quick and easy.
- Using a Vacuum Cleaner: Attach a brush tool to your vacuum cleaner. Gently vacuum the intake vents to remove dust and debris.
- Using a Soft Brush: A soft brush can help dislodge dirt from the vents. Brush gently to avoid damaging the vents.
- Compressed Air: Compressed air can blow away dust from hard-to-reach areas. Ensure to hold the canister upright to prevent moisture release.
Wet Cleaning Methods
Wet cleaning methods involve using water or cleaning solutions. These methods can be more thorough but require more time to dry.
- Using a Damp Cloth: Take a clean cloth and dampen it with water. Wipe the intake vents gently to remove dirt.
- Using Soap Solution: Mix a small amount of mild soap with water. Dip a cloth in the solution and clean the vents. Rinse with a damp cloth to remove soap residue.
- Disinfecting Wipes: Use disinfecting wipes to clean the vents. These wipes can also help kill germs and bacteria.
After cleaning, ensure the vents are completely dry before reassembling the air purifier. This prevents moisture damage and keeps the purifier running efficiently.
Reassembling The Air Purifier
After cleaning your air purifier’s intake vents, reassembling the unit is crucial. Ensuring that each part is correctly placed will maintain the purifier’s efficiency. Follow these simple steps to reassemble your air purifier successfully.
Reattaching The Vents
Begin by reattaching the vents. Ensure the vents are dry before proceeding. Align the vents with the purifier’s frame. Gently push the vents into place until you hear a click. This sound confirms that the vents are securely attached.
Ensuring Proper Fit
Next, ensure the proper fit of all components. Check if all parts fit snugly without gaps. A proper fit prevents air leakage and maintains the purifier’s performance. If you notice any misalignment, readjust the parts carefully. Proper fit is key for optimal functioning.
Maintenance Tips
Keeping your air purifier’s intake vents clean ensures it works efficiently. Regular maintenance is crucial for your air purifier’s longevity. Follow these tips to keep your device in top shape.
Regular Cleaning Schedule
Set a cleaning schedule to maintain your air purifier. Cleaning the intake vents every two weeks is ideal. This prevents dust build-up and maintains airflow.
| Frequency | Task |
|---|---|
| Every 2 weeks | Clean intake vents |
| Monthly | Check and replace filters if needed |
Use a soft brush or cloth to clean the vents. Avoid using harsh chemicals. A vacuum cleaner with a brush attachment can also help remove dust.
Signs Your Vents Need Cleaning
Look for signs that your air purifier’s intake vents need cleaning. Here are some common indicators:
- Reduced airflow from the purifier
- Unusual noise during operation
- Visible dust on the vents
- Allergy symptoms worsen
Cleaning the vents can resolve these issues. Regular checks prevent long-term damage. Make it a habit to inspect the vents every week.
Troubleshooting Common Problems
Cleaning an air purifier’s intake vents is essential for maintaining its efficiency. Sometimes, even after regular cleaning, you might face issues. Let’s explore some common problems and their troubleshooting tips.
Persistent Odors
Persistent odors can be frustrating. They often indicate deeper problems within the air purifier. Here are some steps to troubleshoot:
- Check the filters. They might need replacement.
- Clean the intake vents thoroughly. Dust and debris can trap odors.
- Ensure the room is well-ventilated. Poor airflow can exacerbate odors.
If the problem persists, inspect the carbon filter. It might be saturated. Replacing it can often solve the issue.
Reduced Airflow
Reduced airflow can hinder the purifier’s performance. This problem usually stems from blocked or dirty intake vents. Follow these steps:
- Turn off and unplug the air purifier.
- Remove the front cover. This exposes the intake vents.
- Use a soft brush to clean the vents. Make sure to remove all dust and debris.
- Check the filters. Dirty filters can also reduce airflow. Clean or replace them as needed.
In some cases, the fan might be malfunctioning. Listen for unusual noises. If you hear any, contact the manufacturer for support.
Regular maintenance ensures your air purifier works efficiently. Keep an eye out for these common issues to maintain a healthy living environment.

Credit: www.instagram.com
Frequently Asked Questions
How Often Should I Clean Air Purifier Intake Vents?
Clean the intake vents every 2-4 weeks. This ensures optimal performance and air quality. Regular cleaning prevents dust buildup and improves efficiency.
What Tools Do I Need To Clean The Intake Vents?
You need a soft brush, a vacuum cleaner, and a damp cloth. These tools help in effectively removing dust and debris.
Can Dirty Intake Vents Affect Air Purifier Performance?
Yes, dirty intake vents can reduce airflow. This affects the purifier’s efficiency. Clean vents ensure better air quality and performance.
Is It Safe To Use Water On Intake Vents?
Use a damp cloth, not water. Excess water can damage the air purifier. Ensure the vents are dry before reassembling.
Conclusion
Cleaning air purifier intake vents is simple and crucial. Regular maintenance keeps your air purifier efficient. It helps ensure clean, healthy air in your home. Follow the steps outlined to clean your device properly. Doing so prolongs the life of your air purifier.
Keep your environment fresh and free from pollutants. Remember, a clean air purifier works best. Happy cleaning!
Rakib Sarwar is a Registered Pharmacist and a reputed health and wellness blogger. He has a great interest in Air purifiers.