Cleaning an air purifier’s plastic casing is simple and essential. Start by unplugging the unit for safety.
Air purifiers work hard to keep our air clean. Over time, their plastic casing collects dust and grime. A clean casing ensures better performance and longevity of the device. Regular maintenance prevents the build-up of harmful particles and keeps your home environment healthier.
In this guide, you will learn easy steps to clean your air purifier’s plastic casing effectively. These steps are quick, safe, and require minimal tools. By following these instructions, you can ensure your air purifier remains in top condition. Let’s dive into the process and keep your air purifier looking and working like new.
Preparation Steps
Cleaning the plastic casing of your air purifier is essential. It helps keep the device running smoothly and efficiently. Before you start, take a few preparation steps. These steps ensure a safe and effective cleaning process. Follow these steps to gather the right supplies and ensure your air purifier is ready for cleaning.
Gather Cleaning Supplies
First, gather all the necessary cleaning supplies. Here’s a list of what you will need:
- Soft cloths or microfiber cloths
- Mild soap or dish detergent
- Warm water
- Soft brush or old toothbrush
These supplies will help you clean the plastic casing without causing damage.
Turn Off And Unplug The Air Purifier
Ensure the air purifier is turned off. Then, unplug it from the power source. This is a crucial step to avoid any electrical hazards.
After unplugging, let the device cool down for a few minutes. This ensures it is safe to handle and prevents burns or other injuries.
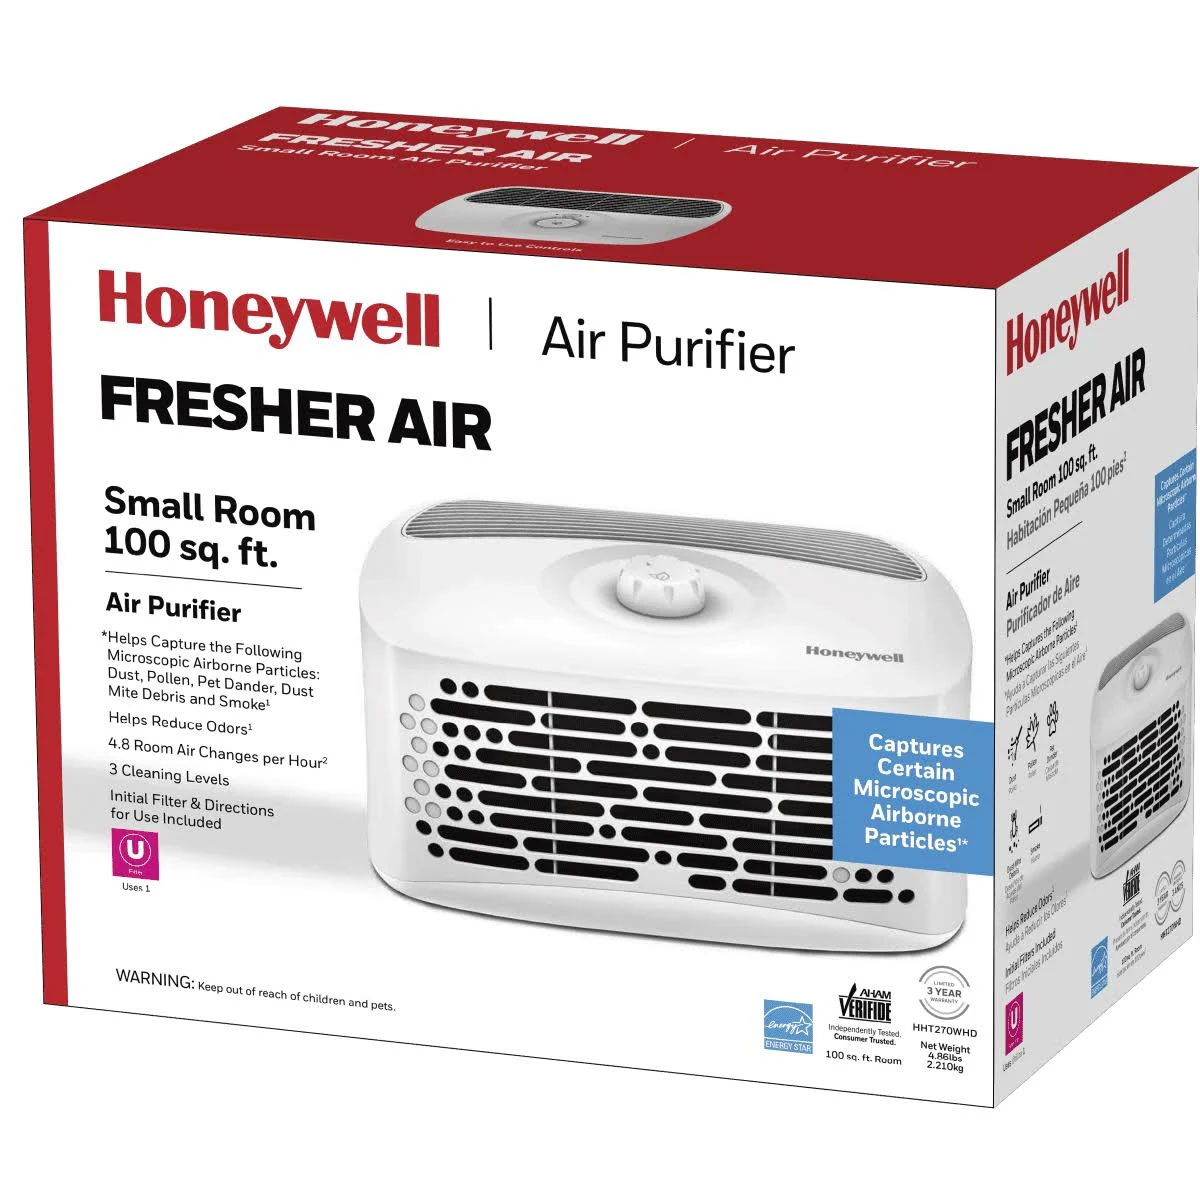
Credit: www.honeywellstore.com
Removing The Plastic Casing
Gently wipe the air purifier’s plastic casing with a damp cloth. Use mild soap if needed to remove stains. Dry thoroughly to prevent damage.
Cleaning an air purifier’s plastic casing is crucial. This ensures the device runs efficiently. Before starting, it’s vital to know how to remove the plastic casing safely. Below are the steps to follow.Refer To The User Manual
Always start by reading the user manual. Each air purifier is different. The manual provides specific instructions. It will help you avoid damaging the unit. It may also have diagrams for clarity.Handle With Care
Be gentle with the plastic casing. Applying too much force can crack it. Look for screws or clips holding it. Use the right tools to remove them. This will prevent any accidental damage. Cleaning the casing will be easier once it’s off. Follow these steps to ensure your air purifier remains in top condition. “`Dusting The Casing
Keeping your air purifier’s plastic casing clean is essential. Dust buildup can reduce its efficiency. Regular dusting ensures optimal performance. Here’s how to dust the casing correctly.
Use A Soft Brush
Choose a soft brush for dusting. It helps remove dust without scratching the surface. A paintbrush or makeup brush works well. Gently run the brush over the casing. Pay attention to corners and crevices.
Avoid Harsh Tools
Never use rough tools like scouring pads. They can damage the plastic. Avoid metal tools or anything abrasive. These can leave scratches. Stick to soft materials to keep the casing looking new.
Wiping Down The Surface
Cleaning an air purifier’s plastic casing is important for its performance. Dust and grime can accumulate over time. Wiping down the surface is a simple way to keep it clean. This task does not take much time. Follow these steps to ensure your air purifier looks and works well.
Choose The Right Cleaning Solution
Select a mild cleaning solution for the plastic casing. Avoid harsh chemicals. They can damage the plastic. A mixture of water and mild dish soap works well. You can also use a vinegar solution. Mix equal parts water and white vinegar. This solution is gentle and effective.
Damp Cloth Technique
Use a soft, damp cloth for cleaning. First, dip the cloth in your chosen solution. Wring out excess liquid. The cloth should be damp, not wet. Gently wipe down the plastic casing. Move in small circles to remove dust and grime. Be thorough but gentle. Do not scrub too hard. Rinse the cloth often. This prevents spreading dirt around.
Deep Cleaning Tips
When it comes to maintaining your air purifier, deep cleaning is crucial. Dust and grime can accumulate over time. This affects both the performance and appearance of your device. Here are some valuable tips to keep your air purifier’s plastic casing spotless.
Tackling Tough Stains
Tough stains on plastic casings can be frustrating. But they are not impossible to remove. First, identify the type of stain. Grease, ink, or general grime each require different methods.
- Grease Stains: Use a mixture of warm water and dish soap. Apply it with a sponge and gently scrub.
- Ink Stains: Rubbing alcohol works wonders. Dab a cotton ball in rubbing alcohol and gently rub the stain.
- General Grime: A paste made of baking soda and water can be effective. Apply the paste, let it sit for a few minutes, and then scrub with a soft brush.
Using Mild Detergents
Using mild detergents is essential for maintaining the integrity of the plastic casing. Harsh chemicals can cause damage over time. Here is a step-by-step guide to using mild detergents:
- Unplug the air purifier and remove the casing.
- Prepare a cleaning solution with mild detergent and warm water.
- Dip a soft cloth into the solution and wring out excess water.
- Wipe the plastic casing thoroughly, paying attention to corners and crevices.
- Rinse the cloth with clean water and wipe off any soap residue.
- Dry the casing completely with a clean, dry cloth before reassembling.
Regular cleaning with mild detergents keeps your air purifier looking new. It also ensures optimal performance. Remember to clean your air purifier every few months. This helps to avoid the buildup of dirt and grime.

Credit: szguanglei.en.made-in-china.com
Drying The Casing
After cleaning your air purifier’s plastic casing, it’s important to dry it properly. Proper drying prevents mold and bacteria growth. It also maintains the quality of the plastic. There are a few methods to dry the casing effectively.
Air Drying Method
Air drying is a simple and effective method. Place the plastic casing on a clean, dry surface. Make sure the surface is flat and stable. Leave the casing there for a few hours. Ensure good airflow around the casing to speed up the drying process. You can use a fan to enhance air circulation.
Avoiding Direct Sunlight
Avoid drying the plastic casing in direct sunlight. Sunlight can cause the plastic to warp or discolor. It can also weaken the material over time. Instead, choose a shaded area with good ventilation. This will ensure the casing dries safely without damage.
Reassembling The Air Purifier
Reassembling your air purifier after cleaning is a crucial step. It ensures the device works efficiently. Follow these steps to ensure proper reassembly.
Check For Residual Moisture
Before reassembling, check for any leftover moisture. Moisture can damage the internal parts. Use a dry cloth to wipe any damp areas. Let the parts air dry for a few minutes.
Reattach The Casing Securely
Once all parts are dry, reattach the plastic casing. Align the casing with the main unit. Make sure all snaps and screws are in place. Tighten the screws to secure the casing. Ensure there are no gaps.
Proper reassembly ensures your air purifier runs smoothly. It also extends the lifespan of your device.

Credit: www.amazon.com
Maintenance Tips
Keeping your air purifier in top condition is essential for its longevity and efficiency. Regular maintenance ensures clean air and optimal performance. Below are some key tips to help maintain your air purifier’s plastic casing.
Regular Cleaning Schedule
Setting up a regular cleaning schedule is crucial. Aim to clean the plastic casing at least once a month. This prevents dust and grime buildup.
- Unplug the air purifier before cleaning.
- Use a soft, damp cloth to wipe the plastic casing.
- Avoid using harsh chemicals or abrasive materials.
- Dry the casing with a clean, dry cloth.
Following this routine helps maintain the appearance and functionality of your air purifier.
Inspect For Wear And Tear
Regularly inspect the plastic casing for any signs of wear and tear. Look for cracks, discoloration, or loose parts.
- Check the edges and corners for cracks.
- Ensure all buttons and controls are intact.
- Examine the air vents for blockage or damage.
If you notice any damage, address it immediately to prevent further issues.
| Inspection Point | What to Look For |
|---|---|
| Edges and Corners | Cracks or splits |
| Buttons and Controls | Loose or malfunctioning parts |
| Air Vents | Blockages or damage |
Regular inspections ensure your air purifier remains in good working condition and provides clean air.
Frequently Asked Questions
How Often Should I Clean The Air Purifier’s Plastic Casing?
Clean the air purifier’s plastic casing once a month. Regular cleaning ensures optimal performance and longevity.
What Tools Do I Need To Clean The Plastic Casing?
You need a soft cloth, mild detergent, and water. Avoid abrasive cleaners to prevent scratching the casing.
Can I Use Harsh Chemicals On The Plastic Casing?
No, avoid using harsh chemicals. They can damage the plastic and reduce the air purifier’s efficiency.
How Do I Clean The Air Purifier’s Plastic Casing?
Unplug the air purifier. Wipe the plastic casing with a damp cloth and mild detergent. Dry thoroughly.
Conclusion
Cleaning an air purifier’s plastic casing is simple and effective. Regular cleaning improves air quality and extends the device’s life. Use mild soap and water. Always ensure the unit is unplugged. Dry it completely before reassembling. These steps are easy to follow.
Keep your air purifier clean for a healthier home. Enjoy fresh, clean air every day. Your family will thank you.
Rakib Sarwar is a Registered Pharmacist and a reputed health and wellness blogger. He has a great interest in Air purifiers.