Cleaning an air purifier’s remote control is simple but essential. It keeps the device working efficiently and prevents germs.
Air purifiers help maintain clean air in our homes. We rely on their remote controls for easy operation. Over time, these remotes collect dust and dirt. This can affect their performance. Cleaning the remote control regularly ensures it works well.
Plus, it keeps germs at bay. This guide will walk you through the steps to clean your air purifier’s remote control. You’ll learn easy methods and tips to keep it spotless. So, let’s get started and ensure your air purifier remains efficient and germ-free!
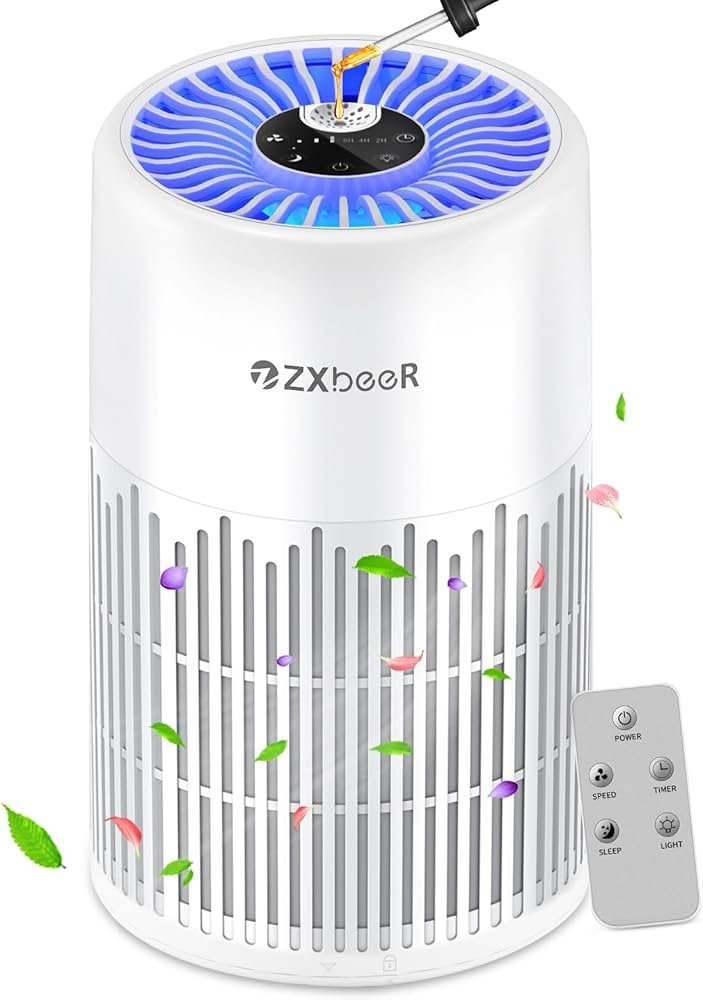
Credit: www.officedepot.com
Gather Cleaning Supplies
Keeping your air purifier’s remote control clean is essential. Dust and grime can affect its functionality. Before you start cleaning, gather all necessary supplies. This step ensures you have everything you need. No interruptions. Let’s dive into the tools and solutions required.
Necessary Tools
First, gather basic cleaning tools. You will need a microfiber cloth. This cloth is gentle and effective. It removes dust without scratching surfaces.
Next, grab a soft brush. A toothbrush works well. It reaches small crevices. Also, have a pair of cotton swabs. They help clean tight spaces.
Finally, get a small bowl. This bowl will hold your cleaning solution. With these tools, you are ready to clean.
Recommended Cleaning Solutions
Choose a mild cleaning solution. Diluted dish soap works well. Mix a few drops with water. This solution is gentle but effective.
Isopropyl alcohol is another good option. Use it for more stubborn dirt. Ensure it is diluted. Too strong, and it may damage the remote.
White vinegar is a natural alternative. Mix equal parts vinegar and water. This mix cleans and disinfects. Always test a small area first. Ensure it does not harm the remote.
With your tools and solutions ready, you can clean your air purifier’s remote control efficiently. Clean tools lead to a cleaner home.
Power Off The Remote
Cleaning an air purifier’s remote control might seem simple. But a few steps need attention to avoid damage. One crucial step is powering off the remote. This step ensures safety and prevents any electrical issues during cleaning.
Safety Precautions
Before cleaning, ensure you follow safety measures. First, make sure your hands are dry. Water and electricity do not mix well. Dry hands reduce the risk of electric shock.
Also, work in a well-lit area. Good lighting helps you see all parts of the remote. This ensures you clean every corner properly. Proper lighting also helps you avoid accidents.
Disconnecting Batteries
Next, remove the batteries from the remote. Open the battery compartment at the back. Take out the batteries and set them aside. This step prevents any power from flowing through the remote. It also avoids potential short circuits.
Store the batteries in a safe place. Keep them out of reach of children and pets. This ensures their safety while you clean the remote. Once the cleaning is done, you can reinsert the batteries and power on the remote again.
Initial Dust Removal
Keeping your air purifier’s remote control clean is essential. It helps maintain hygiene and ensures the device works well. The first step is initial dust removal. This removes surface dust and dirt. Let’s look at how to do it effectively.
Using A Soft Cloth
Use a soft cloth to wipe the remote control. A microfiber cloth works best. It captures dust without scratching the surface.
Gently wipe the entire remote, paying close attention to buttons and edges. Avoid pressing too hard. This prevents damage to the delicate parts.
Avoiding Harsh Chemicals
Never use harsh chemicals on your remote control. They can damage the plastic and circuits. Instead, use a cloth slightly dampened with water.
For stubborn dirt, a mild soap solution is safe. Mix a small amount of soap with water. Dampen your cloth with this solution and wipe the remote gently.
Ensure the cloth is not too wet to avoid water damage. After cleaning, dry the remote with a clean, dry cloth.

Credit: www.amazon.com
Deep Cleaning The Surface
Maintaining a clean air purifier remote control is essential. Dust and grime build up over time, affecting functionality. A deep clean ensures that the remote works efficiently. Follow these steps for a spotless surface.
Applying Cleaning Solution
Start by preparing a gentle cleaning solution. Mix equal parts water and isopropyl alcohol. Dip a soft cloth into the mixture. Avoid soaking the cloth. Excess moisture can damage the remote.
Wiping Techniques
Use the damp cloth to wipe the remote control surface. Pay attention to buttons and crevices. Gently scrub in a circular motion. For stubborn dirt, use a cotton swab dipped in the solution. Ensure all areas are clean.
Cleaning Between Buttons
Keeping your air purifier’s remote control clean ensures it functions well. Dust and grime can accumulate between the buttons. This makes pressing them harder. Here is how you can clean between buttons effectively.
Using A Cotton Swab
A cotton swab is perfect for cleaning remote control buttons. Follow these steps:
- Dip the cotton swab in rubbing alcohol.
- Gently insert the swab between the buttons.
- Move it back and forth to remove dirt and grime.
- Repeat until the area looks clean.
The cotton swab should be slightly damp, not soaking wet. Excess moisture can damage the remote control.
Reaching Tight Spaces
For very tight spaces, use a toothpick or a soft brush. Here is a simple method:
- Take a toothpick or a small, soft brush.
- Gently scrape or brush the dirt out from between the buttons.
- Be careful not to apply too much pressure.
- Use a dry cloth to wipe away the debris.
If dirt is stubborn, wrap a small piece of cloth around the toothpick. This helps to clean without scratching the buttons.
Regular cleaning prevents dirt build-up. It also extends the life of your remote control. Keep your air purifier’s remote control clean and functional with these easy steps.

Credit: juber-fan.en.made-in-china.com
Sanitizing The Remote
Keeping your air purifier’s remote control clean is important. It ensures hygiene and prevents the spread of germs. Regular sanitizing is key for maintaining a clean environment. Let’s dive into the steps to sanitize the remote control effectively.
Choosing A Sanitizer
Select a sanitizer that is safe for electronic devices. Alcohol-based wipes are a great option. They kill germs without harming the remote. You can also use a diluted alcohol solution. Make sure it contains at least 70% isopropyl alcohol. Avoid using bleach or harsh chemicals. These can damage the remote’s surface.
Proper Application
First, turn off the air purifier and remove the batteries from the remote. This prevents any electrical issues. Next, gently wipe the remote with the alcohol-based wipe. Ensure you cover all buttons and surfaces. For hard-to-reach areas, use a cotton swab dipped in the alcohol solution. Allow the remote to air dry completely before replacing the batteries. Repeat this process weekly or as needed.
Drying The Remote
Drying the remote control after cleaning is crucial. Moisture left behind can damage the electronics. Proper drying ensures the remote continues to work well. Let’s explore some effective methods to dry your remote control.
Air Drying Tips
Place the remote in a warm, dry area. Make sure it is away from direct sunlight. Ensure good air circulation around the remote. Leave the battery cover off to allow for thorough drying. Let it sit for at least 24 hours. This helps any remaining moisture to evaporate.
Using A Dry Cloth
Use a clean, soft cloth for drying. Pat the remote gently to remove excess moisture. Pay attention to the buttons and crevices. Avoid using a wet cloth. Ensure the cloth is completely dry. Wipe all surfaces thoroughly. This helps prevent moisture from seeping into the electronic components.
Reassembling And Testing
After cleaning your air purifier’s remote control, the next step is reassembling and testing it. This ensures everything works properly and your remote is ready for use again.
Reinstalling Batteries
First, reinstall the batteries. Make sure the batteries are dry and free from any residue. Place them in the battery compartment according to the polarity indicated.
- Ensure battery contacts are clean and free of corrosion.
- Insert batteries with correct positive and negative ends.
- Close the battery cover securely.
Functionality Check
Now, it’s time to test the functionality of your remote control. Point the remote towards the air purifier and press each button. Check if the air purifier responds to each command.
- Power on the air purifier using the remote.
- Adjust settings like fan speed or timer.
- Ensure the air purifier responds to all commands.
If the remote does not work, check the batteries again. Replace them if necessary. If it still does not work, consult the user manual or contact customer support.
Frequently Asked Questions
How Often Should I Clean The Air Purifier’s Remote Control?
Clean the remote control every two weeks. This prevents the buildup of dust and bacteria. Regular cleaning ensures optimal functionality and hygiene.
What Tools Do I Need To Clean The Remote Control?
You need a soft cloth, cotton swabs, and rubbing alcohol. These tools effectively remove dirt and disinfect the remote control.
Can I Use Water To Clean The Remote Control?
Avoid using water directly on the remote control. Water can damage the electronic components. Use rubbing alcohol instead.
How Do I Disinfect The Remote Control?
Dampen a cloth with rubbing alcohol. Gently wipe the remote control’s surface. Focus on buttons and crevices to ensure thorough disinfection.
Conclusion
Regular cleaning of your air purifier’s remote control is essential. It helps maintain hygiene. Use a soft cloth and mild cleaner. Pay attention to buttons and crevices. Regular maintenance ensures better performance. Clean the remote every few weeks. This simple step ensures a healthier home.
Follow these tips for a dust-free remote. Enjoy fresh, clean air every day. Happy cleaning!
Rakib Sarwar is a Registered Pharmacist and a reputed health and wellness blogger. He has a great interest in Air purifiers.