Air purifiers are great for keeping the air clean. They remove dust, pollen, and smoke. But sometimes, the sensor in the air purifier stops working. This guide will show you how to repair the air purifier sensor.
Why Air Purifier Sensors Fail
Air purifier sensors can fail for many reasons. Dust can clog the sensor. Moisture can damage it. Electrical issues can also cause problems. Knowing why the sensor fails helps in fixing it.
Common Causes Of Sensor Failure
- Dust and dirt buildup
- Moisture and humidity
- Electrical problems
- Old age of the sensor

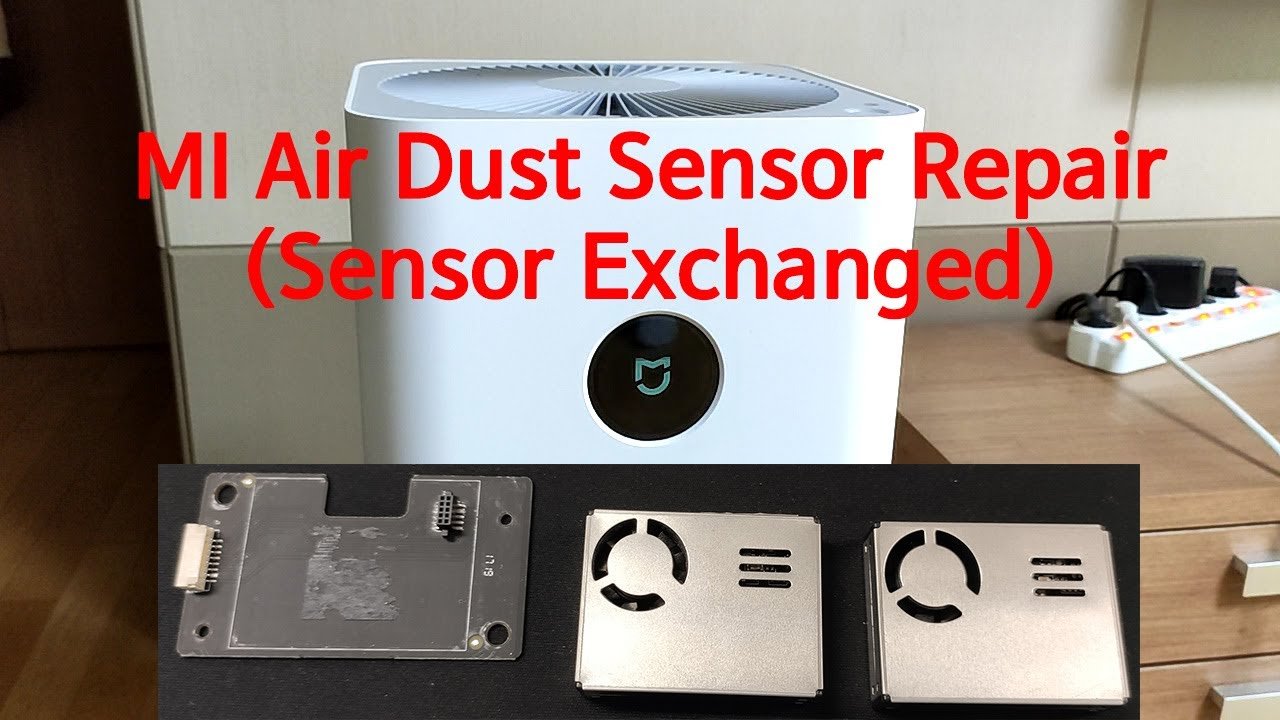
Credit: m.youtube.com
Tools You Will Need
You will need some basic tools to repair the sensor. Here is a list of tools you may need:
- Screwdriver
- Soft cloth
- Compressed air
- Multimeter
- Replacement sensor (if needed)
Step-by-Step Guide to Repair Air Purifier Sensor
Follow these simple steps to repair the air purifier sensor:
Step 1: Unplug The Air Purifier
Safety first! Always unplug the air purifier before starting any repair work. This prevents any electrical accidents.
Step 2: Open The Air Purifier
Use a screwdriver to remove the screws. Open the air purifier casing carefully. Make sure you do not lose any screws.
Step 3: Locate The Sensor
The sensor is usually near the air intake. Look for a small electronic component with wires attached to it.
Step 4: Clean The Sensor
Dust and dirt can clog the sensor. Use a soft cloth to clean it. You can also use compressed air to blow away dust.
Step 5: Check For Moisture
Moisture can damage the sensor. Use a dry cloth to wipe any moisture. Make sure the sensor is completely dry before proceeding.
Step 6: Test The Sensor
Use a multimeter to test the sensor. Set the multimeter to measure resistance. Place the probes on the sensor terminals. Check the reading. A faulty sensor will show no reading or an incorrect one.
Step 7: Replace The Sensor (if Needed)
If the sensor is faulty, you will need to replace it. Buy a new sensor from a reliable store. Remove the old sensor carefully. Attach the new sensor in its place. Make sure the connections are secure.
Step 8: Close The Air Purifier
Once the sensor is fixed, put the air purifier back together. Place the casing back and screw it in place.
Step 9: Test The Air Purifier
Plug the air purifier back in. Turn it on and see if it works. If the sensor is repaired, the air purifier should work fine.
Tips to Maintain Air Purifier Sensor
Maintaining the sensor can prevent future problems. Here are some tips to keep the sensor in good condition:
- Clean the sensor regularly
- Keep the air purifier in a dry place
- Avoid placing the air purifier near windows
- Check the sensor periodically for dust buildup
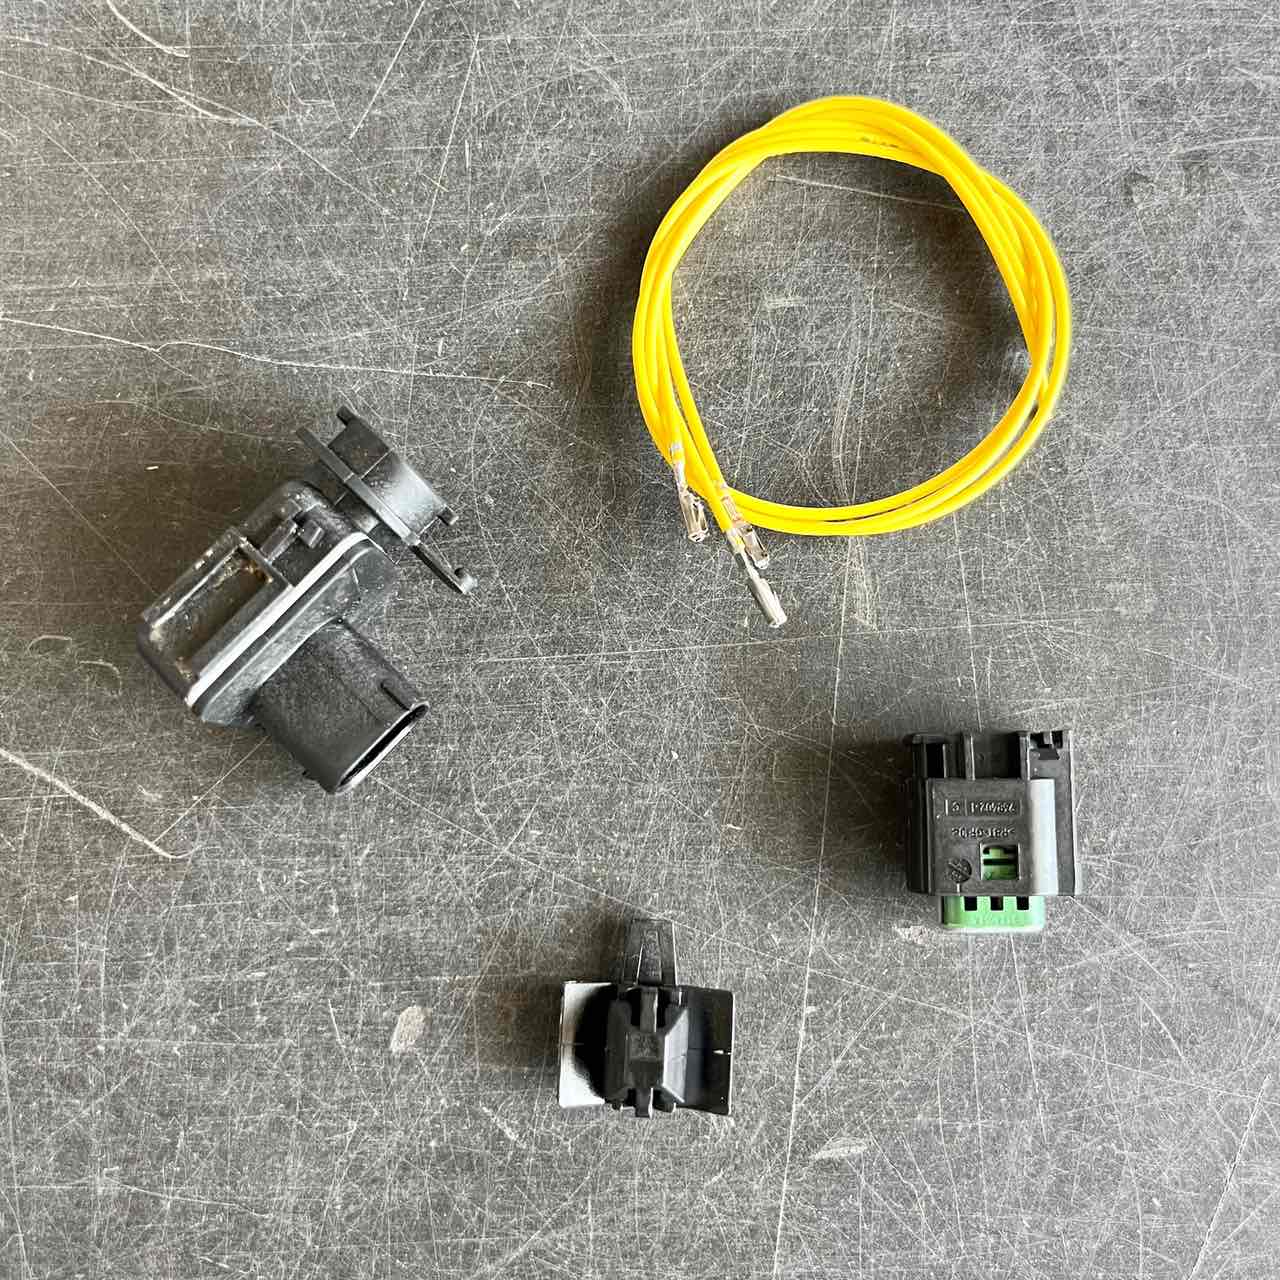
Credit: www.be-vanlife.com
When to Seek Professional Help
Sometimes, you may not be able to fix the sensor yourself. Seek professional help if:
- The sensor is still not working after cleaning
- You are unsure about the electrical connections
- The air purifier is under warranty
Frequently Asked Questions
How To Identify A Faulty Air Purifier Sensor?
Check for erratic readings, unusual noises, or persistent error messages on the device’s display.
Can I Clean An Air Purifier Sensor?
Yes, gently clean the sensor using a soft brush or compressed air to remove dust and debris.
What Tools Are Needed For Sensor Repair?
You’ll need a screwdriver, soft brush, compressed air, and possibly a replacement sensor.
Where To Buy Replacement Air Purifier Sensors?
Purchase replacement sensors from the manufacturer’s website or authorized online retailers.
How Often Should Air Purifier Sensors Be Checked?
Inspect sensors every 3-6 months for optimal performance and longevity of your air purifier.
Conclusion
Repairing an air purifier sensor is easy. Follow the steps in this guide. Use the right tools and be careful. Regular maintenance can prevent sensor problems. Enjoy clean air with a properly working air purifier!
Rakib Sarwar is a Registered Pharmacist and a reputed health and wellness blogger. He has a great interest in Air purifiers.