Last updated:
Disclosure: As an Amazon Associate we earn from qualifying purchases. This does not change what we recommend. See our affiliate disclaimer.
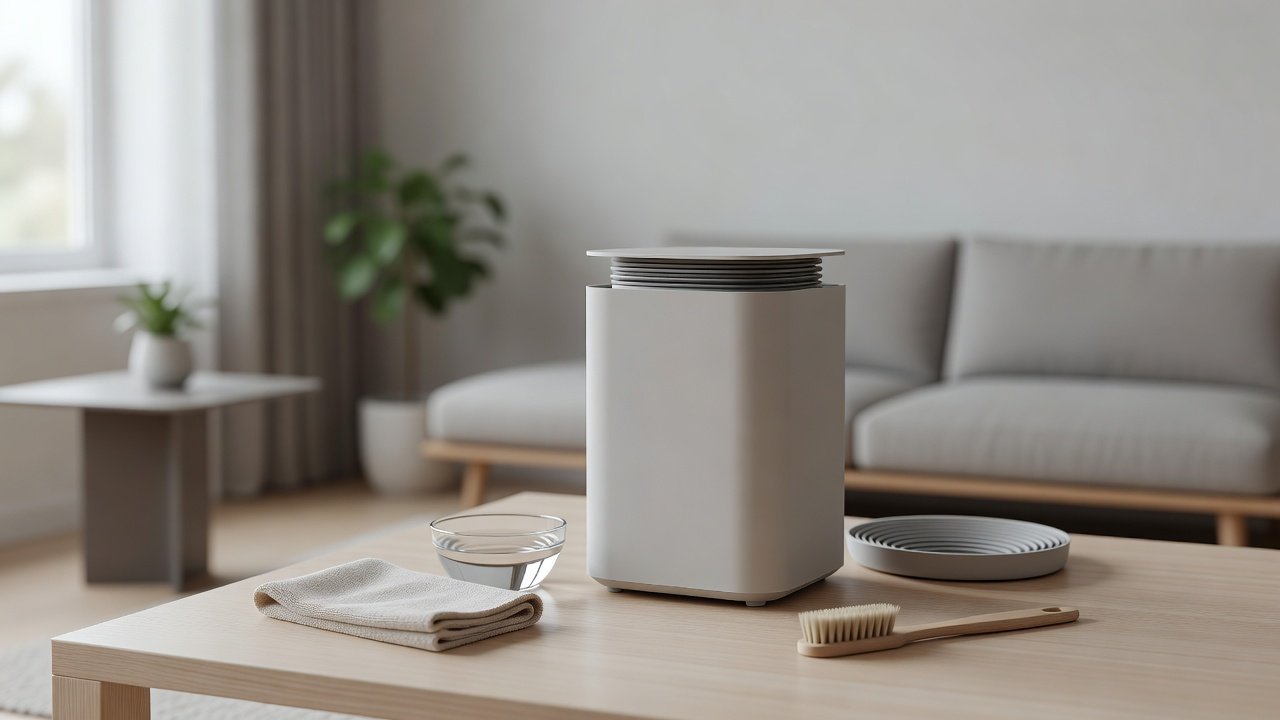
Rubber seals and gaskets are small parts that do a big job: they press against the filter and housing so air has to pass through the filter instead of leaking around it. When a seal is dirty, flattened or torn, you can get whistling, weaker cleaning and dust bypassing the media. Cleaning it gently and replacing it when worn keeps the unit working as designed.
We have not tested these products ourselves, so follow your manual. Unplug the unit before cleaning, keep liquids away from electronics and do not use solvents or oils on rubber.
Safe
- Barely damp cloth
- Soft brush
- Dry thoroughly
Avoid
- Solvents and oils
- Sharp tools
- Stretching or pulling hard
Key Takeaways
- Seals stop air bypassing the filter
- Clean with a barely damp cloth and dry
- Avoid solvents and oils on rubber
- Replace worn seals or the filter they are on
Step-by-Step Seal Cleaning and Check
Unplug the unit and open the cover. Remove the filter and set it on a clean surface. Look at the seal surfaces around the filter slot and cover. Wipe them with a soft brush, then with a barely damp cloth, and dry. Check that the seal is soft, even and unbroken. Reinstall the filter so it sits flat, close the cover and listen as you run the unit. If you hear a whistle or notice dust at the edges, reseat and check again. Log the date of the check.
Signs a Seal Has Failed
Whistling, dust streaks at the filter edge, a filter that does not sit flat, air leaks you can feel at the cover edge, a flattened or cracked gasket and reduced performance can all point to a failed seal. Compare with a new filter if you have one. If a new filter fixes it, the old gasket was the problem.
How Heat and Age Affect Rubber
Rubber and foam age with heat, light and time. Units placed near heaters or in sun can harden seals sooner. Cleaners and oils can also degrade rubber. Keep the unit away from heat sources and use gentle cleaning methods. Replace seals as they age.
Moisture and Mold Around Seals
Seals can trap moisture and dust, especially in humid rooms. Check for dark spots and musty smells around the seal area. Wipe and dry thoroughly, and replace a seal or filter that shows mold. Keep humidity around 30 to 50 percent.
Do Not DIY With Adhesives or Tape
Do not glue or tape seals. Adhesives can outgas, trap dust and damage filters. If a seal is loose, ask the maker for a replacement part or service. A poorly repaired seal can cause more problems than it solves.
Storing Spare Filters With Seals Intact
Store spare filters flat in their packaging so gaskets do not deform. Do not stack heavy items on them. Check the gasket before installing a stored filter. If it looks flat or damaged, do not use the filter.
Choosing Units With Good Seals
Look for filters with firm gaskets, covers that latch securely and independent reviews that mention whistling and bypass. A good design makes it easier to get a seal each time.
Maintenance Calendar for Seals
Check seals at every filter change, and once or twice a year even if you have not changed filters. Add it to your routine so it takes seconds. Keep notes of any wear so you can order parts before they fail.
Replacement Parts and Where to Find Them
If a seal is part of the housing, ask the maker for a replacement part and give the model number and photos. If the seal is part of the filter, buy the exact replacement filter from a reputable seller. Avoid generic seals that may not fit or off-gas. Keep your receipt and the manual. If parts are not available and the unit is old, compare the cost of replacing the unit.
Caring for Seals
Rubber seals and gaskets keep air from bypassing the filter, so they matter more than they look. Wipe them with a cloth lightly dampened with water, dry fully, and check for flattening, cracks, or shrinkage at each filter change. Do not use solvents or oil-based products on rubber. A flattened seal can be replaced with adhesive foam weatherstrip of the same thickness; a cracked seal on a filter frame means a new filter. A whistle at the frame is the usual sign a seal has failed.
Air Purifiers With Well-Sealed Filters
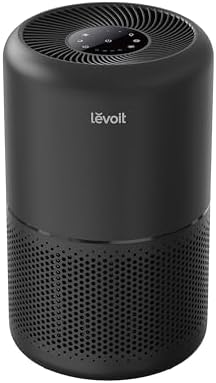
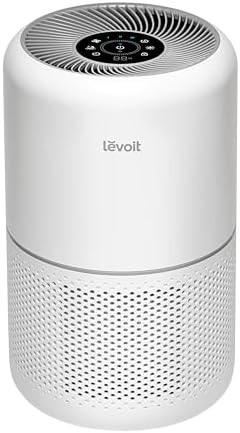
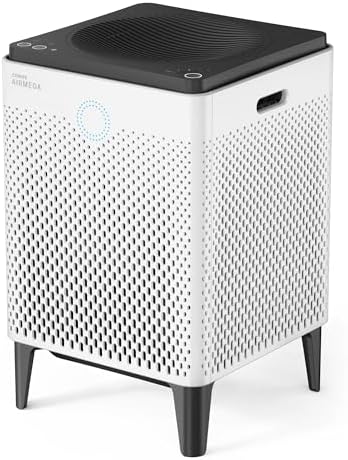
These picks come from the Hostinger affiliate plugin. Specs change by model year, so confirm filter type, CADR and replacement costs on the product page before you buy.



What the Seals Do
Seals sit around the filter slot, on the filter frame or around the cover. They fill small gaps so air takes the path through the filter. A good seal improves filtration and reduces noise. A bad one lets unfiltered air leak by.
Find the Seals
Open the cover with the unit unplugged and look around the filter slot, the cover edge and the filter frame. Many filters have a foam or rubber gasket attached to the frame. Check the manual to see what is replaceable.
Clean Gently
Wipe seals with a cloth barely dampened with water or a drop of mild soap, then wipe with a clean damp cloth and dry. Use a soft brush for dust in corners. Do not use alcohol, solvents or oils, which can dry or swell rubber. Keep liquid away from electronics.
Check for Wear
Look for flattened, cracked, torn, hardened or sticky seals, and for gaps where the seal does not touch. If a seal is attached to the filter, replace the filter. If the seal is part of the housing, ask the maker for a replacement part.
Reseat and Test
Reinstall the filter so it sits flat against the seal and close the cover until it clicks. Run the unit and listen for whistling. If you hear a whistle, reseat and check again. Do not use tape to seal gaps.
Why Leaky Seals Matter
Air takes the path of least resistance. If there is a gap, some air will bypass the filter and carry dust through. This lowers the unit’s effectiveness and may cause whistling. A good seal is a small detail that makes a real difference.
Foam Gaskets Versus Rubber Seals
Foam gaskets are soft and compress, but they can flatten or crumble with age. Rubber seals are firmer and can harden or crack. Handle both gently, and replace them if they lose shape. Do not wash foam gaskets aggressively.
Wrong Filter Equals Bad Seal
A filter that is slightly too small or thin will not seal properly even with good gaskets. Use the filter specified for your model. Generic filters may have no gasket or a thinner one. Compare the new filter with the old one.
Seal Care Between Filter Changes
Each time you change the filter, wipe the seal surfaces and check for wear. Remove lint and hair. Check that nothing sits between the filter and the seal.
When to Ask the Manufacturer
If the seal is part of the housing and is damaged, or if the unit whistles despite clean seals, contact the manufacturer for parts or service. Provide the model number and photos.
How to Choose
- Look for firm, snug filter seals
- Check replacement filter costs
- Confirm the exact replacement model
- Match the CADR to the room
Do
- Match the unit’s rated coverage to your room first
- Run it consistently, not only when the air feels bad
- Leave space around the unit for airflow
- Replace filters on the maker’s schedule
Don’t
- Do not buy on looks or price alone
- Do not block the intake or exhaust
- Do not skip filter changes
- Do not expect a purifier to fix every source of pollution
Honest Limits
- This guide uses manufacturer information and public guidance from the EPA and AHAM, not our own lab tests.
- Features and room ratings change between model years, so confirm on the listing before you buy.
- A purifier is not a medical device and does not replace medical advice or treatment.
Who Should Skip This
When to See a Professional
Frequently Asked Questions
How do I clean the gasket?
A barely damp cloth or soft brush, then dry.
Can I use silicone grease?
Only if the manual says so. Avoid oils.
Why does my purifier whistle?
A gap at the seal or filter is a common cause.
Can I use tape on gaps?
Do not. Replace the part.
Bottom Line
Clean air purifier rubber seals with a soft brush or a barely damp cloth, dry them and check for flattening, cracks or gaps. Avoid solvents and oils, replace worn seals or the filter they are attached to and never use tape to seal gaps.
Related reading: sens,fan,bed
Sources: EPA, Guide to Air Cleaners in the Home; AHAM Verifide.