Last updated:
Disclosure: As an Amazon Associate we earn from qualifying purchases. This does not change what we recommend. See our affiliate disclaimer.
A classroom purifier runs for hours in a room full of chalk dust, paper fibers, pet dander on clothing and the occasional cold. That makes routine care important, but the job also has to be simple enough for a busy teacher or facilities team to do reliably. The best routine is short, written down and shared between people.
This guide gives a practical schedule, a step-by-step method and a log you can adapt. We have not tested these products ourselves, so follow the manufacturer manual and your school’s own safety and facilities rules. When something looks damaged or electrical, stop and ask facilities staff or the maker.
Teacher can do
- Wipe the outside and intake grille
- Check the filter indicator and the pre-filter
- Keep clear space around the unit
Facilities should do
- Replace HEPA and carbon filters
- Inspect cords, plugs and cases
- Check unit sizing and placement for the room
Key Takeaways
- Assign cleaning tasks by role and write the schedule down
- Check the pre-filter more often in dusty or craft-heavy rooms
- Replace HEPA and carbon filters on the maker schedule and log the date
- Size the unit to the room and keep it clear of walls and curtains
Records and Accountability
A one-page log is enough: date, task, who did it and any issue. Keep it with the unit or in a shared folder. If a unit stops working, the log shows when it was last cleaned and when the filter was last changed, which speeds up any warranty or purchasing discussion. It also helps the next teacher or staff member who inherits the room.
Common Mistakes in School Settings
The most common mistakes are letting the pre-filter clog, replacing a HEPA filter with an unbranded one, moving the unit behind a desk, covering the intake with posters or bags and forgetting to reset the filter timer. A short checklist taped inside a cupboard avoids all of them. If something seems off, such as a burning smell or a damaged cord, stop using the unit and ask facilities.
Working With Your Facilities Team
Share the manual, the log and the filter model number with your facilities team, and ask them to add the purifier to the building maintenance schedule. They may already stock suitable filters or have preferred suppliers. If several classrooms have purifiers, consider using the same model across them so spares, training and filters are shared and the process is simple to repeat.
Cleaning Around the Unit, Not Just the Unit
A purifier cannot keep up with a room that is dusty at the source. Wipe whiteboard ledges and shelves with a damp cloth, vacuum carpets and mats with a HEPA-filter vacuum if you have one, and clean air vents and return grilles on the building maintenance schedule. Less dust settling in the room means less loading on the pre-filter and a longer life for the main filter.
Ask staff to avoid dry sweeping or shaking dusty items in the room during the school day. Do those jobs when the room is empty, then let the purifier run for a while afterward.
A Simple Checklist to Print and Post
Weekly: unplug, wipe the exterior and intake, check clearance. Monthly: check and clean the pre-filter, check the indicator, listen for noise. Each term: replace filters if due, inspect the cord and plug, update the log and reset the timer. Any time: stop using the unit if you see damage, smell burning or hear grinding, and tell facilities. Keep a spare filter on hand so replacement is never delayed by ordering.
Teaching Students About Clean Air
A purifier is a chance for a short lesson. Explain what the unit does, why filters are replaced and why the vents must stay clear. Older students can help with the log or check the indicator under supervision. Keep any hands-on tasks to wiping the exterior or reporting a problem, and leave filter changes and electrical checks to staff. Involving students makes it more likely the unit stays unblocked and undamaged, and it builds good habits about indoor air.
Share a short note with parents or colleagues if questions come up, and point to the manufacturer information for the unit. Avoid making health claims about what the purifier will do for any individual child.
Classroom Air Purifiers to Compare
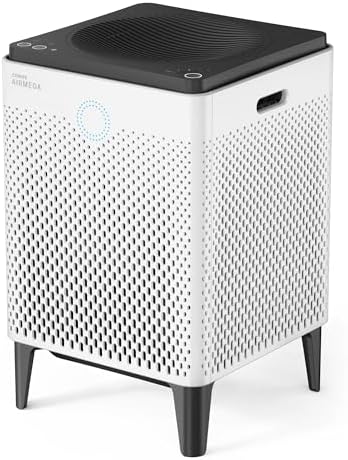
If you are choosing or replacing a classroom unit, compare options sized for larger rooms. These come from the Hostinger affiliate plugin. Specs change by model year, so confirm the room rating, noise level and filter cost on the product page, and check your school’s purchasing rules.




Why Classroom Purifiers Need a Routine
Classrooms are busy, with many people entering and leaving, doors opening and closing, and heavy use during term time. A purifier that is never cleaned will clog, run louder and clean less. A schedule that assigns each task to a role keeps the unit working and avoids guesses about who is responsible.
Purifiers are one part of improving indoor air. Ventilation, filtration in the building system and regular cleaning of the room all matter, and a purifier should not be treated as a replacement for them.
A Weekly, Monthly and Termly Schedule
Weekly: wipe the outside with a dry or slightly damp cloth with the unit unplugged, vacuum the intake grille gently and check that nothing blocks airflow. Monthly: remove and clean or replace the pre-filter as the manual allows, and check the filter indicator. Each term or as recommended: replace the HEPA and any carbon filter, clean the sensor if the model has one and check the cord and plug.
Mark the dates on a simple sheet taped inside a cupboard or stored in a shared file. Record the filter change date on the filter frame as well.
Step-by-Step Cleaning
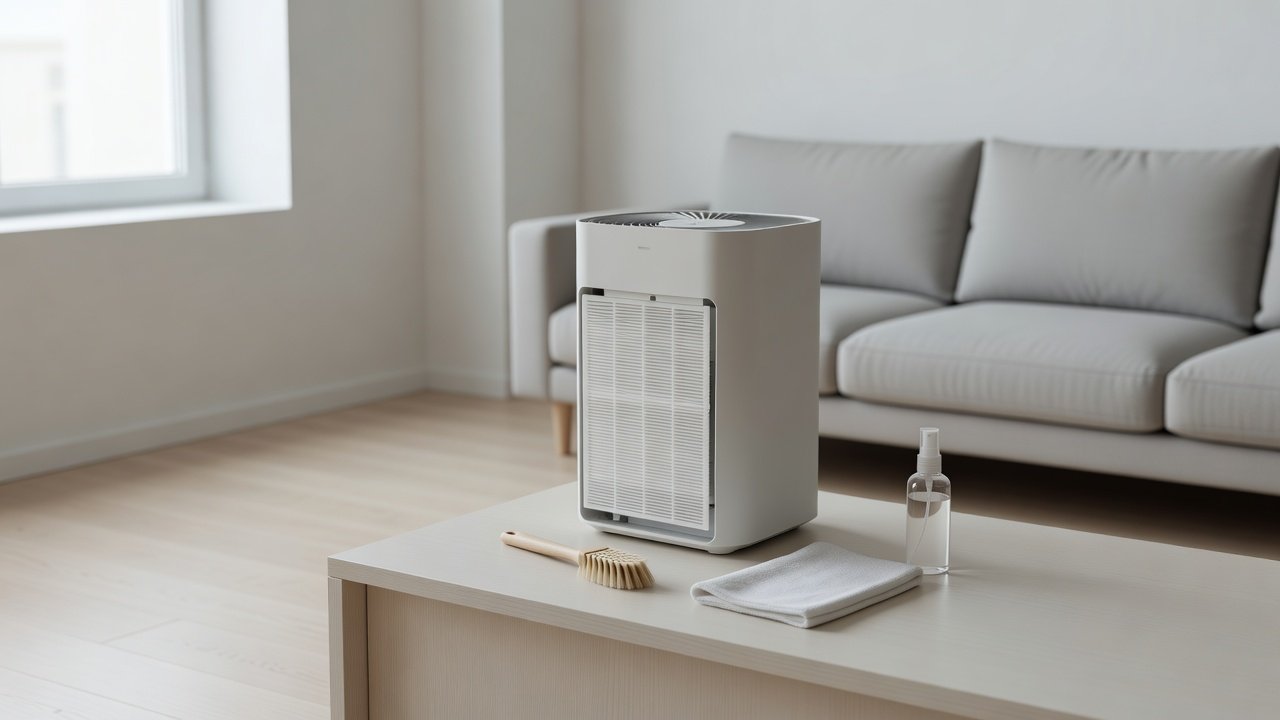
Switch the unit off and unplug it. Remove the cover and filters as shown in the manual and take them out of the room if they are dusty, or place them in a bag. Vacuum the pre-filter with a soft brush if the manual allows, wipe the interior with a dry cloth and check the fan area for visible debris.
Put the filters back in the right order and the right direction, close and latch the cover and plug the unit in. Run it on low for a minute and listen for rattles. Wash your hands afterward.
Who Should Do What
Split the work by role. A teacher or classroom assistant can handle the quick checks: wipe the exterior, check the indicator and make sure nothing blocks the unit. Facilities or custodial staff can handle filter changes and cord inspection. A named person should own the log and the spare filters, so tasks do not fall between roles. Keep the manual and a spare filter in a labeled bag near the unit or in the facilities office.
Dust, Chalk and Craft Materials in Classrooms
Classrooms have unusual sources of particles: chalk or whiteboard dust, paper and cardboard fibers, art supplies and glitter, and sports equipment. Pre-filters load faster in rooms like these, so check them more often. Keep the unit away from sinks, sprays, craft stations and the area where erasers are cleaned. Do not run the purifier during messy projects without checking the pre-filter afterward.
Placement, Noise and Student Safety
Place the unit where it can draw air freely, with the clearance the manual recommends on every side, and away from walls, curtains and tall furniture. Keep cords tidy and out of walkways, and use a wall socket rather than an extension lead where the rules allow. Choose a placement that students cannot easily tip over or poke at, and use the child lock if the model has one. Run the unit on a speed that keeps the room comfortable for teaching.
Filter Replacement and Budgeting
Filter cost is the main running expense. Ask for the price and expected life of the HEPA and carbon filters before buying a unit, and plan for at least one change per year or as the maker recommends. Buying filters in a multi-pack can reduce cost and ensure a spare is on hand. Keep receipts and the model number in the log so reordering is easy at the start of term.
Summer Breaks, Holidays and Storage
When the room is unused for a long period, unplug the unit and cover it with a clean sheet or bag to keep dust out. Before the new term, run a quick check: inspect the pre-filter, wipe the exterior, replace filters if they are due and run the unit for a few minutes before students arrive. If the unit is moved between rooms, update the log and check that the new room is the right size for it.
How to Choose
- Match the unit’s smoke CADR to the room size and ceiling height
- Check the low-speed noise level, because teaching needs quiet
- Compare replacement filter cost and availability over a year
- Prefer simple controls and a clear filter indicator
Do
- Match the unit’s rated coverage to your room first
- Run it consistently, not only when the air feels bad
- Leave space around the unit for airflow
- Replace filters on the maker’s schedule
Don’t
- Do not buy on looks or price alone
- Do not block the intake or exhaust
- Do not skip filter changes
- Do not expect a purifier to fix every source of pollution
Honest Limits
- This guide uses manufacturer information and public guidance from the EPA and AHAM, not our own lab tests.
- Features and room ratings change between model years, so confirm on the listing before you buy.
- A purifier is not a medical device and does not replace medical advice or treatment.
Who Should Skip This
When to See a Professional
Frequently Asked Questions
How often should a classroom air purifier be cleaned?
Wipe weekly, check the pre-filter monthly and replace filters on the manufacturer schedule, usually once or twice a year.
Who should clean the purifier at school?
Teachers can do quick wipes and checks, while facilities staff should handle filter changes and electrical checks.
Can I wash a classroom HEPA filter?
Only if the manufacturer says it is washable. Most HEPA filters must be replaced, not washed.
Does a purifier replace ventilation?
No. A purifier helps reduce particles, but ventilation and good building maintenance still matter.
Bottom Line
A classroom purifier works best with a short, shared routine: a weekly wipe, a monthly pre-filter check and a termly filter change, all logged. Assign each task to a role, use the manual for every step and replace filters on schedule. If the unit is damaged or electrical, stop using it and ask facilities or the manufacturer.
Related reading: sens,fan,bed
Sources: EPA, Guide to Air Cleaners in the Home; AHAM Verifide.