Last updated:
Disclosure: As an Amazon Associate we earn from qualifying purchases. This does not change what we recommend. See our affiliate disclaimer.
An air purifier is only as good as its filter, and a filter that is hard to replace is a filter that gets replaced late. That is why the ease of changing a filter deserves more attention than it usually gets when people compare models. Some purifiers open with a single latch and take a single filter that drops in. Others have multiple stages, screws, tight gaskets or awkward covers that make a simple task feel like a chore. Over several years, the difference shows up in how well the unit performs.
This guide explains what makes filter replacement easy or complex, how to judge it before you buy and what to do to keep upkeep simple whichever design you choose. We have not tested these products ourselves; check the manual for your model, which is often available online before you purchase.
Quick-change designs suit you if
- You want to stay on schedule without effort
- You have limited time or dexterity
- You want fewer chances to fit a filter wrongly
Complex designs may be fine if
- They offer separate layers you can replace independently
- You are comfortable following the steps
- You value the added filtration stages
Key Takeaways
- Easy filter access helps you stay on schedule.
- Check the manual for the number of steps before buying.
- Remove all plastic wrap from new filters.
- Match the filter part number to your model.
- Separate layers let you replace only what has worn out.
- Keep a spare filter and a calendar reminder.
- Avoid ozone or ionizer modes; the EPA advises against ozone-emitting air cleaners.
Building a Filter Schedule That Works
A good schedule starts with the maker’s recommendation and adjusts for your home. Write the install date on the filter and put a reminder in your calendar a few weeks before the due date, so you have time to order a replacement. In a smoky, dusty or pet-heavy home, shorten the interval, and in a clean, quiet home you may be able to stretch it, as long as airflow remains strong and the filter looks acceptable. After a wildfire smoke episode, a renovation or a long period of heavy use, inspect the filter early and replace it if it is clearly loaded.
Keep a small record, even just a note on your phone, of when you changed the filters and how they looked. After a year you will know the pattern for your home and can set an interval that balances cost and performance. This simple habit is often the difference between a purifier that works well for years and one that gradually stops doing its job.
Planning for Spare Parts and Supply
Before you buy a purifier, check that replacement filters are sold in your region, that they are in stock and that the price is reasonable. Some makers discontinue filters for older models, which can leave you with a unit you cannot maintain. Buying a spare filter when you buy the unit, or ordering the next one before the current one is due, protects you from gaps. If you rely on a subscription, set a reminder to review it once a year, and keep the confirmation emails in case you need support.
Air Purifiers to Compare
The table below lists purifiers from our affiliate partner. Compare CADR, room size ratings and filter details, and check the manual for how each unit opens.
How to Judge Before You Buy
Read the manual online, which is often published on the maker’s support page. Look at the diagrams for changing the filter and count the steps. Check whether the filter has a handle and whether the orientation is marked. Look at how many different filters the unit uses and what each costs. Read owner feedback on how easy it is to change filters, keeping in mind that experiences vary. Check if the maker offers a clear replacement schedule and if third-party filters exist.
Think about where the unit will sit. A tall tower that needs to be tilted to open or a unit that must be pulled away from a wall to access the filter is harder to maintain than one with a front or top opening. Make sure the design suits the space.
Quick Comparison
The table below summarizes the general trade-offs.
| Factor | Quick-change | Complex |
|---|---|---|
| Tools needed | None | Sometimes |
| Steps | Few | Several |
| Risk of fitting error | Lower | Higher |
| Flexibility | Often one combined filter | Separate layers possible |
| Best for | Easy upkeep | Targeted replacement |
What Makes Replacement Easy
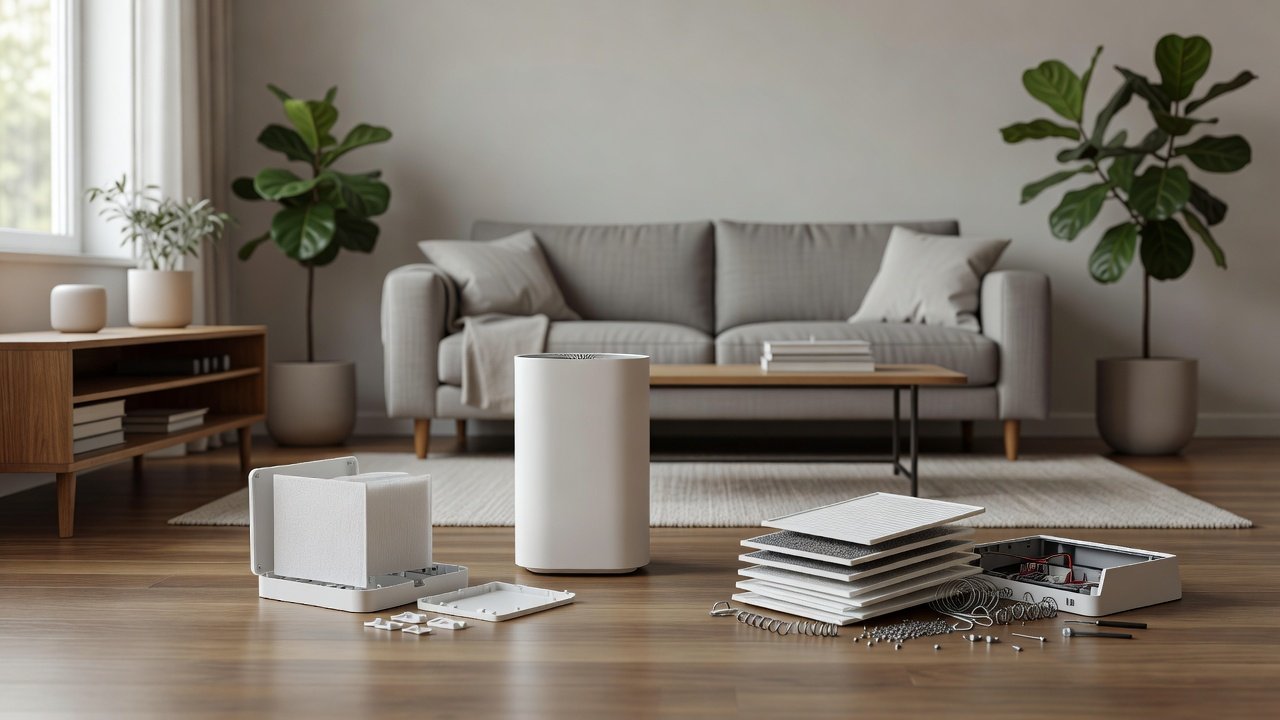
The easiest designs open without tools, using a latch, a twist cover or a magnetic panel. The filter slides or drops into place with obvious markings for orientation, and the gasket seats without fuss. A filter indicator tells you when the change is due, and replacement filters are readily available. A pre-filter that you can remove and clean separately also helps, because it protects the main filter and extends its life.
Easy design matters because it affects what you do in practice. If changing the filter takes five minutes and no tools, you are more likely to do it on schedule and to check it more often. If it takes half an hour and a screwdriver, it will probably be put off, and the unit will run with a clogged filter, cleaning less and working harder.
What Makes Replacement Complex
Complexity comes from several sources. Multi-stage designs have separate pre-filter, HEPA and carbon layers, each with its own step. Tight gaskets may require careful seating to avoid leaks. Some units require unscrewing a panel or removing a cover that is held by hidden clips. Others have sensors or electronics near the filter that need care. Plastic wrap on new filters is another common stumbling block: forgetting to remove it will block airflow and leave the unit ineffective.
Complexity is not always bad. A multi-stage design lets you replace only the layer that has worn out, such as the carbon, rather than a whole combined cartridge. It can also offer better performance for odors or particles. The key is that the steps should be clear and the parts should be reasonably easy to reach.
A Step-by-Step Filter Change, Done Safely
Start by turning off the unit and unplugging it. Open the cover or panel according to the manual, noting how the filter sits. Remove the old filter by the frame, and place it directly into a bag to avoid scattering dust. Wipe the housing and the seat with a dry cloth, taking care not to damage any sensors. Unwrap the new filter completely, since plastic left on the media blocks airflow. Check the orientation arrows or labels and place the filter in the same position, making sure the gasket seats evenly all around.
Close the cover until it clicks, plug the unit in and run it for a minute to check that it sounds normal. Reset the filter indicator if the unit has one, which is often done by holding a button for a few seconds. Write the date on the filter or in your calendar and put the used filter in the trash according to local rules.
Common Mistakes When Changing Filters
People often forget to remove the plastic wrap, install the filter backwards, fail to reset the filter indicator, use a filter for the wrong model, or leave a gap in the gasket so that air bypasses the filter. Another mistake is changing the filter on a fixed schedule without checking its condition, which may waste money in a clean home or leave a loaded filter in place too long in a smoky one. Take a moment to inspect the filter each time and adapt the schedule to your conditions.
Pre-Filters and Extending Filter Life
A pre-filter catches hair, lint and large dust before they reach the main filter. Cleaning it regularly, usually every few weeks, can extend the life of the main filter significantly. Many pre-filters can be vacuumed or rinsed, but follow the manual. Dry washable parts fully before reinstalling. In a home with pets, a good pre-filter and a regular cleaning habit often matter more to filter cost than anything else.
Buying Replacement Filters Wisely
Check the part number and compare prices at several sellers. Genuine filters are the safest choice for fit and performance. Third-party filters can save money, but quality varies, so check the size, the filter type and reviews from owners of the same model. Beware of filters with vague claims. If you use a subscription, check the terms and make sure you can skip or cancel. Keep one spare so that a replacement is never a reason to leave an old filter in place.
When a Complex Design Is Worth It
If you want strong odor control, a multi-stage design with a thick carbon layer can be worth the extra steps. If you want to control costs, a design with separate layers lets you replace only what is worn. In both cases, give the steps a try soon after buying so you know what to expect, and keep the manual where you can find it.
How to Choose
- Read the manual to see how the filter is changed.
- Look for tool-free access and clear orientation marks.
- Check for a filter indicator.
- Confirm replacement filters are available and priced fairly.
- Avoid ozone generating or ionizer modes; the EPA advises against ozone-emitting air cleaners.
Do
- Match the unit’s rated coverage to your room first
- Run it consistently, not only when the air feels bad
- Leave space around the unit for airflow
- Replace filters on the maker’s schedule
Don’t
- Do not buy on looks or price alone
- Do not block the intake or exhaust
- Do not skip filter changes
- Do not expect a purifier to fix every source of pollution
Honest Limits
- This guide uses manufacturer information and public guidance from the EPA and AHAM, not our own lab tests.
- Features and room ratings change between model years, so confirm on the listing before you buy.
- A purifier is not a medical device and does not replace medical advice or treatment.
Who Should Skip This
Skip units whose manuals do not explain filter changes clearly.
Skip ozone generators and ionizers that emit ozone; the EPA advises against them.
When to See a Professional
If you have asthma or allergies, wear a mask when handling heavily loaded filters and wash your hands afterward.
If a filter smells of burning or looks damaged, stop using the unit and contact the maker.
Frequently Asked Questions
How often should I change my filter?
Follow the maker, often every 6 to 12 months, sooner in smoky or dusty homes.
How do I know when a filter needs changing?
Check airflow, visible loading, odors and the filter indicator.
Do I need tools to change a filter?
Many units need none, but check the manual.
Why does my purifier still show the filter light?
You may need to reset the indicator after installing the new filter.
Can I install the filter backwards?
Some can be, so check the orientation marks.
Do I need to remove the plastic wrap?
Yes. Leaving it on blocks airflow.
Are third-party filters okay?
Some are, but check fit, type and reviews.
Should I keep a spare filter?
Yes, so you can replace on time.
How do I dispose of used filters?
Bag them and follow local rules.
Are ionizer modes safe?
Some produce ozone, which the EPA advises against.
Bottom Line
Easy filter replacement helps you keep on schedule, which keeps the purifier working as designed.
Choose a unit whose upkeep you will actually do, and keep spare filters on hand.
Related reading: sens,fan,bed
Sources: EPA, Guide to Air Cleaners in the Home; AHAM Verifide.