Air purifiers keep our air clean and fresh. But, they need maintenance to work well. One part that might need replacing is the fan. This guide will help you change your air purifier fan.

Credit: ongaroandsons.com
Why Replace Your Air Purifier Fan?
The fan in your air purifier is very important. It helps move air through the filters. If the fan stops working, the air purifier won’t work well. Here are some reasons to replace the fan:
- The fan is making strange noises.
- The air purifier is not cleaning the air well.
- The fan has stopped working completely.
Tools You Will Need
Before you start, gather all the tools you will need. Here is a list of tools that will help:
| Tool | Purpose |
|---|---|
| Screwdriver | To remove screws |
| New Fan | Replacement part |
| Soft Cloth | To clean the inside |
| Gloves | To protect your hands |
Step-by-Step Fan Replacement Guide
Follow these steps to replace your air purifier fan:
Step 1: Turn Off And Unplug The Air Purifier
Safety first! Always turn off and unplug the air purifier before you start. This will keep you safe from electric shocks.
Step 2: Open The Air Purifier
Use the screwdriver to remove the screws on the air purifier. Carefully open the unit. Place the screws in a safe place so you don’t lose them.
Step 3: Locate The Fan
Find the fan inside the air purifier. It is usually near the filters. Take a good look at how it is attached.
Step 4: Remove The Old Fan
Carefully remove the old fan. You might need to unplug some wires. Take note of how the wires are connected. This will help you connect the new fan later.
Step 5: Clean The Inside
Use a soft cloth to clean the inside of the air purifier. Dust and dirt can collect inside. Cleaning it will help the new fan work better.
Step 6: Install The New Fan
Place the new fan where the old fan was. Connect the wires just like they were before. Make sure everything is secure.
Step 7: Close The Air Purifier
Carefully put the cover back on the air purifier. Use the screwdriver to put the screws back in place. Make sure the cover is secure.
Step 8: Test The Air Purifier
Plug the air purifier back in and turn it on. Listen for any strange noises. Make sure the fan is working well. If everything sounds good, you are done!

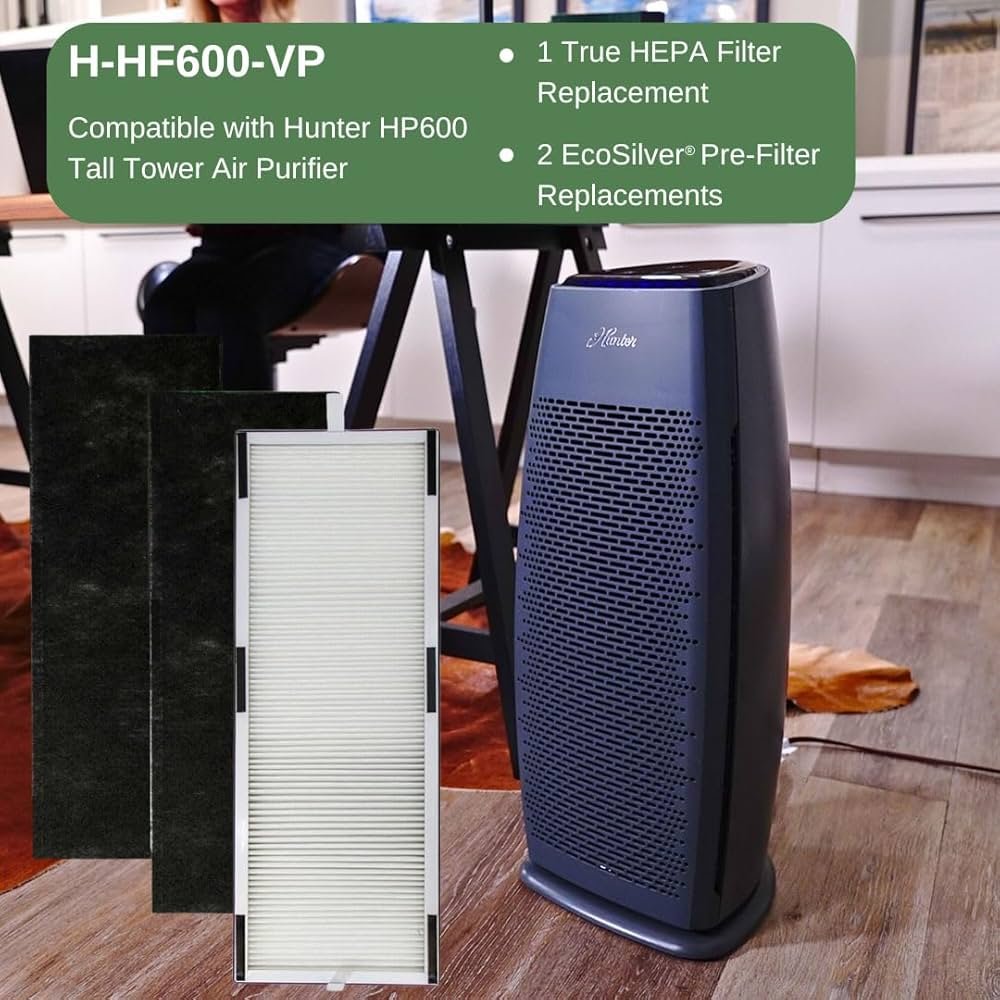
Credit: www.amazon.com
Tips for Maintaining Your Air Purifier Fan
To keep your air purifier working well, follow these tips:
- Regularly clean the filters.
- Keep the air purifier in a dust-free area.
- Check the fan for dust buildup.
- Replace the fan if it starts making noise.
Frequently Asked Questions
How Often To Replace Air Purifier Fan?
Replace the air purifier fan every 12-18 months for optimal performance.
Signs Air Purifier Fan Needs Replacement?
Loud noise, reduced airflow, and poor air quality indicate it’s time to replace the fan.
Can I Replace The Fan Myself?
Yes, you can replace the fan yourself with basic tools and the manufacturer’s instructions.
What Tools Needed For Fan Replacement?
You’ll need a screwdriver, a new fan unit, and possibly pliers for the replacement process.
Where To Buy Replacement Air Purifier Fans?
Purchase replacement fans from the manufacturer’s website or authorized retailers for compatibility and warranty assurances.
Conclusion
Replacing the fan in your air purifier is not hard. With the right tools and steps, you can do it yourself. This will help keep your air clean and fresh. Follow our guide and your air purifier will work like new!
Rakib Sarwar is a Registered Pharmacist and a reputed health and wellness blogger. He has a great interest in Air purifiers.
