Last updated:
Disclosure: As an Amazon Associate we earn from qualifying purchases. This does not change what we recommend. See our affiliate disclaimer.
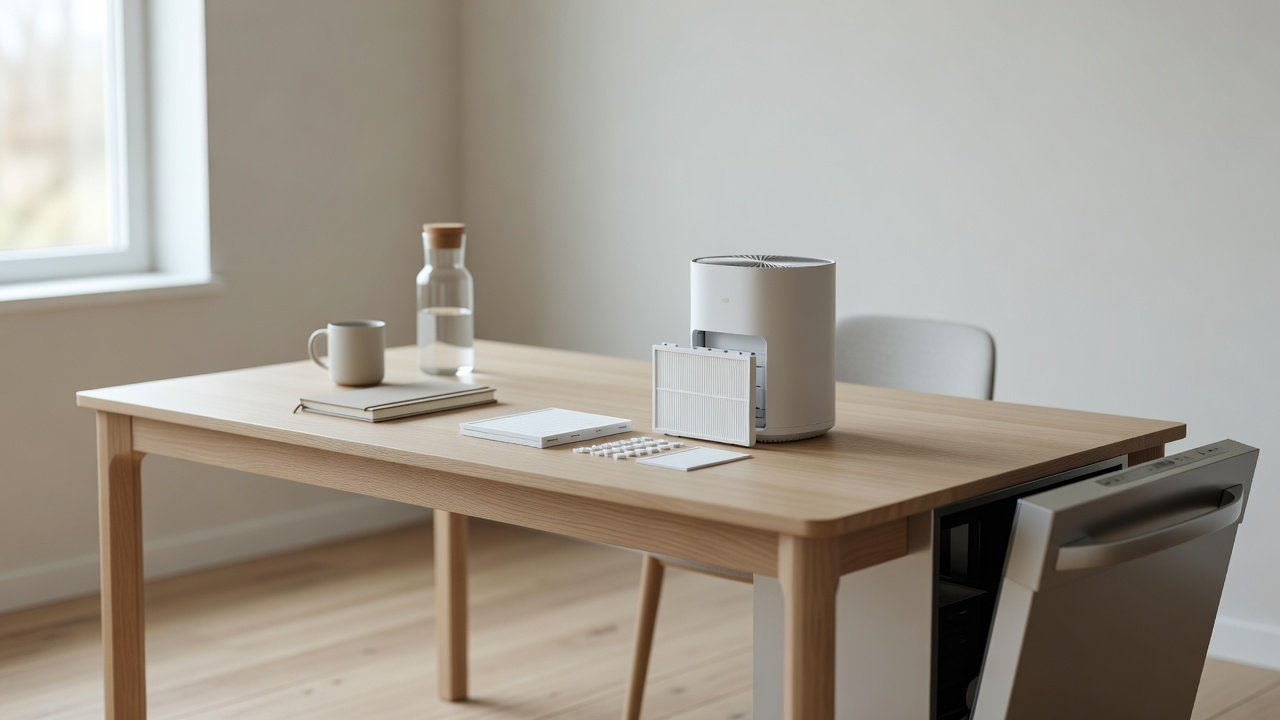
A dishwasher seems like an easy way to clean plastic parts, but air purifiers are not designed like dishes. High heat, strong detergent and powerful water jets can warp plastic, damage foam and ruin filters. A few parts, such as some water tanks or plastic trays on certain models, may be labeled dishwasher safe, but that is the exception and only the manual can tell you.
We have not tested these products ourselves, so follow your manual. Never put filters, electronics, the motor, sensors or the main housing in a dishwasher.
Only if the manual says so
- Specific plastic trays or tanks
- Top rack only
- Low heat setting
Never
- HEPA and carbon filters
- Electronics and sensors
- Housing with the motor
Key Takeaways
- Never put filters, electronics or the housing in a dishwasher
- Only parts the manual labels dishwasher safe may go in, top rack
- Hand wash with mild soap and dry fully
- Replace any filter that was washed
Cleaning Washable Pre-Filters by Hand
Unplug the unit and remove the pre-filter. Shake or vacuum off loose dust with a soft brush attachment. If your manual allows rinsing, hold the filter under cool running water, letting water flow from the clean side to the dirty side if the manual says so, and press gently without twisting. Do not use hot water or strong detergent. Let the filter drip dry, then air dry fully on a rack away from heat. Reinstall only when it is completely dry to the center.
Why Heat Drying Is Not Recommended
Heat can shrink or harden foam and warp plastic. A heated dry cycle, a hair dryer on high or a radiator can damage a washable pre-filter, so it no longer fits properly. Room-temperature air drying is slower but safer. If you want to speed it up, use a fan in the room or a dehumidifier running nearby, and keep the part flat and in the open.
Cost Comparison: Cleaning Versus Replacing
Washing a pre-filter by hand costs almost nothing, while a replacement pre-filter or HEPA filter has a cost. It can be tempting to wash something that should be replaced to save money, but a damaged filter lets particles through and may be unsafe. Use cleaning for the parts designed for it and budget for scheduled filter replacement. Add the dates to your calendar so you do not run a unit with a worn-out filter.
Choosing an Easy-Care Model
If you dislike hand washing, choose a purifier with simple replaceable filters and a surface you can wipe. Compare how many parts need washing, whether a spare pre-filter is sold and what a replacement HEPA costs. Independent reviews often mention maintenance effort, which can help you choose a unit you will actually keep clean.
Plastic Types and Why They React Differently
Air purifier housings are made of different plastics, and each reacts to heat and chemicals in its own way. Some tolerate warm water, while others soften, craze or discolor. Because makers rarely list plastic types in the manual, the safest rule is to use the cleaning method the manual describes. If it does not describe a method, use the gentlest one: a dry cloth, then a barely damp cloth. Avoid anything that heats the plastic or soaks it.
Humidifier Combos and Water Parts
If your unit includes a humidifier, the water tank, tray and any wick are the parts most likely to need washing. Empty and rinse the tank regularly, clean it as the manual says and dry it fully. Replace wicks or filters on schedule. Stale water can grow mold and bacteria and produce odors. If the manual states that a part is dishwasher safe, use the top rack and low heat. Otherwise, wash by hand with mild soap.
When a Part Is Damaged by Washing
If a washed part has warped, cracked or clouded, do not reinstall it. A warped filter frame can leave gaps, a cracked housing piece can expose electronics and a warped tray can leak. Contact the manufacturer to order a replacement part. Using the unit with a damaged part risks poor performance and safety problems. Keep the old part until the new one arrives so you can match the model.
Quick Reference: Part by Part
Filters: replace, do not wash. Pre-filter: vacuum or gently rinse if the manual allows. Housing: wipe with a barely damp cloth. Vents: vacuum. Display and sensors: dry cloth or soft brush. Water tank or tray: hand wash or top-rack dishwasher only if the manual says so. Cord and plug: keep dry and inspect regularly. This simple list covers most units, but your manual always takes priority.
Air Purifiers With Simple Maintenance
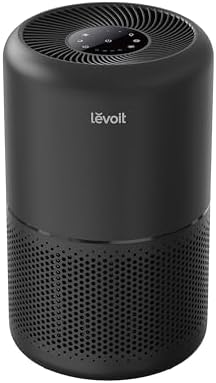
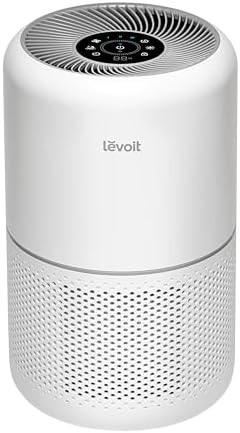
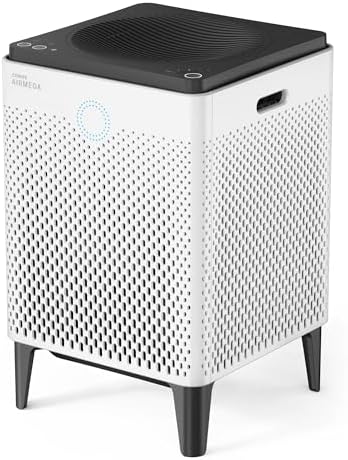
These picks come from the Hostinger affiliate plugin. Specs change by model year, so confirm filter type, CADR and replacement costs on the product page before you buy.



Why Dishwashers and Air Purifiers Do Not Mix
Dishwashers use hot water, strong detergent and high-pressure jets. These can warp plastic, dissolve glues, remove coatings and leave detergent residue that later releases odors. They can also force water into places meant to stay dry. Most air purifier parts are made for dry cleaning or gentle rinsing, not machine washing.
Parts That Must Never Go in a Dishwasher
Never put HEPA filters, activated carbon filters, the fan, the motor, sensors, the display, the circuit board or the main housing in a dishwasher. HEPA media is damaged by water, carbon cannot be washed back to life and electronics are ruined by moisture. If a part is attached to wiring, it is not washable.
Parts That Might Be Dishwasher Safe
Some units, such as certain humidifier-style combo models, have a removable water tank or tray that the maker says is top-rack dishwasher safe. Check the manual or the part itself for a dishwasher-safe symbol. If there is no statement, assume it is not safe and wash by hand with mild soap.
Safer Ways to Clean Washable Parts
For washable pre-filters, vacuum first and then rinse gently with cool water if the manual allows. For plastic trays, wash by hand with mild dish soap and a soft cloth, rinse and dry. For the exterior, use a dry or barely damp cloth. Dry every part fully before reassembling.
If You Already Used the Dishwasher
If a part went through the dishwasher, check it for warping, cracks, cloudiness and residue. Rinse off detergent and let it dry fully. Do not reinstall a warped or damaged part. If a filter was washed, replace it. If electronics got wet, do not power the unit and contact the manufacturer.
Reading Symbols and Labels on Parts
Look for a dishwasher-safe symbol, which usually shows plates or glasses and water drops, or for the words top rack only. If a label is missing, worn or unclear, assume the part is not dishwasher safe. Photograph labels before you clean in case they wear off. If you cannot find the info in the manual, check the maker’s support page.
Heat and Plastic Warping
Dishwasher heat, especially on a heated dry cycle, can warp thin plastic. A warped tray or cover may not seal properly or may leak. If a part must go in a dishwasher, use a low-heat setting and skip heated drying if possible, and place it on the top rack away from the heating element.
Detergent Residue Risks
Dishwasher detergents are strong and can leave residue on plastics. In a purifier or humidifier tank, residue can release odors or mist into the air. Rinse parts well, and for anything touching air or water used by the unit, hand wash with a mild soap and rinse thoroughly.
Hand Washing Steps
Use warm water and a few drops of mild dish soap. Wash with a soft cloth or sponge, rinse well and shake off excess water. Air dry on a rack with plenty of airflow. Make sure parts are completely dry before reassembly. Avoid abrasive pads.
Combination Units With Water Tanks
Units that humidify or use water have extra parts to clean. Follow the manual closely, empty tanks regularly and clean them on schedule to avoid mold and odors. Do not leave stale water in tanks. If in doubt about whether a part is dishwasher safe, wash by hand.
How to Choose
- Look for clearly washable pre-filters
- Check which parts are listed as dishwasher safe
- Compare replacement filter costs
- Match the CADR to the room
Do
- Match the unit’s rated coverage to your room first
- Run it consistently, not only when the air feels bad
- Leave space around the unit for airflow
- Replace filters on the maker’s schedule
Don’t
- Do not buy on looks or price alone
- Do not block the intake or exhaust
- Do not skip filter changes
- Do not expect a purifier to fix every source of pollution
Honest Limits
- This guide uses manufacturer information and public guidance from the EPA and AHAM, not our own lab tests.
- Features and room ratings change between model years, so confirm on the listing before you buy.
- A purifier is not a medical device and does not replace medical advice or treatment.
Who Should Skip This
When to See a Professional
Frequently Asked Questions
Can I wash a HEPA filter in a dishwasher?
No. Replace HEPA filters on schedule.
Can I wash the pre-filter in a dishwasher?
Not unless the manual says so. Vacuum or gently rinse by hand.
Are water tanks dishwasher safe?
Some are. Check the manual or symbol.
What if I already ran a part through?
Check for damage and replace warped or washed filters.
Bottom Line
Do not put air purifier filters, electronics or the main housing in a dishwasher. Only parts the manual labels dishwasher safe, such as certain trays or tanks, should go in, on the top rack. For everything else, vacuum, wipe or hand wash gently and dry fully.
Related reading: sens,fan,bed
Sources: EPA, Guide to Air Cleaners in the Home; AHAM Verifide.