Last updated:
Disclosure: As an Amazon Associate we earn from qualifying purchases. This does not change what we recommend. See our affiliate disclaimer.
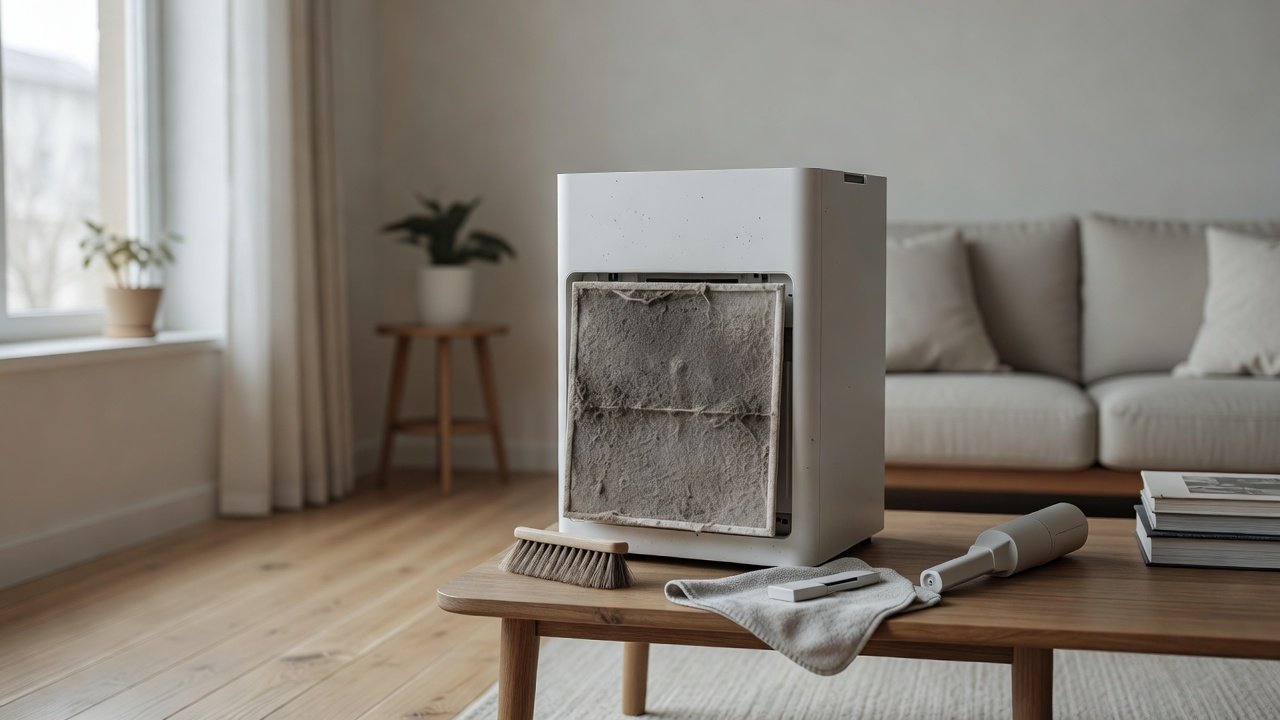
A heavily soiled filter is gray or black with dust, caked with pet hair or discolored by smoke or grease. The right response depends entirely on the filter type. Pre-filters made of foam or mesh can often be cleaned. True HEPA and activated carbon filters generally cannot be washed and should be replaced when they are heavily loaded.
This guide explains how to tell which type you have, how to clean what can be cleaned, and when to replace instead. We have not tested these products ourselves, so follow your manual. Do not wash filters the manufacturer says to replace, and never run a damp filter.
Can often be cleaned
- Washable foam or mesh pre-filters
- Some permanent or washable filters, if the manual says so
Replace, do not wash
- True HEPA filters
- Activated carbon filters
- Filters that are damp, moldy or torn
Key Takeaways
- Identify whether the filter is washable before cleaning
- Wash only pre-filters or filters the manual says are washable
- Replace HEPA and carbon filters that are heavily loaded, damp or moldy
- Dry fully and never reinstall a damp filter
Protecting Yourself While You Clean
Wear a well-fitting dust mask, gloves and eye protection. Work outdoors if possible. Bag dust and filters immediately. Wash your hands and any exposed skin afterward. People with asthma or allergies may wish to ask someone else to do the job.
Reducing Soiling Next Time
Keep the pre-filter clean, vacuum regularly, reduce smoking and heavy cooking smoke indoors, groom pets, close windows on dusty days and place the unit with clearance. These habits keep filters cleaner for longer and keep the unit working efficiently.
Using Spare Filters
Keeping a spare pre-filter lets you swap in a clean one while the other dries. Keeping a spare main filter avoids running the unit with a loaded filter while you wait for delivery. Store spares in a clean, dry place in their packaging.
Choosing Replacement Filters
Use the manufacturer part or a quality compatible filter that matches size, frame and gasket. Check reviews for sealing and performance, and confirm specifications on the product page. A poorly fitting filter can let air bypass the media.
Pre-Filter Versus Main Filter: Cleaning Expectations
A pre-filter is designed to be the sacrificial layer: it catches hair and large dust so the main filter stays cleaner. Expect to clean it often, and expect it to look dirty. The main filters are different. They are designed to be replaced, not scrubbed, and trying to restore them can reduce their performance. Treat the pre-filter as a maintenance item and the main filters as consumables.
What Happens If You Keep a Soiled Filter in Place
A loaded filter restricts airflow, so the fan works harder, noise increases and the room receives less clean air. In extreme cases it can contribute to overheating and shorten the life of the unit. A soiled filter can also hold odors and, if damp, can become a place where mold grows. Replacing a filter on time costs less than replacing a unit.
Special Cases: Smoke, Soot and Wildfire Ash
Filters that have captured smoke or ash often look dark and can smell strongly. The particles are very fine, so washing does not restore a HEPA filter and can release dust. Replace the filters, ventilate when the outdoor air allows and clean surfaces with a damp cloth. Keep a spare set on hand during wildfire season, since filters can load quickly when smoke is heavy.
Cleaning Supplies Checklist
Dust mask, gloves, eye protection, a soft brush, a vacuum with a brush attachment, mild soap, lukewarm water, a clean towel, a drying rack or a clean surface, a trash bag and a camera or phone. Keep the manual close by. Avoid bleach, solvents, abrasive pads and compressed air. This simple kit makes the job quick and safe.
Questions to Ask When a Filter Is Often Heavily Soiled
Is the unit too small for the room, so it runs on high all the time? Is it close to a source of dust such as a door, a litter box or a kitchen? Are windows open on dusty days? Is the pre-filter being cleaned often enough? Is the unit on a floor that stirs up dust? Answering these questions often reveals a simple change that keeps filters cleaner.
Air Purifiers With Easy-to-Maintain Filters
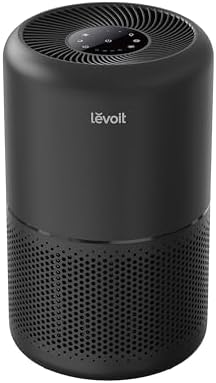
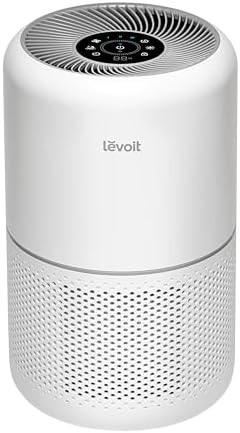
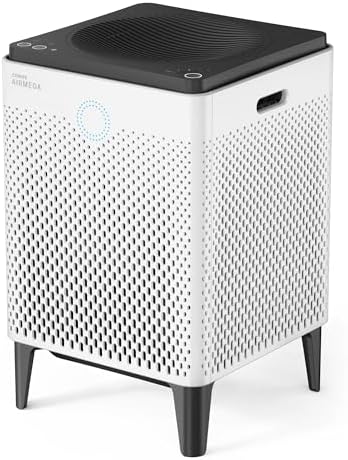
If you are tired of heavily soiled filters, look for a unit with a washable pre-filter and affordable replacement filters. These picks come from the Hostinger affiliate plugin. Specs change by model year, so confirm filter types and replacement costs on the product page.



Step 1: Identify the Filter Type
Check the manual or the label on the filter. A thin foam, mesh or fabric layer at the front is usually a pre-filter. A thick pleated paper or fiber panel is usually HEPA. A black or granular layer is activated carbon. Some units use combined filters. If the manual says washable, you can wash it. If it says replace, replace it.
If you cannot tell, search the manufacturer support page for your model number rather than guessing.
Step 2: Prepare a Safe Workspace
Unplug the unit. Work outdoors or near an open window, and wear a dust mask and gloves, since heavily loaded filters release a lot of dust. Lay a towel or a plastic sheet underneath and have a trash bag ready. Take photos of the filter order and the direction of the airflow arrows.
Step 3: Remove Loose Debris
Gently tap the filter over the bag to knock off loose dust and hair. Use a vacuum with a brush attachment on a washable pre-filter. Do not use compressed air on pleated media, and do not blow on it, since this can damage the pleats and send dust into the air.
Step 4: Wash What Is Washable
For a washable pre-filter, rinse it in lukewarm water, with a drop of mild soap if there is grease, and squeeze gently without wringing. Rinse until the water runs clear. Dry it fully, which can take twenty-four hours or more, before reinstalling. Never put a damp filter back.
Step 5: Know When to Replace
Replace a HEPA or carbon filter if it is heavily discolored, matted, damp, smelly, torn or past its schedule. Replace a pre-filter if it is torn, will not come clean or has lost its shape. Using the correct replacement ensures a good seal and performance.
What Makes Filters Get Heavily Soiled
Pets, smoking, cooking, dusty rooms, renovation work, wildfire smoke and running the unit continuously on high all load filters faster. So does skipping the pre-filter cleaning. Understanding the cause helps you reduce it, for example by moving the unit away from a dusty corner or changing the cleaning schedule.
Greasy or Sticky Filters
Filters in kitchens or near cooking can pick up grease that holds dust. A washable pre-filter can often be cleaned with warm water and mild soap. A HEPA or carbon filter with grease on it should be replaced. Do not try to degrease them with solvents, which can damage the media.
Moldy or Musty Filters
If a filter smells musty or shows spots of mold, do not clean and reuse it. Replace it and check the unit for moisture. Wear a mask and gloves when handling it and bag it immediately. If mold is widespread in the room, address the moisture source and consider consulting a professional.
Drying Times and Mistakes to Avoid
Squeezing is gentler than wringing. Air dry in a ventilated space away from direct sun or heat sources. Do not use a hairdryer on high heat, which can warp foam. Do not reinstall until fully dry. Use the paper towel test: press it on the filter and check for any moisture transfer.
How Often to Check and Replace
Check the pre-filter every two to four weeks and the main filters monthly in demanding conditions. Replace HEPA and carbon filters on the manufacturer schedule or sooner if airflow drops or the filter is heavily loaded. Record the dates in a log or set a reminder.
How to Choose
- Choose a washable pre-filter to protect the main filter
- Compare replacement filter costs and availability
- Check the replacement schedule for your conditions
- Match the CADR to the room size
Do
- Match the unit’s rated coverage to your room first
- Run it consistently, not only when the air feels bad
- Leave space around the unit for airflow
- Replace filters on the maker’s schedule
Don’t
- Do not buy on looks or price alone
- Do not block the intake or exhaust
- Do not skip filter changes
- Do not expect a purifier to fix every source of pollution
Honest Limits
- This guide uses manufacturer information and public guidance from the EPA and AHAM, not our own lab tests.
- Features and room ratings change between model years, so confirm on the listing before you buy.
- A purifier is not a medical device and does not replace medical advice or treatment.
Who Should Skip This
When to See a Professional
Frequently Asked Questions
Can I wash a HEPA filter?
Only if the manufacturer specifically says it is washable. Most HEPA filters should be replaced.
Can I vacuum a very dirty filter?
You can gently vacuum a washable pre-filter. Do not vacuum pleated HEPA media aggressively.
What if the filter smells musty?
Replace it and check for moisture in the unit.
How do I know when to replace?
When it is heavily discolored, damp, torn, smelly or past the schedule, or when airflow drops.
Bottom Line
A heavily soiled filter should be handled according to its type. Pre-filters can usually be cleaned, while HEPA and carbon filters are replaced, not washed. Work outdoors with a mask, remove loose dust gently, wash only what the manual allows, dry fully and replace anything damaged. Regular pre-filter care keeps the main filter cleaner and longer lasting.
Related reading: sens,fan,bed
Sources: EPA, Guide to Air Cleaners in the Home; AHAM Verifide.