Last updated:
Disclosure: As an Amazon Associate we earn from qualifying purchases. This does not change what we recommend. See our affiliate disclaimer.
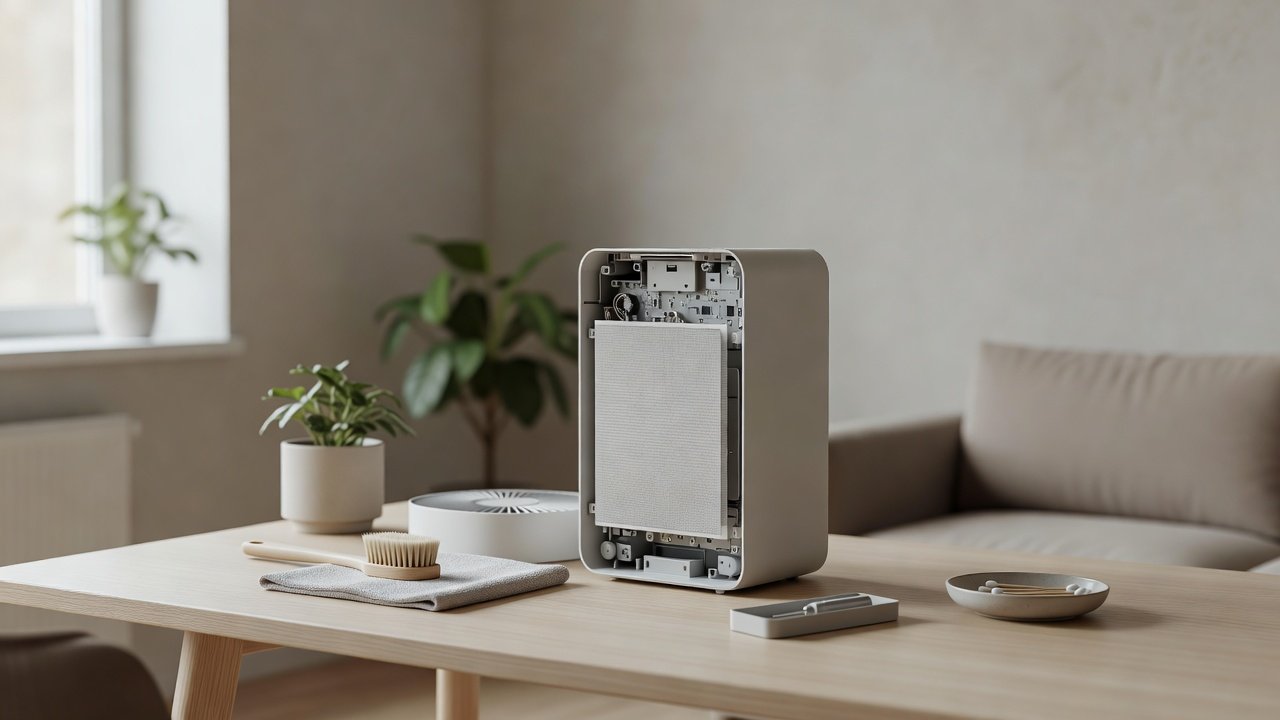
Modern air purifiers include displays, touch controls, sensors, circuit boards and sometimes Wi-Fi modules or ionizers. These parts make cleaning a little different: the goal is to remove dust without letting moisture, tools or cleaners reach the electronics. A careful, dry-first approach works for most units.
We have not tested these products ourselves, so follow your manual. Always unplug the unit first. If liquid gets into the unit or you smell burning, stop and contact the manufacturer.
Safe
- Vacuum with soft brush
- Dry microfiber cloth
- Barely damp cloth on exterior
Avoid
- Sprays near controls
- Wet cloths near sensors
- Compressed air into the unit
Key Takeaways
- Unplug and keep moisture away from controls and sensors
- Use a dry cloth and a barely damp cloth on the exterior
- Never use compressed air on HEPA or into electronics
- Contact the manufacturer for electrical problems
A Safe Order of Work
Work from dry to damp and from the top to the bottom. Start with a vacuum and soft brush on the vents and exterior, then the sensor grille with a dry swab, then the housing with a barely damp cloth and finally the controls with a dry cloth. Doing the electronics last, with a nearly dry cloth, reduces the chance of moisture reaching sensitive parts. Let everything dry before you plug the unit back in, and check that the cover and safety switch engage properly.
Static, Dust and Why Electronics Collect It
Electronics warm up in use and static attracts dust to plastic panels, grilles and display covers. Over time, that dust can block sensor openings and cooling vents. Regular dry dusting prevents build-up. A barely damp cloth reduces static compared with a dry one, but keep it nearly dry. Avoid anti-static sprays unless the manual approves them.
When to Stop and Call the Manufacturer
Stop if a button is stuck, the display shows error codes, the unit trips a breaker, there is a burning smell or the cord is damaged. Give support the model number, the purchase date and what happened. Do not open sealed housings or probe the circuit board. If the unit is out of warranty, ask about repair options and compare costs with a replacement.
Preventing Electronic Problems
Place the unit away from steam, sprays and direct sun. Use a wall outlet and avoid overloaded power strips. Replace filters on schedule so the fan does not strain. Keep a log of cleaning and any issues. If you live in a dusty area, check sensors more often.
Cleaning the Fan Area Without Touching Electronics
The fan area is close to the motor and wiring, so cleaning it needs the most care. With the unit unplugged and the filters removed, use a flashlight to look at the blades. Vacuum loose dust with a soft brush attachment held slightly away from the blades and never press on them. Do not insert tools or fingers. If the fan wobbles, is bent or is caked with debris, contact the manufacturer rather than trying to remove it. A clean fan area helps the motor run cooler and quieter.
Why Moisture and Electronics Do Not Mix
Water and cleaning liquids can short a circuit board, corrode contacts and leave films on sensors. Even a small amount can cause problems that appear days later, like erratic readings or a unit that trips a breaker. This is why cleaning for electronic units follows a dry-first approach and why liquid is kept off controls, vents and seams. If you suspect moisture got in, unplug the unit and let it dry in a ventilated space for at least a day before testing it.
Updating Firmware and Checking Settings After Cleaning
If your unit has Wi-Fi or an app, check for firmware updates after maintenance, since the maker may fix sensor and connectivity issues through updates. Confirm schedules, auto mode and filter indicators are set as you want, and reset the filter timer after any filter change. Note any settings you changed and keep the manual or app instructions handy. If the unit loses its connection, restart it and your router.
Warranty Notes for Electronics
Some warranties exclude damage from liquids or unauthorized repairs. Read the warranty before you clean around electronics, and keep your receipt and model number. If something fails after cleaning, tell support honestly what you did. If the unit is under warranty and shows an electrical fault, stop using it and ask about repair or replacement.
Air Purifiers With Easy-Care Controls
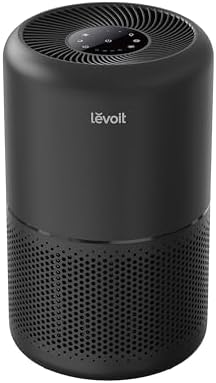
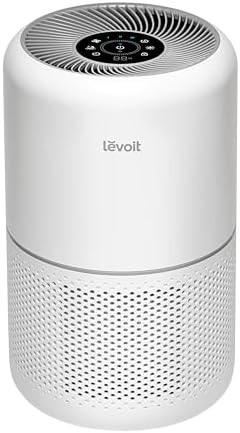
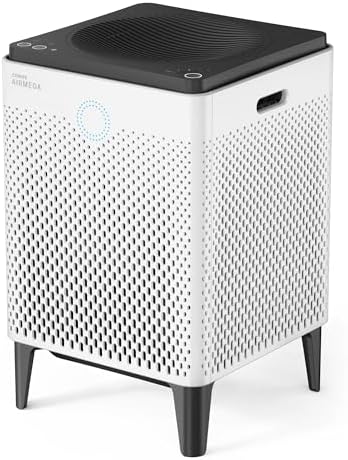
These picks come from the Hostinger affiliate plugin. Specs change by model year, so confirm filter type, CADR and replacement costs on the product page before you buy.



Know Which Parts Are Electronic
Typical electronic parts include the control panel or touch buttons, the display, the air quality sensor, the fan motor, the circuit board and any smart or ionizer module. Find them in the manual. Knowing where they are lets you keep moisture and tools away from them while you clean around them.
Prepare Safely
Unplug the unit and let it cool. Work on a dry, stable surface. Remove filters as the manual describes. Have a soft brush, a vacuum with a brush attachment, a dry microfiber cloth and a barely damp cloth ready. Avoid cleaning near running water.
Clean the Exterior and Controls
Use a dry microfiber cloth first. For marks, use a cloth barely dampened with water and wrung out well, and wipe the surface without pressing into buttons or seams. Do not spray cleaner on the control panel or display. Dry with a clean cloth and leave the unit open to the air briefly.
Clean Sensors Carefully
Air quality sensors are often behind a small grille. Check the manual for how to clean it, usually with a soft brush or dry cotton swab. Do not use liquids or push objects deep into the opening. A dirty sensor can give wrong readings and make the unit cycle.
What Never to Do
Do not spray liquid into vents or onto the circuit area. Do not use compressed air near electronics or on HEPA filters. Do not open sealed housings. Do not run the unit with the cover off or with damp parts. If in doubt, ask the manufacturer.
Cleaning Displays and Touch Controls
Displays scratch and show smears. Use a clean, dry microfiber cloth, and for stubborn marks a barely damp cloth, wiping lightly. Avoid glass cleaners, alcohol and abrasive pads, which can damage coatings. Keep moisture away from the edges of the display.
Smart Features and Wi-Fi Modules
Smart units may have antennas or modules behind the housing. They do not need cleaning, but the vents around them do. If you reset the unit, note your app settings first. Update the firmware as the maker advises after cleaning and filter changes.
Ionizer and Electronic Cleaning Modules
Some units have ionizer points or plates. Clean them only as the manual allows, with the unit unplugged and dry. We do not recommend choosing ozone-emitting units, as the EPA advises against ozone-emitting air cleaners. Check the manual if you are unsure about your unit.
After Cleaning: Test Safely
Make sure everything is dry, reinstall the filters, close the cover and plug the unit in. Run it on low first and listen and look for normal operation. Check the display and sensor readings. If anything looks wrong, unplug and contact the manufacturer.
Signs of Electronic Trouble
A flickering display, unresponsive buttons, burning smell, hot spots, buzzing or tripped breaker are signs of electrical trouble. Unplug the unit and stop using it. Contact the manufacturer and do not attempt repairs on sealed components.
How to Choose
- Look for sealed, wipe-clean control panels
- Check sensor cleaning instructions
- Compare replacement filter costs
- Match the CADR to the room
Do
- Match the unit’s rated coverage to your room first
- Run it consistently, not only when the air feels bad
- Leave space around the unit for airflow
- Replace filters on the maker’s schedule
Don’t
- Do not buy on looks or price alone
- Do not block the intake or exhaust
- Do not skip filter changes
- Do not expect a purifier to fix every source of pollution
Honest Limits
- This guide uses manufacturer information and public guidance from the EPA and AHAM, not our own lab tests.
- Features and room ratings change between model years, so confirm on the listing before you buy.
- A purifier is not a medical device and does not replace medical advice or treatment.
Who Should Skip This
When to See a Professional
Frequently Asked Questions
Can I wipe the display?
Yes, with a dry or barely damp cloth, unplugged.
How do I clean the sensor?
Check the manual; usually a soft brush or dry swab.
Can I use compressed air?
Avoid using compressed air into electronics or on HEPA filters.
What if liquid gets in?
Unplug and contact the manufacturer.
Bottom Line
Clean an air purifier with electronics by unplugging it, vacuuming with a soft brush, wiping with a dry or barely damp cloth and keeping liquids and compressed air away from controls, sensors and vents. Do not open sealed housings, and contact the manufacturer if liquid enters the unit.
Related reading: sens,fan,bed
Sources: EPA, Guide to Air Cleaners in the Home; AHAM Verifide.