Last updated:
Disclosure: As an Amazon Associate we earn from qualifying purchases. This does not change what we recommend. See our affiliate disclaimer.
Removing a filter sounds simple, but a rushed job can release a cloud of dust, bend the frame, damage the seal or put the new filter in the wrong way. A calm, methodical approach keeps the dust contained, protects the unit and means the new filter seals properly. It takes only a few minutes.
This guide gives a safe method that suits most units. We have not tested these products ourselves, so follow the manual for your model, since latches, trays and filter orientation differ. Unplug the unit first and do not run it with the cover off.
Do
- Unplug and let the fan stop
- Photograph the filter order
- Bag the used filter right away
Do not
- Shake or tap a loaded filter indoors
- Force a stuck cover
- Reinstall a damaged filter
Key Takeaways
- Unplug and photograph before you remove anything
- Bag the used filter right away and avoid shaking it
- Clean the compartment before installing the new filter
- Check the part number and the airflow direction, then reset the timer
Tools and Supplies
Gloves, a mask, a trash bag, a vacuum with a soft brush, a microfiber cloth, a towel, a torch and a camera. Keep the manual and the new filter within reach. A small tray for screws helps if your unit uses them.
Changing Multiple Filters
If the unit has a pre-filter, a HEPA filter and a carbon filter, change them in order and place each in a separate bag or label them. Install the new ones in the same order. Check which filters are due and which can stay.
After the Change
Run the unit on each speed and listen. Check that airflow feels strong. Check that the indicator shows normal. If there is a whistle, reseat the filter. If the unit shows an error, check the cover and the timer.
Keeping Records
Write the install date on the filter frame and in your log. Note the part number and where you bought it. Set a reminder for the next change. This makes the next job faster and helps with support.
What to Do If the Filter Crumbles or Tears on Removal
An old filter can be brittle. If the frame cracks or the media tears, place all pieces in a bag, vacuum the compartment and install the new filter. Do not try to reuse any part. If the tear happened because the filter stuck, check for a latch or a warped seat so the new one does not suffer the same fate.
Comparing Top-Loading, Front-Loading and Drawer Designs
Top-loading units often have a lid and a handle on the filter. Front-loading units use a door or panel and may need you to pull the filter straight out. Drawer designs slide the filter in like a tray. The principle is the same, but check the diagram for how yours opens, since a wrong move can break a tab.
Gloves, Masks and Eye Protection
If you have allergies or the filter is very dusty, protect yourself. A simple dust mask, gloves and glasses keep dust off your face and hands. Wash your hands and face afterwards. For very dusty or moldy filters, bag them immediately and avoid breathing the dust.
Maintaining Seals While You Are in There
While the filter is out, run a finger along the gasket and check it is intact. Wipe dust from the seat. A new filter will seal properly only if the seat is clean and the gasket sound. If the gasket is damaged, contact the manufacturer for a replacement.
Reinstalling the Pre-Filter and the Cover
After the main filter is in, reinstall the pre-filter and close the cover firmly. A cover that does not close completely can whistle and let air bypass the filter. Press until you hear a click and check that no part sits proud of the housing.
What If the New Filter Does Not Fit?
Do not force it. Check the part number and orientation. Compare size and shape with the old filter. If it still does not fit, return it or contact the seller. A filter that does not fit properly will not seal and may damage the unit.
A Note on Labels: Washable, Permanent, Reusable
Some products use terms like permanent or lifetime. These usually refer to filters designed to be cleaned many times, not filters that last forever. They still wear out and may lose efficiency. If you buy such a unit, expect to maintain it carefully and to replace parts eventually. Read the care instructions before you purchase.
Air Purifiers With Easy-to-Change Filters
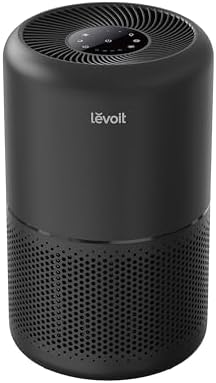
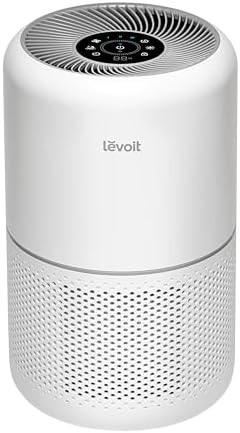
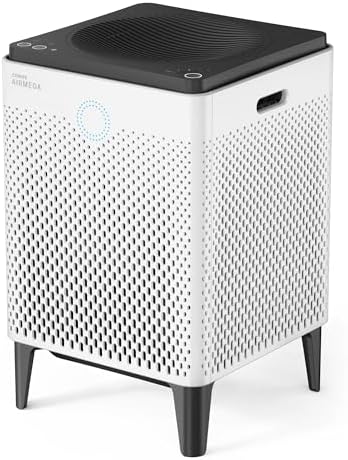
If changing filters is a chore, look for tool-free access, clear arrows and a simple reset. These picks come from the Hostinger affiliate plugin. Specs change by model year, so confirm filter design, costs and features on the product page.



Before You Start
Unplug the unit and wait until the fan has stopped. Find the manual or look up the filter replacement section online by model number. Have a trash bag, gloves, a mask, a vacuum with a soft brush and a towel ready. Work in a ventilated space or near an open window. Make sure you have the correct replacement filter.
Open the Unit and Photograph
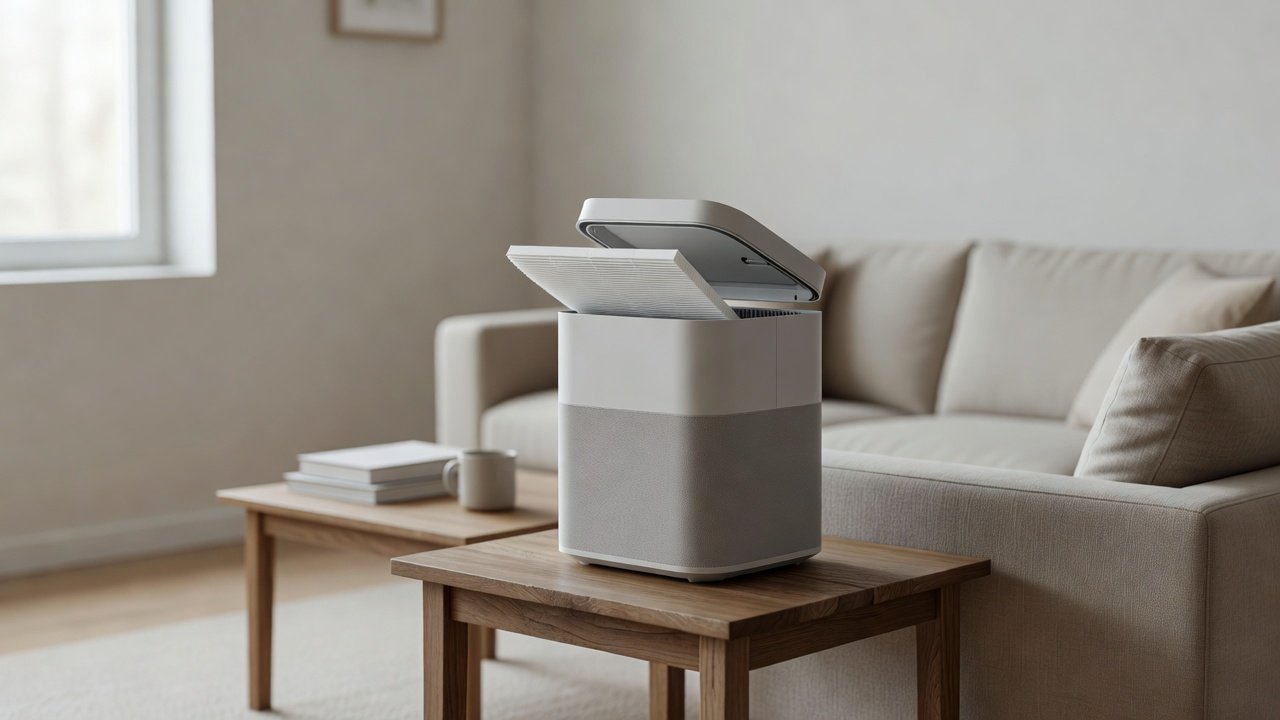
Release the cover or door as the manual describes, usually by a latch, button or twist. Do not force it. Before removing anything, take photos showing the order of the filters and the direction of the airflow arrows. These photos save you from putting the new filter in backwards.
Remove the Filter Gently
Grip the filter by its frame or tab and slide or lift it out slowly, keeping it level. Do not shake it. Place it straight into a plastic bag, seal the bag and set it aside. If there are several filters, remove them in turn and keep track of the order. If a filter sticks, check for a latch or a tab before using more force.
Clean the Compartment
With the filters out, vacuum dust from the compartment with a soft brush at low suction and wipe it with a barely damp cloth. Check the seals and the guides. Dry the compartment. Keep liquids away from the fan and electronics.
Install the New Filter
Remove any plastic wrap or protective film. Compare the new filter with the old one for size and part number. Insert it with the airflow arrows in the right direction and make sure it sits flat. Close the cover until it clicks, plug in the unit and test. Reset the filter timer and note the date.
Protecting Yourself From Dust
Used filters release dust when handled roughly. Wear a mask and gloves if you are sensitive, work outdoors or by an open window and keep the filter low and level as you bag it. People with asthma or allergies may prefer to have someone else change the filter. Wash your hands afterwards.
Stuck Filters and Latches
If a filter will not slide out, check for a release tab, a lock or a screw. Look at the manual diagram. Do not pry with metal tools that can scratch or crack plastic. If the filter frame is warped, wiggle it gently side to side while pulling straight out. If it still sticks, contact support.
Filter Orientation and Part Numbers
Filters often have arrows and a side marked front or air flow. Check the old filter and your photos. Confirm the part number on the new filter against the manual. A wrong or backwards filter can reduce performance and cause noise.
Disposal
Place the sealed bag in the household trash according to local rules. Some manufacturers offer take-back programs. Do not burn filters or flush any parts. If a filter smells musty or shows mold, bag it immediately and wash your hands.
Common Mistakes
Removing the filter with the unit still plugged in, shaking dust into the room, forgetting to photograph the order, putting the new filter in backwards, leaving plastic wrap on and not resetting the timer. Avoid these and the job goes smoothly.
How to Choose
- Look for tool-free filter access
- Check for clear airflow markings
- Compare replacement filter costs
- Prefer a washable pre-filter
Do
- Match the unit’s rated coverage to your room first
- Run it consistently, not only when the air feels bad
- Leave space around the unit for airflow
- Replace filters on the maker’s schedule
Don’t
- Do not buy on looks or price alone
- Do not block the intake or exhaust
- Do not skip filter changes
- Do not expect a purifier to fix every source of pollution
Honest Limits
- This guide uses manufacturer information and public guidance from the EPA and AHAM, not our own lab tests.
- Features and room ratings change between model years, so confirm on the listing before you buy.
- A purifier is not a medical device and does not replace medical advice or treatment.
Who Should Skip This
When to See a Professional
Frequently Asked Questions
How do I remove a stuck filter?
Check for a latch or tab, do not force it and wiggle gently while pulling straight. Contact support if it will not move.
Should I wear a mask?
If you are sensitive to dust, yes. Work near an open window.
How do I know which way the filter goes?
Check the airflow arrows and your photos of the old filter.
Do I reset the timer?
Yes, after replacing the filter, using the method in the manual.
Bottom Line
To remove an air purifier filter safely, unplug the unit, photograph the setup, remove the filter gently into a bag, clean the compartment and install the new filter in the right direction. Reset the timer and log the date. Avoid shaking filters or forcing parts.
Related reading: sens,fan,bed
Sources: EPA, Guide to Air Cleaners in the Home; AHAM Verifide.