Last updated:
Disclosure: As an Amazon Associate we earn from qualifying purchases. This does not change what we recommend. See our affiliate disclaimer.
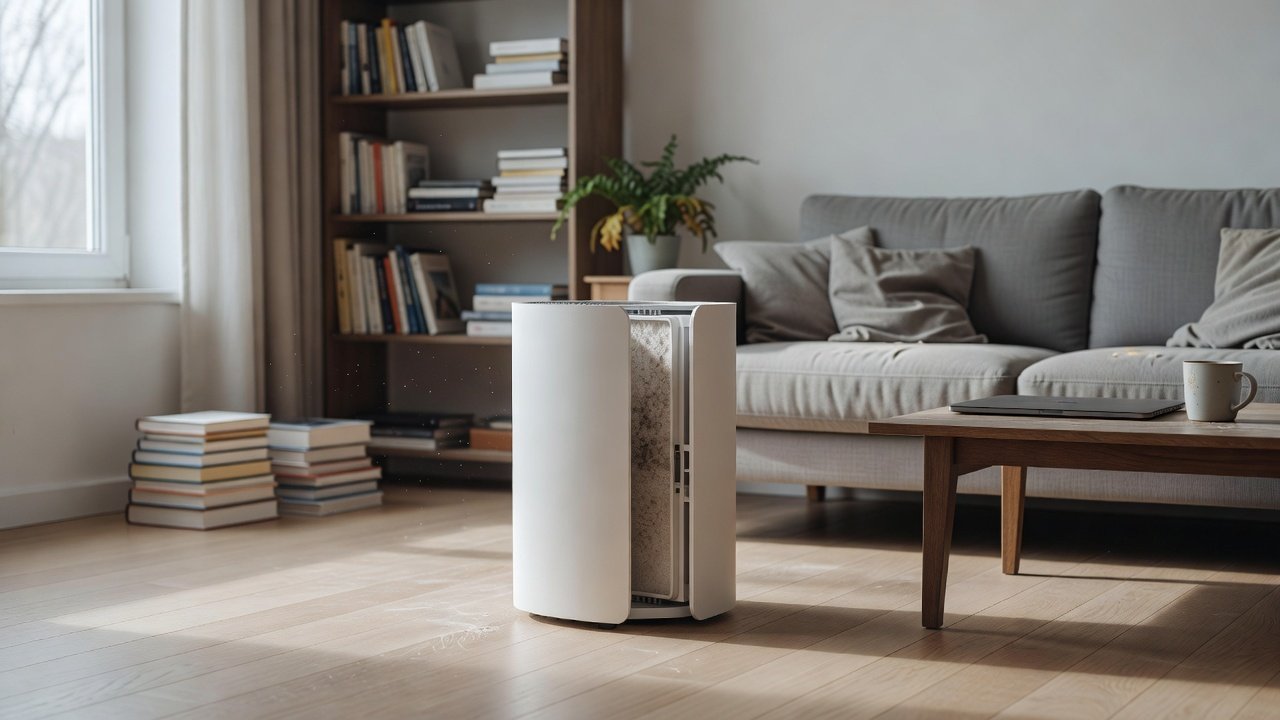
The right replacement time depends on the model, how often you run it and your home. Many manufacturers suggest roughly every 6 to 12 months for a HEPA filter, but check your manual. Replace sooner if the indicator lights, airflow drops, noise rises, odors return or the filter is damaged. Homes with pets, smoke, construction dust or heavy use may need more frequent changes. Use the correct filter for your model.
We have not tested these products ourselves, so confirm intervals in your manual. Nothing here is medical advice.
Replace when
- The indicator lights
- Airflow drops
- The filter is damaged
Shorter life if
- Pets or smoke
- Heavy use
- Dusty home
Key Takeaways
- Start with the manual
- Use indicators and performance signs
- Adjust for pets, smoke and dust
- Keep records
Building a Replacement Schedule
Start with the manufacturer interval for the HEPA filter and the carbon filter. Then adjust for your conditions. Add time if you run the unit only a few hours a day and subtract if it runs constantly. Pets, smoking, cooking and wildfire smoke shorten life. Set a reminder on your phone for the replacement month. Check the unit monthly for airflow, noise and indicator lights. Replace immediately if the filter is damaged or wet. Keep a spare so the unit is never run without a filter. Buy from reputable sellers and check that the filter matches your model. Record the date and the hours of use.
Hours Versus Months
Some units count hours; others use months.
Pet Homes
Replace sooner if heavy shedding.
Smokers
Smoke loads filters quickly.
Carbon Care
Carbon filters may need more frequent changes in odor-heavy homes.
Costs
Plan yearly filter costs.
Recycling
Check local rules.
Visual, Airflow, and Smell Checks
Hold the HEPA up to a light. A new filter is white or off-white; a loaded one is grey or brown across the surface, sometimes with visible fluff on the upstream side. Feel the airflow at the outlet with the unit on a fixed speed; if it is noticeably weaker than when the filter was new, the media is loaded. Finally, smell the air leaving the unit a few minutes after start-up. A stale, dusty, or musty odor usually means the filter is holding more than it should.
Any one of these signs is enough to justify replacement, even if the indicator light has not come on.
Why the Indicator Light Is Only a Guess
Most filter indicators count run time, not actual loading. They assume average conditions and reset when you press the button. In a smoky or dusty home the filter can be exhausted long before the timer expires; in a clean bedroom it may have life left when the light turns on. Treat the light as a reminder to inspect, not as a verdict.
Performance Signs in the Room
If dust settles faster than it used to, odors linger, or a particle monitor shows readings creeping up with the unit running, the filter has probably stopped doing its job. Compare current readings with those from when the filter was new if you have them. A fan that sounds like it is working harder is another clue, because a clogged filter raises resistance.
Replacement Timing by Environment
- Clean bedroom, no pets: around the manufacturer’s stated interval
- Living room with pets: a few months earlier than stated
- Kitchen, workshop, or smoker’s room: roughly half the stated interval
- After wildfire smoke or renovation: inspect immediately and expect early replacement
Installing the New Filter Correctly
Remove all plastic wrapping, including any film over the carbon layer. Check the airflow arrow or the fit against the housing so the filter sits the right way round. Seat it fully so no gap lets air bypass the media. Reset the indicator, write the date on the frame, and keep the old filter in a bag until disposal so dust does not escape in the house.
A Side-by-Side Comparison Trick
Keep the old filter next to the new one for a moment when you replace it. The contrast is usually striking, and it calibrates your eye for the next inspection. Photograph both on your phone with the date. Six months later, compare the current filter with the photo of the new one rather than relying on memory, which tends to normalise gradual greying.
If the old filter looks almost as clean as the new one, you may be able to stretch the interval in your home; if it looks far worse than expected, shorten it.
Pre-Filter Versus HEPA: Which One Is Due?
A grey pre-filter does not mean the HEPA behind it is finished. Clean the pre-filter first, run the unit for a day, and reassess airflow. Only if airflow is still weak with a clean pre-filter is the HEPA the culprit. Many owners replace HEPA filters early because the visible layer looked dirty when the cheap washable layer was all that needed attention.
Signs You Replaced Too Early or Too Late
Too early: the old filter is still mostly white in the centre, airflow was fine, and no odors had returned. Too late: the fan was noticeably loud, dust had started settling faster, and the old filter sheds dust when handled. Aim to land between those two pictures and adjust the calendar accordingly.
Common Mistakes When Judging a Filter
Judging only by the indicator light, confusing a dirty pre-filter with a finished HEPA, replacing a combined filter when only the carbon smell had returned, and running a loaded filter for months because it still looks fine from the outside are the usual errors. Pull the filter out, look at the upstream face in good light, feel the airflow, and smell the outlet air. Those three checks, done monthly, answer the question better than any light.
A loaded filter does not stop air entirely; it just cleans less of it while the fan works harder, which is why performance fades gradually rather than failing outright.
Reader Scenario: The Filter That Looked Fine
A reader ran a bedroom unit for fourteen months because the HEPA looked clean from the front and the light had not come on. When the filter finally came out, the back face was dark grey and the fan had been running noticeably louder for weeks. Airflow at the outlet had dropped by roughly half. The lesson is that the upstream face hides behind the pre-filter and the housing, so pull the filter fully out and look at it under a lamp every month rather than glancing at the grille.
After replacement the unit ran quieter on the same speed and dust on the nightstand took far longer to return.
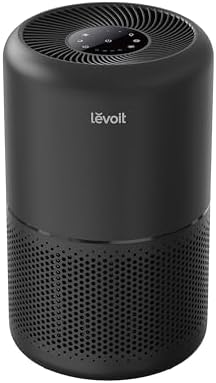
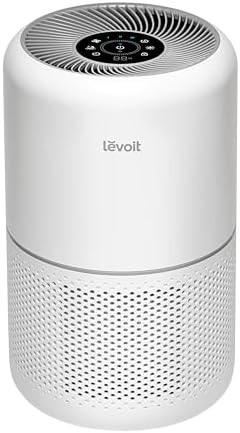
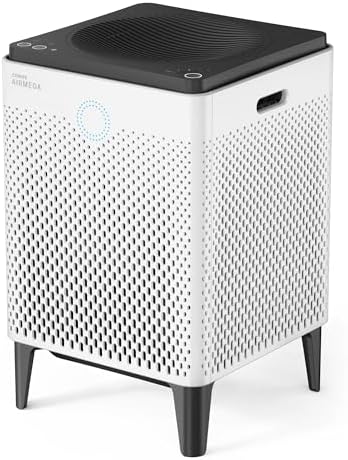
Air Purifiers With Easy Filter Replacement
These picks come from the Hostinger affiliate plugin. Specs change by model year, so confirm filter type, CADR, noise and replacement filter costs on the product page.



Follow the Manual
Manufacturers give intervals based on typical use. Use them as a starting point.
Watch the Indicator
Indicators usually count hours of use rather than measure dirt, so adjust for your home.
Performance Signs
Weaker airflow, louder fan and returning odors can suggest replacement.
Home Conditions
Pets, smoke, cooking and dust shorten life.
Keep Records
Note replacement dates and keep spares.
Pre-Filters
Clean pre-filters regularly.
Carbon Filters
Carbon filters saturate and are replaced.
Wildfire Smoke
Expect faster loading during smoke events.
New Homes and Renovation
Construction dust loads filters quickly.
Compatible Filters
Check fit and quality.
How to Choose
- Clear replacement schedule
- Accessible filter door
- Affordable filters
- Indicator light
Do
- Match the unit’s rated coverage to your room first
- Run it consistently, not only when the air feels bad
- Leave space around the unit for airflow
- Replace filters on the maker’s schedule
Don’t
- Do not buy on looks or price alone
- Do not block the intake or exhaust
- Do not skip filter changes
- Do not expect a purifier to fix every source of pollution
Honest Limits
- This guide uses manufacturer information and public guidance from the EPA and AHAM, not our own lab tests.
- Features and room ratings change between model years, so confirm on the listing before you buy.
- A purifier is not a medical device and does not replace medical advice or treatment.
Who Should Skip This
When to See a Professional
Frequently Asked Questions
How often to replace?
Often every 6 to 12 months, but check the manual.
Does the light measure dirt?
Usually it counts hours.
Can I wash it?
Only if washable.
Should I keep spares?
It helps.
Bottom Line
Use the manual’s schedule as a baseline and replace sooner when performance drops or your home is dusty, smoky or pet-heavy.
Related reading: sens,fan,bed
Sources: EPA, Guide to Air Cleaners in the Home; AHAM Verifide.