Last updated:
Disclosure: As an Amazon Associate we earn from qualifying purchases. This does not change what we recommend. See our affiliate disclaimer.
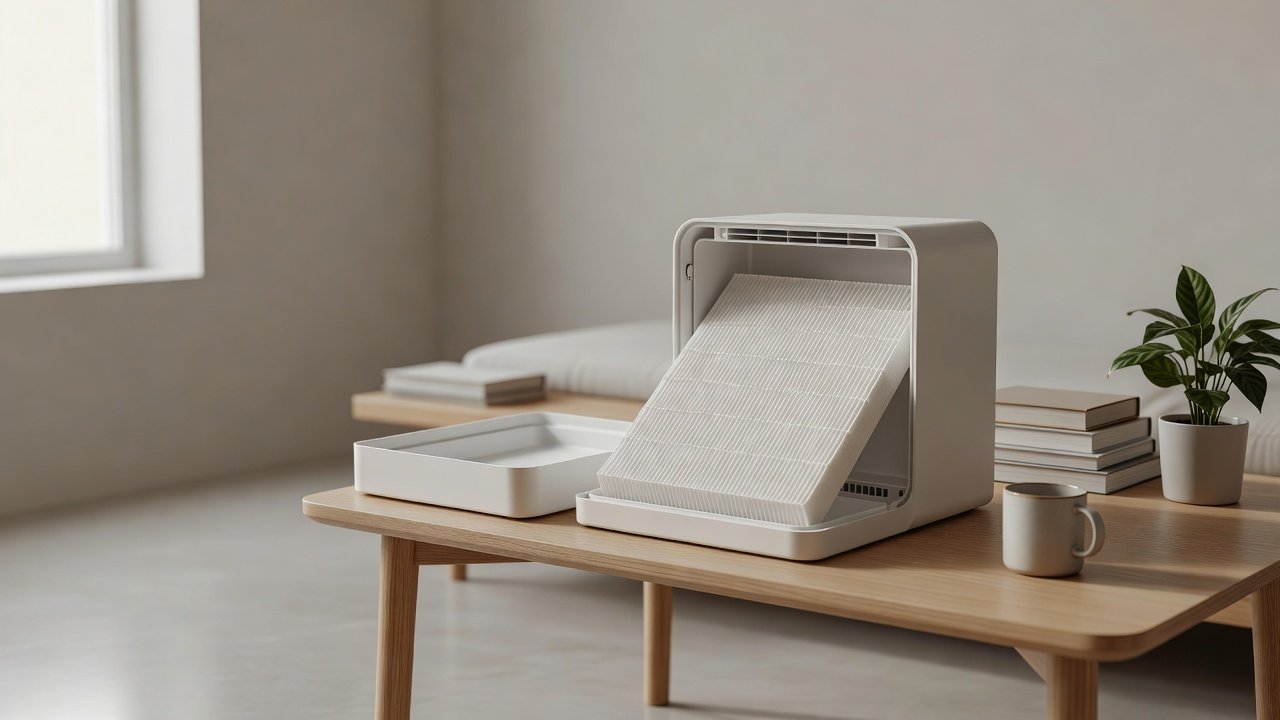
Drying is the step that decides whether a washable filter comes back clean or turns into a mold problem. The best way to dry a cleaned pre-filter is the simplest: let it drain, then air dry in a room with good airflow until it is completely dry to the center. Heat, rushing and putting it back damp are the common mistakes.
We have not tested these products ourselves, so follow your manual, and only rinse filters the maker says are washable. HEPA and carbon filters should not be washed or dried this way.
Best methods
- Drain, then air dry
- Flat on a rack with airflow
- A fan or dehumidifier in the room
Avoid
- Hair dryers on high heat
- Ovens or microwaves
- Reinstalling while damp
Key Takeaways
- Drain, then air dry flat with good airflow
- Do not use heat or reinstall damp
- Check the center by touch and smell
- Replace filters that stay damp or smell musty
A Simple Drying Timeline
After rinsing, let the filter drain for ten minutes, then place it on a rack. Check after a few hours, turning it once. Foam may need a day or more. Before reinstalling, do the paper towel test and the squeeze test. Record the date and time you cleaned and reinstalled the filter in your log, so you can compare drying times across seasons and learn how long your filters really need.
Why Moisture Left Behind Causes Trouble
Moisture in a filter encourages mold, creates musty smells and can reach the fan and electronics when the unit runs. Damp media also restricts airflow. Even a slightly damp center in a foam filter can cause problems. The EPA advises controlling moisture to prevent mold, and the same principle applies to filters. Patience at this step avoids the need to replace the filter later.
Using a Spare While Drying
If your model sells spare pre-filters, buy one so you can swap. Install the dry spare, then clean and dry the used one at leisure. Keep the spare clean and stored dry. If no spare is available, check the manual to see whether the unit may be run briefly without the pre-filter, and avoid running it in dusty conditions.
After Drying: Final Checks
Check that the filter has regained its shape, is free of tears and fits snugly. Make sure the housing and gasket are dry and clean. Reinstall the filter, close the cover and run the unit. Listen for unusual noise and smell for mustiness. If everything is normal, note the date and move on.
Signs a Filter Needs Replacing Instead
Some pre-filters wear out after many washes. Signs include tears, thinning foam, crumbling, a permanent odor, discoloration that does not wash out and a loose fit. A damaged pre-filter can let dust through and load the main filter faster. Replace it rather than drying and reusing it. Check the manual for how long pre-filters last and note the purchase date of replacements.
Seasonal Drying Tips
In humid summers, filters may need more time, and in dry winters they dry faster. Avoid drying filters in a damp basement unless a dehumidifier is running. In pollen or smoke seasons, dry indoors so the filter does not pick up pollen or ash. Plan ahead so you do not need the unit during the drying window, or have a spare available.
Cleaning the Rack and the Area
The surface you dry on should be clean. Wipe the rack or towel first, and vacuum the area so dust does not settle on a damp filter. Keep pets and children away. Wash towels afterwards. A clean drying spot avoids transferring dust or pet hair back to the filter, which defeats the point of cleaning it.
Air Purifiers With Washable Pre-Filters
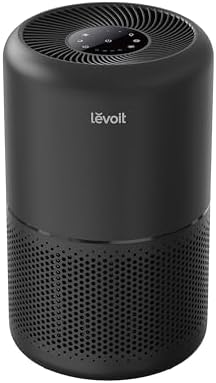
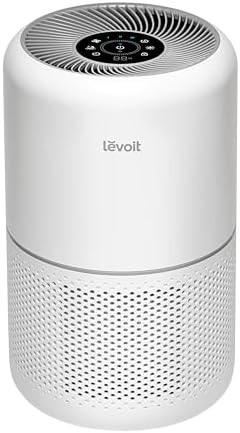
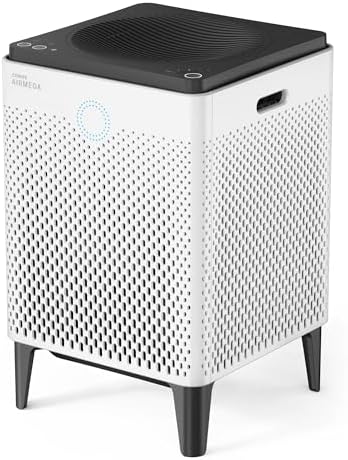
These picks come from the Hostinger affiliate plugin. Specs change by model year, so confirm filter type, CADR and replacement costs on the product page before you buy.



Step 1: Remove Excess Water
After rinsing, hold the filter and let water drip. Shake gently. For foam, press it between clean towels without twisting, which can tear it. For mesh, tap off water. Removing the bulk of the water first cuts drying time.
Step 2: Choose a Good Spot
Place the filter flat on a clean rack or towel where air can flow around it, or hang it from a clean line. Choose a room with moderate temperature and low humidity. Keep it out of strong direct sun and away from heaters. A fan in the room can speed up drying.
Step 3: Give It Time
Drying times vary with the filter type, thickness and room conditions. Thin mesh may dry within hours, while thick foam can take much longer. Turn the filter occasionally so all sides dry. Do not set a timer and assume it is done.
Step 4: Check It Is Fully Dry
A dry filter feels the same temperature as the room, has no cool damp feeling, does not leave a damp mark on a paper towel and has no musty smell. Squeeze foam gently to check the center. If in doubt, wait longer.
Step 5: Reinstall and Test
Reinstall the dry filter, close the cover until it clicks and plug the unit in. Run it and check for normal sound and airflow. Note the date in your log. If you smell mustiness, remove the filter and replace it.
Drying Foam Versus Mesh
Foam holds water and takes the longest, but it is flexible and survives gentle pressing. Mesh drains and dries faster but may bend if handled roughly. Treat each gently and check the center of foam before reinstalling.
Fans, Dehumidifiers and Room Conditions
A fan keeps air moving, which helps moisture leave the filter. A dehumidifier lowers humidity so drying is faster in damp rooms. Do not place the filter in front of the unit’s own intake. Keep the room clean so the filter does not collect dust while drying.
Drying Mistakes to Avoid
Common mistakes include using a hair dryer on high heat, placing the filter on a radiator, drying in direct sun for hours, stacking filters, sealing a damp filter in a bag and reinstalling while damp. These can warp, shrink or damage the filter or cause mold.
How Long Is Long Enough?
There is no universal answer, so check by touch and smell. Many people let filters dry for a day to be safe. In humid weather, allow longer. If you need the purifier running, use a spare pre-filter, or run the unit without the pre-filter only if the manual allows it.
Storing a Clean Spare
Once dry, a spare pre-filter can be stored in a clean, dry bag or box. Label it with the date. Having a spare allows you to swap one in and avoid rushing the drying of the other.
How to Choose
- Look for a removable washable pre-filter
- Check that spare pre-filters are sold
- Compare HEPA replacement costs
- Match the CADR to the room
Do
- Match the unit’s rated coverage to your room first
- Run it consistently, not only when the air feels bad
- Leave space around the unit for airflow
- Replace filters on the maker’s schedule
Don’t
- Do not buy on looks or price alone
- Do not block the intake or exhaust
- Do not skip filter changes
- Do not expect a purifier to fix every source of pollution
Honest Limits
- This guide uses manufacturer information and public guidance from the EPA and AHAM, not our own lab tests.
- Features and room ratings change between model years, so confirm on the listing before you buy.
- A purifier is not a medical device and does not replace medical advice or treatment.
Who Should Skip This
When to See a Professional
Frequently Asked Questions
Can I use a hair dryer?
Avoid high heat. Air drying is safer.
How long does a pre-filter take to dry?
It varies, so check by touch and smell.
Can I dry a HEPA filter?
HEPA filters should not be washed. Replace them.
Can I use the unit while it dries?
Use a spare pre-filter or follow the manual.
Bottom Line
The best way to dry a cleaned washable pre-filter is to drain it, place it flat with good airflow in a room away from heat and wait until it is completely dry to the center. Avoid hair dryers, ovens and reinstalling damp parts, and replace any filter that stays damp or smells musty.
Related reading: sens,fan,bed
Sources: EPA, Guide to Air Cleaners in the Home; AHAM Verifide.