Last updated:
Disclosure: As an Amazon Associate we earn from qualifying purchases. This does not change what we recommend. See our affiliate disclaimer.
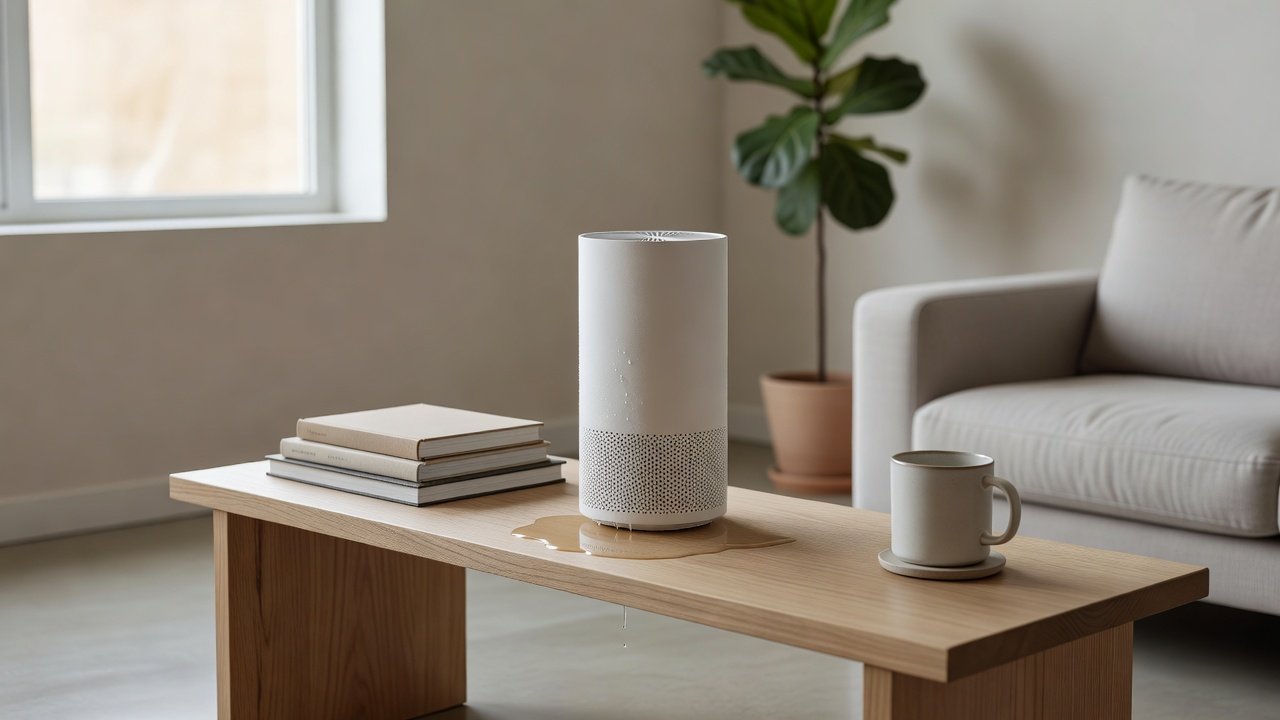
Most air purifiers do not contain water at all, so a leak after cleaning usually means cleaning liquid or rinse water got inside, or that you own a model that includes a water tank, such as a combination purifier and humidifier or a washable-filter unit. Either way, the first step is the same: unplug the unit, move it somewhere safe and let it dry.
This guide explains the common causes, safe checks and when to contact the manufacturer. We have not tested these products ourselves, so follow the manual for your model. Do not run a wet unit, because water near electronics can create a shock risk and damage the unit.
Common causes
- Rinse water left in a washable part
- Cleaning spray that ran into the housing
- A water tank, tray or seal that is not seated
Do not
- Run the unit while wet
- Use a hairdryer on high heat inside
- Open sealed electronics
Key Takeaways
- Unplug immediately and keep the unit away from outlets
- Most purifiers hold no water, so the source is usually cleaning
- Dry fully with no high heat before powering again
- Contact the manufacturer if the controls or fan got wet
Troubleshooting Checklist
Unplug. Move to a dry area. Remove filters. Check for pooled water. Inspect seals and trays. Dry for a day. Reassemble only dry parts. Test on low. Watch for drips. If they return, contact support. Keep notes of what you did and when, since they help support find the cause.
What to Tell the Manufacturer
Share the model number, purchase date, a description of how you cleaned the unit and where the water appeared. Photos of the base, the controls and the label help. Ask whether the unit is safe to run, whether a replacement part is available and what the warranty covers.
Cleaning Products and Water: What to Avoid
Avoid sprays, strong cleaners and bleach. Use only a barely damp cloth with a drop of mild soap on the exterior, if the manual permits. Never pour liquid into vents or the filter compartment. Keep liquid containers away from the unit during cleaning so that an accidental spill cannot reach the vents.
Choosing a Replacement With Less Cleaning Risk
Prefer a unit with dry-maintained filters, a simple exterior and clear instructions. Check whether the pre-filter is washable and how it is attached. A design with fewer seams around the controls and a wipeable housing reduces the risk of liquid reaching the electronics during routine cleaning.
Why a Brief Test Run Is Not Worth the Risk
Many people want to confirm quickly whether the unit still works, but a short test with a damp interior is exactly when problems occur. Moisture can bridge electrical contacts and cause a short, a tripped breaker or permanent damage to the control board. Waiting costs a day or two. A damaged board can cost the whole unit, so patience is the cheaper option.
How to Spot Hidden Moisture
Look into the intake and exhaust grilles with a torch for beads of water or damp dust. Smell the interior: a damp, musty odor suggests trapped moisture. Press a dry paper towel against the base and the filter seat. Check the cord and plug for dampness. If any of these show moisture, keep drying. If you cannot reach the damp area, ask the manufacturer before powering the unit.
Checking the Outlet and Cord After a Water Event
Before reconnecting the unit, examine the cord and plug for damage, discoloration or moisture. Test the outlet with a different device and make sure it is dry. If the outlet or cord shows any sign of water or heat damage, do not use it and have it checked by a qualified electrician. Using a surge-protected, dry outlet is an inexpensive precaution.
Air Purifiers That Are Simple to Clean
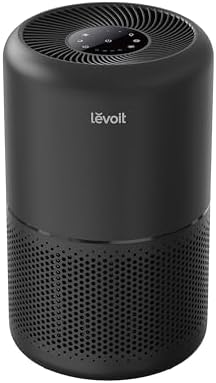
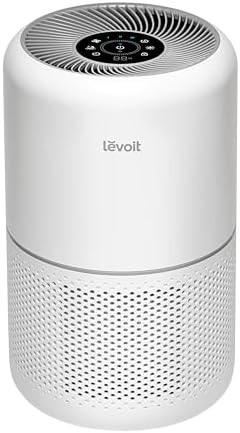
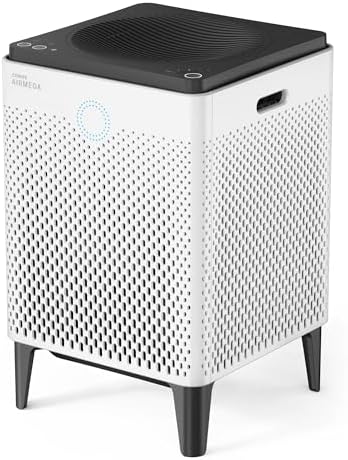
If a leak is a reason to replace your unit, look for designs where the filters are dry-maintained and the housing is easy to wipe. These picks come from the Hostinger affiliate plugin. Specs change by model year, so confirm filter type, cleaning instructions and warranty on the product page.



First, Make It Safe
Unplug the purifier immediately and keep it away from outlets and extension cords. Place it on a towel in a dry room, away from children and pets. If water has pooled near the plug or the cord, do not touch the plug until the outlet is dry and, if in doubt, switch off power at the breaker before moving anything. Water and electricity are a hazardous combination, and no cleaning job is worth risking a shock.
Remove any filters and washable parts. Pat them dry and set them aside to air dry. Do not reinstall them until they are fully dry.
Does Your Model Actually Contain Water?
Standard purifiers with HEPA and carbon filters do not hold water. If yours does, it is a different type of device, such as an air purifier with a humidifier function, an evaporative unit or a washer-style cleaner. Check the manual for a water tank, tray or drain. If it has one, the leak may come from an unseated tank, a cracked seal or a blocked drain. If it does not, water inside the unit came from cleaning.
Common Causes After Cleaning
Rinsing a washable pre-filter and putting it back damp is the most common cause of drips, since the water slowly runs out. Spraying cleaner onto the housing can also run through seams. Wiping with a soaked cloth can leave water in the vents. A tank that is not fully seated or a gasket that is folded can leak. In all cases, the fix starts with drying and checking the seat of each part.
How to Dry the Unit Safely
Leave the unit unplugged, with the cover open and filters removed, in a warm, ventilated room for at least a day, longer if it was soaked. A fan blowing across the opening helps. Avoid high heat from a hairdryer, which can warp plastic and damage electronics. Check that no water remains in the base, the fan area or the control panel before powering the unit.
When to Contact the Manufacturer
If water got into the control panel, the fan housing or the base, or if the unit shows signs of damage, contact the manufacturer before powering it. Provide the model number, purchase date and a description of what happened. Do not open sealed electronics yourself, and check warranty terms before attempting any repair.
Washable Filters: How Dry Is Dry?
A washable pre-filter should be squeezed gently, not wrung, and left to dry completely, often for twenty-four hours or more depending on humidity. Test by pressing it against a dry paper towel: if any moisture transfers, it is not ready. Some people keep a second pre-filter, if the manufacturer sells one, so the unit can keep running while the first dries.
Checking Seals, Trays and Drain Parts
If your model has a tray or tank, inspect the gasket for cracks, folds or debris. Make sure the tray sits level and the lid clicks into place. Clean the tray with a soft cloth and mild soap if the manual allows, then dry it fully. A missing or misaligned seal is a common cause of drips and is often an inexpensive replacement part.
Humidity, Condensation and False Leaks
In very humid rooms or in a unit with a humidifier, condensation can form on cold surfaces and look like a leak. Check whether the moisture appears near vents, windows or cold surfaces and whether it appears on only humid days. If it does, reduce the humidity, check ventilation and keep the unit away from walls. Aim for humidity in the 30 to 50 percent range in the room.
Mold Risk If Water Sits Inside
Trapped water can encourage mold and a musty smell. If you notice a damp odor or discoloration, stop using the unit, dry it and inspect the filters and housing. Replace damp filters rather than reusing them, and follow the manufacturer guidance on cleaning. If mold covers a large area, or if anyone in the home has respiratory concerns, replace the unit and speak to a professional about the room.
Preventing Leaks Next Time
Rinse only the parts the manual says are washable. Squeeze, do not wring. Dry fully. Wipe the housing with a barely damp cloth. Never spray directly onto the unit. Keep the tray, if any, seated and level. Write the clean date in your log. Following these steps avoids most post-cleaning leaks.
How to Choose
- Prefer designs where only the pre-filter is washable
- Check the manual for cleaning and drying instructions
- Look for a clear warranty and support policy
- Compare filter costs and availability
Do
- Match the unit’s rated coverage to your room first
- Run it consistently, not only when the air feels bad
- Leave space around the unit for airflow
- Replace filters on the maker’s schedule
Don’t
- Do not buy on looks or price alone
- Do not block the intake or exhaust
- Do not skip filter changes
- Do not expect a purifier to fix every source of pollution
Honest Limits
- This guide uses manufacturer information and public guidance from the EPA and AHAM, not our own lab tests.
- Features and room ratings change between model years, so confirm on the listing before you buy.
- A purifier is not a medical device and does not replace medical advice or treatment.
Who Should Skip This
When to See a Professional
Frequently Asked Questions
Do air purifiers normally contain water?
Most do not. Only combination or evaporative models have a tank or tray.
Can I dry the unit with a hairdryer?
Avoid high heat. Use a fan and time instead.
How long should I wait before turning it on?
At least a day, longer if it was soaked. Check the manual and confirm that no moisture remains.
Is a damp filter safe to reuse?
Replace a filter that was soaked or smells musty rather than reusing it.
Bottom Line
If an air purifier leaks water after cleaning, unplug it, let it dry fully and check which parts you rinsed and whether your model has a water tank at all. Never run a wet unit, avoid high heat and do not open sealed electronics. If water reached the controls or fan, contact the manufacturer before powering it again.
Related reading: sens,fan,bed
Sources: EPA, Guide to Air Cleaners in the Home; AHAM Verifide.