Last updated:
As an Amazon Associate we earn from qualifying purchases. This does not change what we recommend. See our affiliate disclaimer.
An air purifier asks very little of its owner, which is exactly why it gets neglected. It hums away in the corner, the light stays green, and a year later the pre-filter is a felt mat, the sensor reads clean air through a layer of dust and the fan is working twice as hard to move half the air. A short routine prevents all of that, and most of it takes minutes.
Maintenance for a filter-based purifier comes down to a handful of recurring tasks. Keep the pre-filter clean, usually a quick vacuum or rinse every two to four weeks. Wipe the housing, grilles and sensor inlet monthly so dust does not choke the intake or fool the air quality reading. Inspect the HEPA stage every few months and replace it on the maker’s schedule, typically 6 to 12 months, sooner in dusty or smoky homes. Replace carbon when odors return. Check placement and clearance whenever furniture moves, confirm the cord and plug are sound, and reset the filter indicator after each change. None of this needs tools, and together it keeps the unit delivering the airflow it was rated for.
In short: clean the pre-filter often, wipe the sensor, replace the HEPA stage on evidence and schedule, and keep the intake clear. That is most of the job.
The EPA’s guide to air cleaners in the home advises following the manufacturer’s maintenance and replacement instructions and warns that a neglected filter reduces performance. AHAM’s CADR ratings assume a clean filter, so maintenance is how you keep the rating you paid for.
This checklist is research-based, compiled from maker manuals, EPA guidance and the way fiber filters and sensors behave. We have not tested the units in the comparison table and quote no prices or ratings, only published features that affect upkeep.
Your routine can be light if
- The unit has a washable pre-filter and a 12 month HEPA stage
- The room is a clean bedroom or office
- You run on medium or auto, not high
- There are no pets, smokers or heavy cooking nearby
Plan a heavier routine if
- Pets shed in the room or carpet covers the floor
- The unit runs through smoke seasons or near a kitchen
- The filter indicator is a simple timer
- You use a compact unit with a combined cartridge
Key Takeaways
- Vacuum or rinse the pre-filter every two to four weeks; it protects the HEPA stage and keeps airflow up.
- Wipe the sensor inlet and grilles monthly so auto mode reads the room correctly.
- Inspect the HEPA filter visually every two to three months and replace it per the maker, usually 6 to 12 months.
- Replace carbon when odors return or on the maker’s 3 to 6 month schedule.
- Never wash a HEPA filter or blow it out with compressed air.
- Reset the filter indicator after every change and write the date on the filter frame.
- Check cord, plug, clearance and stability whenever the unit is moved.
Low-Maintenance Purifiers to Compare
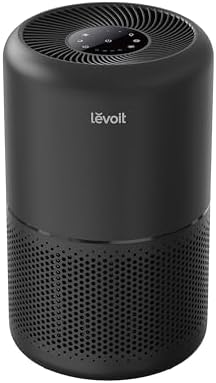
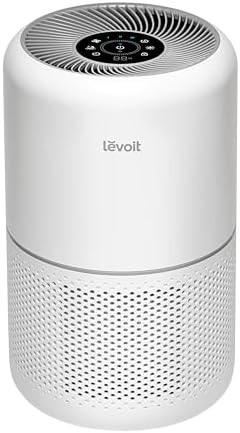
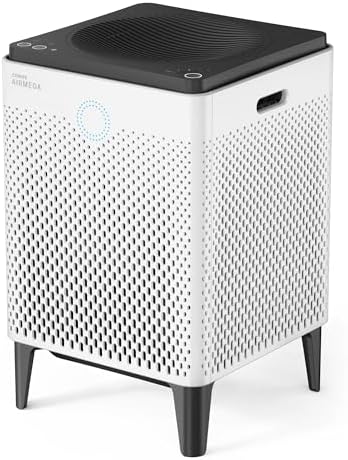
These widely reviewed filter-based units offer washable pre-filters, clear filter schedules and accessible housings, which keeps the routine below short. Compare the maker-listed filter intervals and indicator type before choosing.



How We Built the Checklist
We read maintenance sections from a range of maker manuals, applied EPA guidance on following replacement schedules, and worked from how pre-filters, HEPA media, carbon and particle sensors load and drift. Model details in the comparison table come from maker specifications.
Always defer to your own manual where it differs. Some pre-filters must not be rinsed, some units need the sensor lens cleaned with a dry swab only, and reset procedures vary. The checklist below is the common pattern, not a replacement for the maker’s instructions.
Weekly: Look, Listen and Keep It Clear
The weekly check is a glance, not a chore. Confirm the unit is running at the speed you expect, that nothing has been pushed against the intake or outlet, and that the air quality reading, if there is one, responds when you cook or vacuum. Listen for a change in fan tone; a louder or strained note at the same speed usually means a loading filter or a blocked intake.
- Confirm a foot of clearance around the intake and outlet; move laundry, curtains and furniture that have crept closer.
- Check that the unit is level and stable, especially on carpet or a stand.
- Glance at the pre-filter through the grille in a pet home; if it is visibly furry, do the monthly clean early.
- Make sure the power cord is not pinched under a leg or stretched across a walkway.
Monthly: Pre-Filter, Sensor and Housing
The monthly tasks do most of the protective work. The pre-filter catches hair, lint and large dust before they reach the HEPA stage; keeping it clean is the single biggest factor in reaching the maker’s HEPA interval. The particle sensor on auto-mode units sits behind a small inlet that collects dust and, over months, reads the room as cleaner than it is.
- Unplug the unit before opening it.
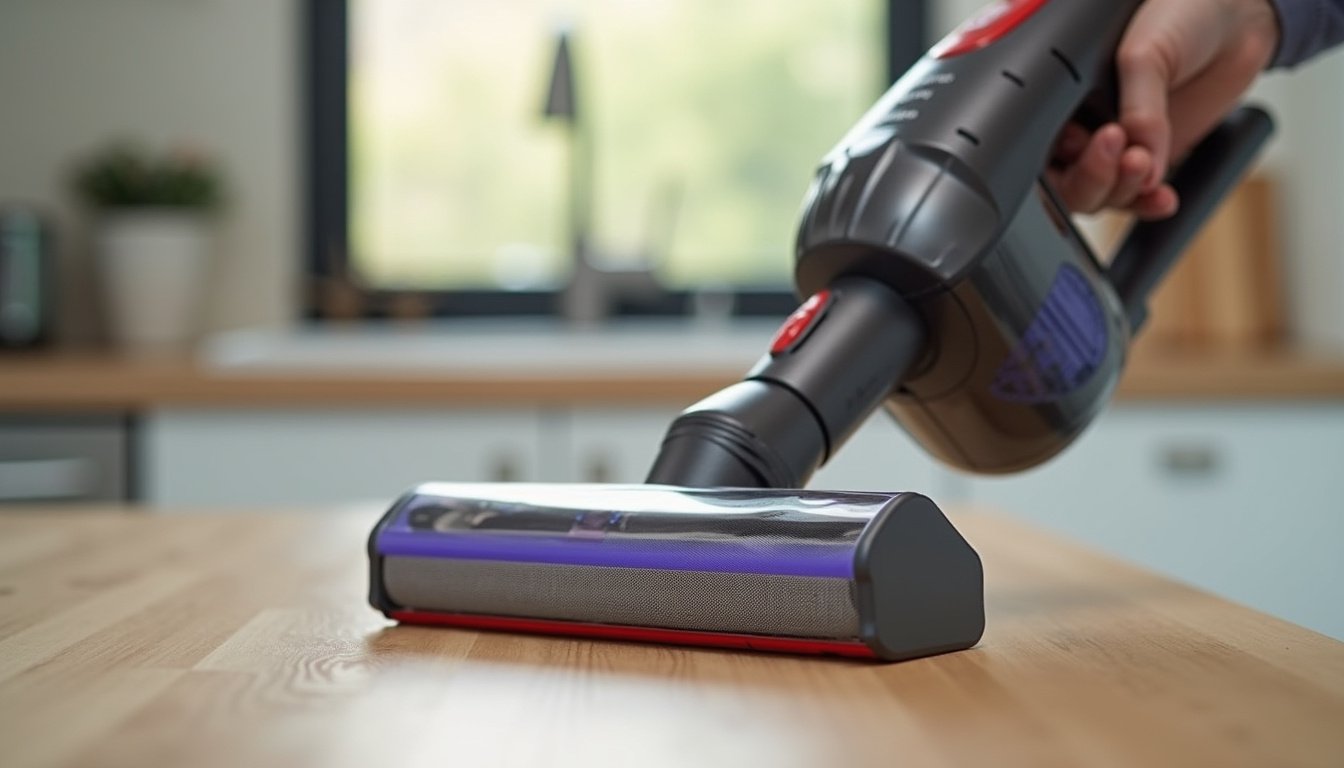
- Remove the pre-filter and vacuum it with a brush attachment, or rinse it in cool water if the manual allows; let it dry fully before refitting.
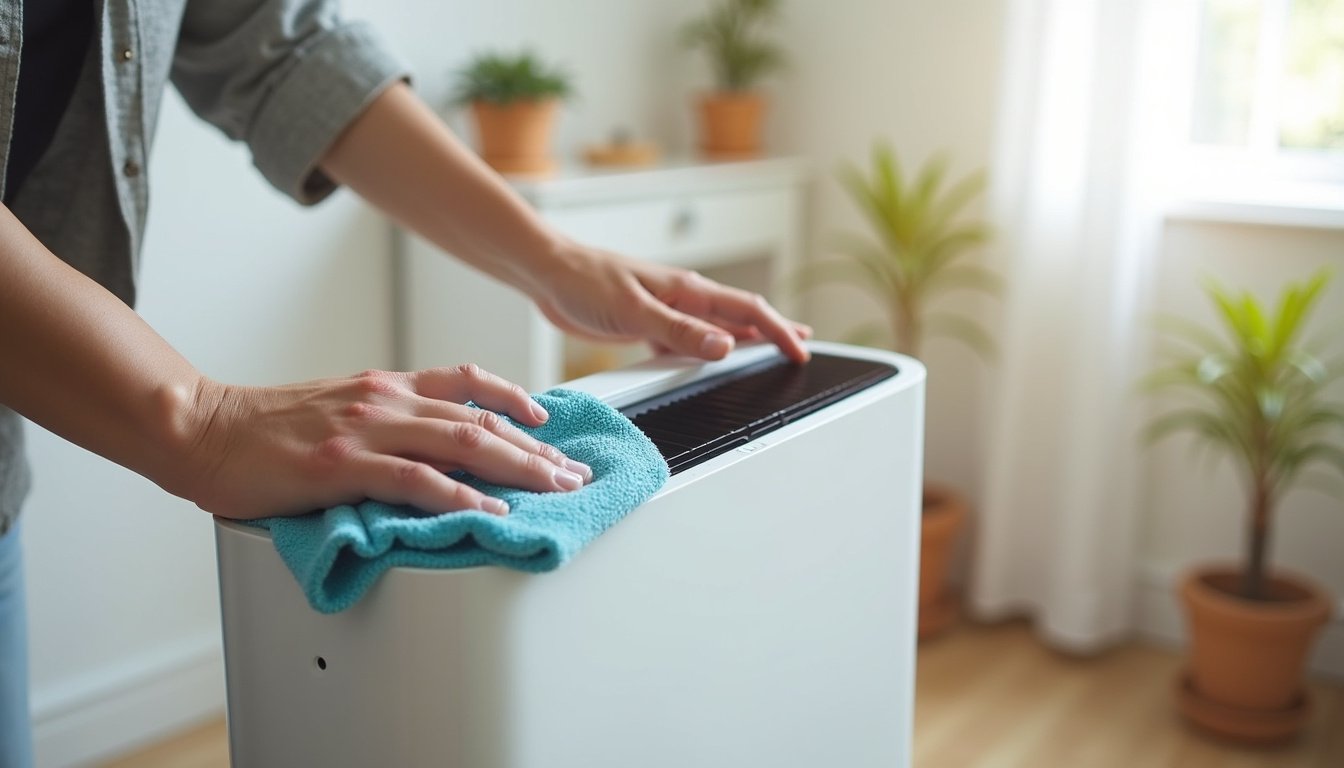
- Wipe the exterior, grilles and outlet louvers with a dry or slightly damp cloth.
- Locate the sensor inlet, often a small vented window on the side, and clean it with a dry cotton swab or a gentle puff from a hand bulb, never liquids.
- Look at the HEPA stage without removing it; note its color against last month.
- Refit everything, plug in, and confirm the fan runs normally at each speed.
Every Two to Three Months: Inspect the Filters
Every two or three months, remove the HEPA stage and look at it in good light. A new filter is white; a loaded one is gray or brown across the pleats and fuzzy with trapped fiber. Compare the face against the sides, where less dust reaches: if the face is far darker, the filter is well along. Smell it; a musty note means it has been damp and should be replaced regardless of age.
| What you see or sense | Meaning | Action |
|---|---|---|
| Pleats lightly gray, airflow normal | Early to mid life | Refit; check again in two months |
| Pleats dark across the face, fan louder | Late life | Order a replacement; change within a month |
| Musty or sour smell | Filter has been damp | Replace now; check for moisture sources |
| Odors linger in the room | Carbon saturated | Replace the carbon stage |
| One side much dirtier than the other | Pre-filter missing or gapped | Refit or replace the pre-filter |
| Dust on the clean side of the filter | Air bypassing the filter | Reseat the filter; check the gasket and housing |
If odors are part of why you own the unit, treat the carbon stage on its own schedule. Carbon saturates in roughly 3 to 6 months in a kitchen-adjacent or pet room and does not announce it; the sign is simply that smells return. Units with a separate carbon stage let you replace only that part.
Yearly: Replace, Reset and Reassess
The yearly tasks are the HEPA replacement if it has not already happened, a deeper clean of the housing and a reassessment of whether the unit still suits the room. Many makers rate the HEPA stage at 12 months of continuous use in average conditions; dusty, smoky or pet-heavy rooms will have reached it sooner, which the quarterly inspection should have caught.
- Unplug and remove all filters; vacuum the empty housing and fan grille gently.
- Fit the new HEPA stage with the airflow arrow or label oriented as the manual shows, and confirm it seats against the gasket.
- Fit a new or freshly cleaned pre-filter and, if separate, a new carbon stage.
- Reset the filter indicator per the manual, usually by holding a button for a few seconds.
- Write the date on the filter frame and in your notes.
- Ask whether the room has changed: new pet, new carpet, moved furniture. Resize or relocate if needed.
Worked example: a bedroom unit rated for a 12 month HEPA interval runs in a home with one cat and hard floors. The owner cleans the pre-filter monthly and inspects quarterly. The HEPA stage looks dark at the ten month check, so it is replaced then rather than waiting for the twelve month light. The carbon pad in the same unit was replaced at five months when litter odor returned.
Seasonal and Event Tasks
Some maintenance is triggered by events rather than the calendar. Wildfire smoke, a renovation, pollen season and moving the unit between rooms each change the load on the filters or the demands on placement.
| Event | Why it matters | Task |
|---|---|---|
| Wildfire smoke episode | Fine particles load HEPA fast | Run continuously; inspect the HEPA weekly; replace early if gray and matted |
| Renovation or construction nearby | Mineral dust clogs pre-filters quickly | Clean the pre-filter weekly; keep doors closed; inspect HEPA after |
| Pollen season | Heavier particle load with open windows | Close windows on high-count days; clean pre-filter every two weeks |
| Moving the unit to another room | Different sources and clearance | Recheck placement, clearance and sizing for the new room |
| Storing for the off season | Damp storage can spoil filters | Clean, dry, remove filters if the manual allows, store in a dry closet |
| After a flood or leak nearby | Moisture risk to media | Inspect and replace any damp-smelling filter; do not run with a wet filter |
Filter Indicators and Keeping a Log
Most filter change lights are timers that count hours, not sensors that see dust. Treat the light as a reminder to inspect, and treat your own inspection as the decision. A few units estimate loading from sensor data and fan speed, and a small number measure airflow restriction directly; those are more trustworthy, but a visual check still costs nothing.
A simple log turns guesswork into pattern. Note the date of each pre-filter clean, each inspection and each replacement, along with anything unusual such as a smoke week. After a year you will know your home’s real HEPA interval and can buy replacements before they are needed rather than after the fan gets loud.
Safety Checks
A purifier is a low-power appliance, but it runs for thousands of hours a year, often unattended and overnight. A few checks belong on the list. Inspect the cord and plug for damage, heat discoloration or a loose fit in the outlet. Do not run the unit on an extension cord or power strip shared with heaters. Keep it off wet floors and away from humidifier mist, which can dampen filters.
- Stop using the unit and contact the maker if it smells of burning or hot plastic, sparks, trips a breaker or makes grinding noises.
- Never run the unit without its filters; the fan and motor are not designed for open airflow and dust reaches the electronics.
- Keep the unit upright and on a stable surface; tipping can damage the fan.
- Check the maker’s website once a year for recall notices for your model.
- If the unit has a UV lamp, follow the manual on lamp handling; do not look at an exposed lamp or operate it outside the housing.
None of these problems should be repaired at home. A unit under warranty goes back to the maker; a unit out of warranty with electrical faults is retired.
What Not to Do
A few well-meant habits shorten filter life or damage the unit. Washing a HEPA filter ruins the fine fibers and can leave moisture in the media; makers do not warrant it and it should never be done. Blowing out a filter with compressed air drives particles deeper and can tear pleats. Spraying cleaners or fragrances into the intake coats the filter and sensor. Running on high permanently loads filters two to three times faster than medium for little extra cleaning in a correctly sized room.
Also avoid running the unit with the pre-filter removed to boost airflow; the HEPA stage then takes the full hair and lint load and clogs in a fraction of its rated life.
The Checklist in One Place
| How often | Task | Time needed |
|---|---|---|
| Weekly | Check clearance, stability, cord; listen for fan changes | 1 minute |
| Every 2 to 4 weeks | Vacuum or rinse pre-filter; wipe sensor inlet and grilles | 5 to 10 minutes |
| Every 2 to 3 months | Remove and inspect HEPA stage; smell test; check carbon by odor | 5 minutes |
| Every 3 to 6 months | Replace carbon stage if separate and odors return | 5 minutes |
| Every 6 to 12 months | Replace HEPA stage; deep clean housing; reset indicator; log date | 10 minutes |
| Yearly | Reassess room, placement and sizing; check for recalls | 10 minutes |
| After smoke, renovation or a leak | Inspect filters early; replace if gray, matted or damp | 5 minutes |
Copy this table into a note on your phone with your unit’s specific intervals filled in from the manual, and set the monthly reminder. That is the whole system.
How to Set Up Your Maintenance Routine in 6 Steps
- Open the manual and write down the intervals for the pre-filter, HEPA stage and carbon, and whether the pre-filter can be rinsed.
- Note whether the filter indicator is a timer, a sensor estimate or an airflow sensor; that decides how much to trust it.
- Pick a fixed monthly date for pre-filter and sensor cleaning, every two weeks in a pet home.
- Put quarterly inspection and the HEPA replacement window on the calendar, and buy a spare filter ahead of time.
- Keep a short log of cleanings, inspections and replacements on the filter frame or in a note.
- Review placement, clearance and sizing once a year or whenever the room changes.
Do and Do Not
Do
- Clean the pre-filter on a fixed schedule.
- Wipe the sensor inlet so auto mode works.
- Inspect the HEPA filter visually rather than trusting the light alone.
- Reset the indicator and date the filter after every change.
- Unplug before opening the unit.
Do not
- Do not wash a HEPA filter or use compressed air on it.
- Do not run the unit without its pre-filter.
- Do not spray cleaners or fragrances into the intake.
- Do not run on high permanently in a correctly sized room.
- Do not keep using a unit that smells of burning or sparks.
Who Should Skip This
If the unit sits in a clean, hard-floored bedroom with no pets and runs on medium, you can stretch the monthly pre-filter clean to every six to eight weeks and inspect the HEPA stage twice a year. Watch the fan tone and the sensor behavior as your cue rather than the calendar.
If you own a compact unit with a single combined cartridge and no washable pre-filter, there is little to clean; the routine collapses to wiping the housing and sensor monthly and replacing the cartridge on the maker’s schedule, usually every 6 to 8 months.
Honest Limits
- Intervals here are typical patterns; your manual overrides them.
- No cleaning restores a loaded HEPA filter; only replacement does.
- Timer indicators cannot see dust and should be checked against a visual inspection.
- Maintenance keeps a unit at its rated performance; it cannot make an undersized unit adequate.
- A neglected sensor makes auto mode under-run the fan, which looks like a fault but is just dust on the lens.
- Electrical faults are not a maintenance task; stop using the unit and contact the maker.
When to See a Professional
Contact the maker’s support line, not a repair shop or a home fix, for any burning smell, sparking, breaker trips, grinding fan noise, damaged cord or a unit that will not power on with a fresh filter; stop using it until resolved. An electrician should look at any outlet that is warm, loose or discolored.
See a doctor or allergist if symptoms persist in a room with a well-maintained, correctly sized purifier; the trigger may not be airborne or may need treatment beyond filtration. Nothing on this page is medical advice.
Frequently Asked Questions
How often should I clean my air purifier?
Vacuum or rinse the pre-filter and wipe the sensor inlet and grilles every two to four weeks, every two weeks in a pet home. Inspect the HEPA stage every two to three months and replace it on the maker’s schedule, typically 6 to 12 months, sooner if it looks dark and matted.
Can I wash the filters in my air purifier?
Only the pre-filter, and only if the manual says it is washable; rinse in cool water and dry fully before refitting. Never wash a HEPA or carbon filter: water damages the fibers, can leave moisture in the media and voids most warranties. Replace those stages instead.
How do I clean the air quality sensor?
Unplug the unit, find the small vented sensor inlet on the side or back, and clean it with a dry cotton swab or a gentle puff of air from a hand bulb. Never use liquids or compressed air cans. A dusty sensor makes auto mode read the room as cleaner than it is.
How do I know when to replace the HEPA filter?
Inspect it every two to three months: pleats that are dark gray or brown across the face, a louder fan at the same speed and a weaker outlet breeze all point to a loaded filter. Treat the indicator light as a reminder to look, since most are timers, not sensors.
What should I do after replacing a filter?
Seat the new filter against its gasket with the airflow label oriented as the manual shows, refit the pre-filter and cover, reset the filter indicator per the manual, and write the date on the filter frame. Run the unit on each speed briefly to confirm normal sound.
Does running on high all the time hurt the purifier?
It does not damage the unit, but it loads the filters two to three times faster than medium and raises noise and electricity use. In a correctly sized room, medium or auto meets the cleaning target; reserve high for short bursts after cooking or cleaning.
How should I maintain a purifier during wildfire smoke?
Run it continuously, keep windows and doors closed, and inspect the HEPA stage weekly; smoke loads filters fast, and a gray, matted filter should be replaced early even if the indicator is quiet. Clean the pre-filter weekly and replace the carbon stage once smoke odor lingers.
Can I store my air purifier for the off season?
Yes. Clean the pre-filter and housing, let everything dry, remove the filters if the manual allows and store them in a sealed bag, and keep the unit in a dry closet, not a damp basement or garage. Inspect and refit the filters before the first use.
Why does my purifier smell musty?
A filter has likely been damp, from a humid room, a nearby humidifier, a spill or wet storage. Replace any filter that smells musty regardless of age, dry the housing, and keep the unit away from moisture sources. Do not run a unit with a wet filter.
What maintenance problems need the manufacturer?
Any burning or hot plastic smell, sparking, breaker trips, grinding or rattling from the fan, a damaged cord or plug, or a unit that will not start with fresh filters. Stop using it and contact the maker; these are not owner repairs and should never be attempted at home.
Bottom Line
Air purifier maintenance is a short list repeated on a schedule: clean the pre-filter and sensor monthly, inspect the HEPA stage quarterly, replace filters on evidence and the maker’s interval, reset the indicator and log the date. Add a weekly glance at clearance and cord, and the unit keeps the airflow and capture it was rated for.
Skip the shortcuts that do harm, washing HEPA media, compressed air, running without the pre-filter, and hand anything electrical back to the maker. Done this way the routine takes under an hour a year and the purifier quietly does its job for every one of the thousands of hours it runs.
Related reading: How long do HEPA filters last in air purifiers, Air purifier maintenance cost, Air purifiers with filter replacement indicators vs without.