Last updated:
As an Amazon Associate we earn from qualifying purchases. This does not change what we recommend. See our affiliate disclaimer.
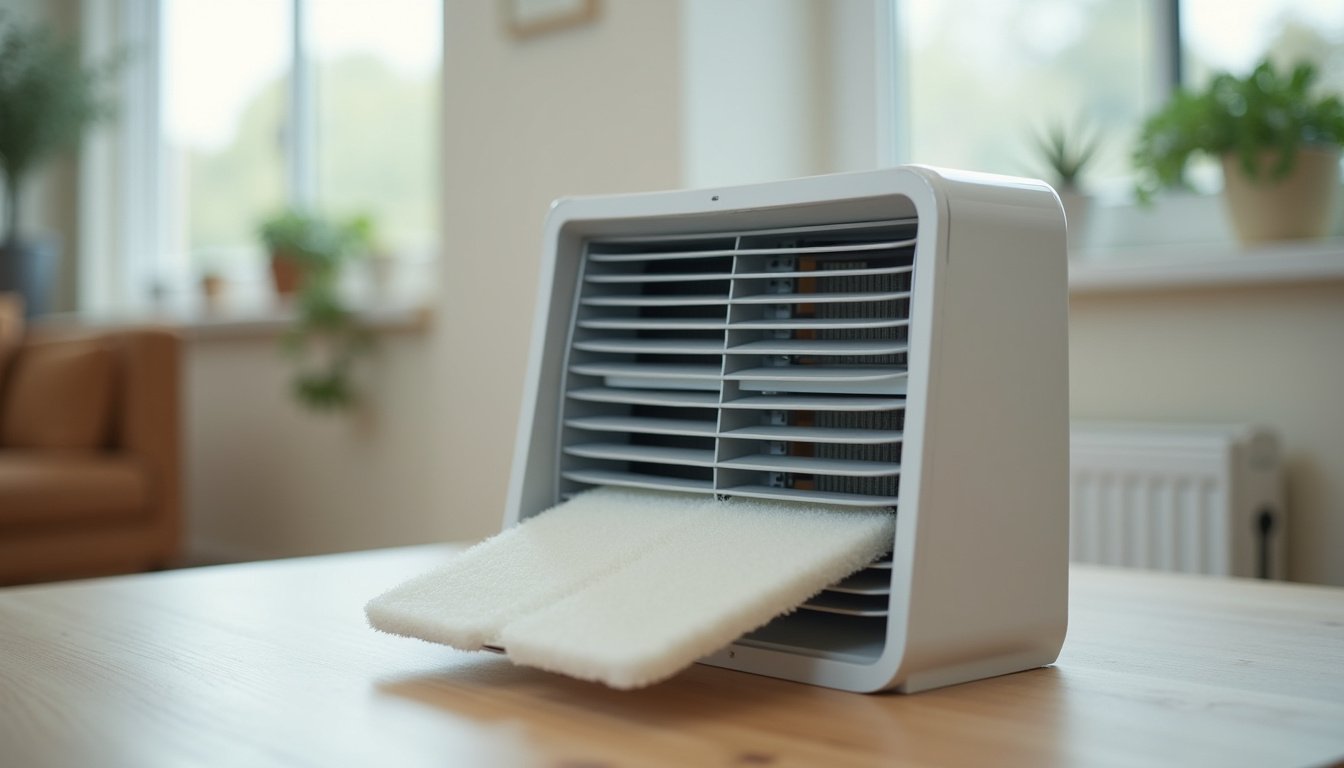
A filter that slides out when you lift the cover, rattles when the fan starts or sits visibly crooked in its bay is more than an annoyance. A HEPA filter only works when air is forced through it, and a loose filter gives air an easier path around the edge. The fix is almost always mechanical and simple, but it helps to know which of a handful of causes you are looking at.
Air purifier filters fall out or sit loose for a short list of reasons. The most common is a replacement filter that is not the exact part for the model, slightly smaller or thinner so the retaining clips or cover no longer press it against the gasket. Next is a filter installed backwards or upside down, so the frame does not meet the housing’s tabs. Then come missing or broken retaining clips, a pre-filter that was removed and left out so the main filter has nothing holding it, a back cover or filter door that is warped, cracked or not fully latched, and shipping plastic left on the filter so it never seated at all. Less often the filter frame itself is damaged or swollen from moisture. In every case the goal is the same: the filter should press evenly against its gasket with the airflow label oriented as the manual shows, the clips engaged and the cover latched until it clicks.
In short: check the part number, the orientation, the clips, the pre-filter and the cover, in that order. One of them is almost always the answer.
The EPA’s guide to air cleaners in the home notes that filters must be installed and sealed properly for the unit to perform as rated, since air bypassing the filter is unfiltered air. Maker manuals describe the exact orientation and seating for each model and are the final word on fit.
This guide is research-based, drawn from maker manuals and the mechanics of filter housings. We have not tested the units in the comparison table and quote no prices or ratings, only published features. Nothing here involves opening the unit beyond the filter compartment; anything deeper belongs to the maker.
A quick fix if
- The filter is a third-party or near-fit replacement
- It was installed backwards or with plastic still on
- A pre-filter or clip was left out after cleaning
- The cover was not pushed in until it clicked
Contact the maker if
- Retaining clips or tabs are snapped off the housing
- The cover or door is cracked or warped and will not latch
- The housing itself is deformed
- The filter is genuine, correctly fitted, and still will not seat
Key Takeaways
- A loose filter lets air bypass the media; fit matters as much as filter grade.
- The most common cause is a replacement that is not the exact part for the model.
- Backwards or upside-down installation stops the frame meeting the housing tabs.
- Pre-filters and clips removed for cleaning and not refitted leave the main filter unsupported.
- A cover not latched until it clicks, or a warped cover, cannot press the filter home.
- Shipping plastic left on a new filter prevents seating entirely.
- Broken clips, cracked covers and deformed housings are maker parts, not home repairs.
Purifiers With Secure, Simple Filter Bays to Compare
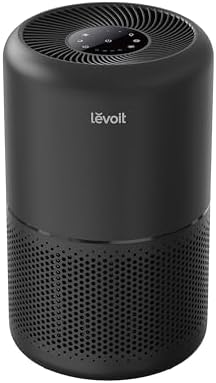
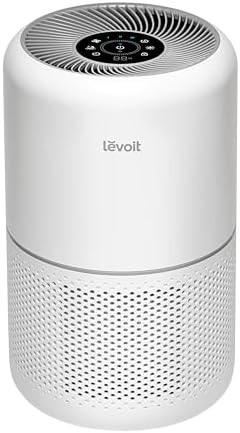
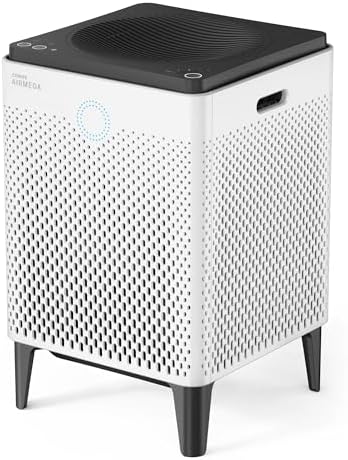
If a poorly fitting filter has you reconsidering the unit, these widely reviewed filter-based models use clearly labeled, gasketed filter bays with widely available genuine replacements. Compare the maker-listed CADR against your room and favor models whose filters are stocked by more than one seller.



How This Guide Approaches the Problem
We listed the ways a filter can end up loose or fall out, drawn from maker manuals and the design of common filter housings, and ordered them from most to least likely. Fixes stay within the filter compartment. Product details in the table come from maker specifications.
The organizing idea is that a filter is held by three things working together: the right dimensions, the right orientation and a cover or clips that press it against a gasket. Lose any one and it rattles or drops.
Quick Diagnosis Table
| Symptom | Most likely cause | Check | Fix |
|---|---|---|---|
| Filter drops out when the cover opens | Wrong size or thickness; no clips engaged | Compare part number with the manual | Fit the exact filter; engage clips |
| Rattle or buzz when the fan runs | Filter not seated; loose cover | Press the filter; re-latch the cover | Reseat with airflow arrow correct; latch until it clicks |
| Visible gap at one edge | Backwards or upside down; frame damage | Look for the arrow or label | Reorient; replace a damaged filter |
| Filter sits proud and cover will not close | Wrong filter, plastic still on, or pre-filter doubled | Remove and inspect | Unwrap; fit the correct part; one pre-filter only |
| Cover pops open on its own | Latch worn or filter too thick | Test latch with filter removed | Correct filter; maker part for the latch |
| Dust on the clean side of the filter | Air bypassing a loose filter | Inspect gasket contact | Reseat; replace a poor-fit filter |
| Clips or tabs broken | Damage during a filter change | Visual | Contact the maker for parts; do not glue |
Cause 1: It Is Not the Right Filter
Replacement filters that look right but are a few millimeters short in height, diameter or depth are the leading cause of loose filters. Makers often have several similar filters across a model range, designated by a letter or number on the frame and in the manual. Third-party filters vary more, and some are intentionally undersized to fit several models at once. A filter that is too small cannot be pressed against the gasket by the cover, so it rattles; one that is too thin leaves a gap the clips cannot close.
| Filter type | How a wrong size shows up | What to compare |
|---|---|---|
| Cylindrical, tower units | Drops when the base cover opens; rotates freely | Height, diameter, open and closed ends |
| Flat panel | Rattles; gap along one edge | Height, width, depth, gasket position |
| Drawer or cassette | Drawer will not close or closes loosely | Depth and handle side |
| Combined cartridge | Cover bows or will not latch | Overall thickness and pre-filter layer |
Compare the designation on the old filter frame with the new one and with the manual. Measure if in doubt; a genuine filter’s dimensions are usually listed on the maker’s site. If the replacement is wrong, return it and buy the exact part. Fits-most and universal filters are the ones to avoid.
Cause 2: Backwards or Upside Down
Most filters are not symmetrical. Panel filters have an airflow arrow or a label that must face a particular way; cylindrical filters often have a closed end and an open end, or a tab that locates in a slot; drawer-style filters have a handle side. Installed the wrong way, the frame misses the housing’s tabs or rests on them instead of between them, and the cover either will not close or closes without pressing the filter home.
- Remove the filter and find the arrow, label, tab or handle.
- Check the manual or the diagram often printed inside the filter door for the correct orientation.
- Insert so that the arrow points in the direction of airflow, usually toward the fan, and any tab drops into its slot.
- Press evenly until the frame sits flush against the gasket all around.
- Close the cover and listen for the click.
Worked example: a cylindrical filter in a tower unit kept dropping when the base cover was removed. The filter had been installed with its closed end down; turned over so the open end faced the fan and the locating tab met its notch, it seated firmly and the rattle at startup disappeared.
Cause 3: Missing Clips or a Left-Out Pre-Filter
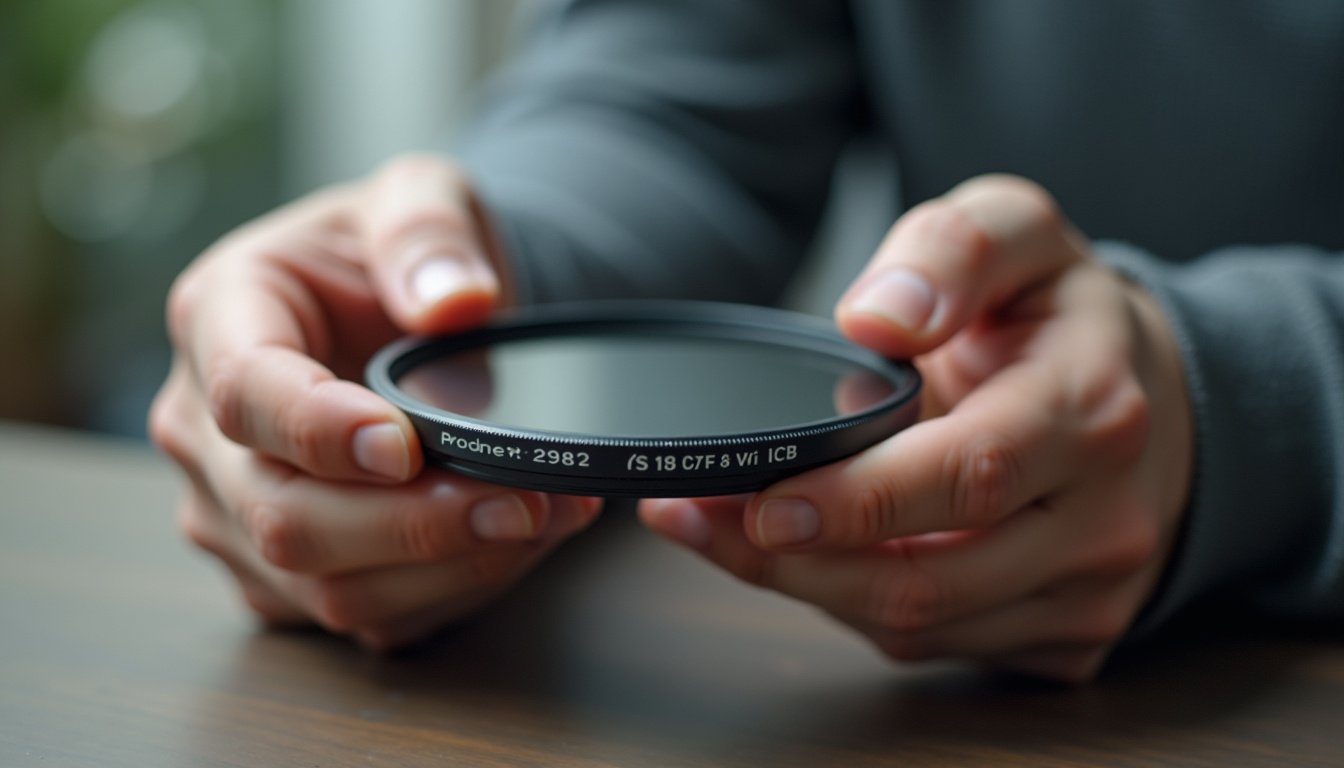
Many housings hold the main filter with small plastic clips, a hinged bar or a mesh pre-filter frame that snaps over it. These parts come off during cleaning and are easy to leave on the counter. Without them the filter is held only by the cover, which may not reach it, so it slides or rattles. Some units also stack the pre-filter between the main filter and the cover; leaving it out changes the thickness the cover expects.
- After cleaning, lay out every part removed and refit them in reverse order; the manual’s exploded diagram helps.
- Check that clips are rotated or snapped into their locked position, not just resting.
- Confirm the pre-filter frame is seated on all its tabs; a frame hanging on one side leaves the main filter loose.
- If a clip has snapped, order the maker’s part; do not glue or tape the filter in place, which can block airflow and hide a bypass gap.
Cause 4: The Cover Is Not Doing Its Job
On many units the back cover or filter door is what presses the filter against its gasket. A cover that is not pushed until it clicks, a latch worn by years of changes, or a cover warped by heat or a fall cannot apply that pressure. Some covers also carry a safety switch; a cover slightly ajar can stop the unit entirely or let it run with a loose filter.
| Cover problem | Sign | Fix |
|---|---|---|
| Not latched | Cover flush but no click; opens with a light pull | Press at the latch points until it clicks |
| Latch worn | Cover pops open during operation | Maker replacement cover or latch |
| Cover warped | Gap along one edge; will not sit flat | Maker replacement; do not force |
| Hinge pin out | Cover sags | Reseat the pin if it is a simple push-fit; otherwise maker part |
| Filter too thick for the cover | Cover bows outward | Wrong filter; fit the exact part |
Cause 5: Packaging Left On
New filters ship in plastic bags, sometimes with cardboard spacers, foam blocks or a protective sheet over the media. Any of these left in place changes the filter’s dimensions and stops it seating, and a bagged filter also filters nothing. It is one of the most common findings when a new filter will not fit or a new unit seems ineffective.
Unwrap completely, remove any inserts, check both faces for a thin protective film, and compare with the old filter before installing. Keep the designation label on the frame; it is part of the frame, not packaging.
Cause 6: A Damaged or Swollen Filter
Cardboard-framed filters that have been damp swell and soften, so they no longer hold their shape against the clips; plastic frames that have been dropped crack at a corner and lose rigidity. A warped or cracked filter cannot seal and should be replaced rather than coaxed into place. Any filter that smells musty has been wet and is replaced for that reason too.
Store spare filters flat, sealed in their packaging and in a dry closet, not a basement or garage, so they arrive at installation in shape.
How to Seat a Filter Properly
- Unplug the unit.
- Open the cover fully and remove any pre-filter, clips or bars, noting their order.
- Unwrap the new filter completely and confirm the designation matches the manual.
- Find the airflow arrow, label, tab or open end and orient it as the manual shows.
- Insert and press evenly until the frame is flush against the gasket all the way around; there should be no visible gap.
- Refit the pre-filter and clips in reverse order, locking each one.
- Close the cover and push at the latch points until it clicks; check that it sits flat.
- Plug in, run on high for a minute and listen for rattles; a steady fan sound means the filter is seated.
- Reset the filter indicator and write the date on the frame.
When It Is a Maker Problem
Broken retaining clips, snapped housing tabs, cracked or warped covers and a deformed housing cannot be fixed safely at home, and improvised fixes with tape, glue or wedges either block airflow or leave a hidden bypass. Contact the maker; covers, clips and latch parts are commonly sold or supplied under warranty. If the housing itself is deformed, usually from a fall or heat, the unit is likely at the end of its life.
Any filter problem accompanied by burning smells, sparking, a grinding fan or a cover switch that no longer stops the fan is an electrical or safety matter: unplug the unit and contact the maker.
How to Fix a Loose Filter in 6 Steps
- Unplug the unit and remove the filter and any pre-filter, clips or bars.
- Confirm the filter designation matches the manual and that all packaging and inserts are off.
- Reinstall with the arrow, tab or open end oriented as the manual shows, pressing the frame flush against the gasket.
- Refit the pre-filter and lock every clip.
- Latch the cover until it clicks and check it sits flat; test the cover empty if it will not.
- Run on high and listen; if it still rattles with a genuine, correctly oriented filter and a latched cover, contact the maker about clips, cover or housing.
Do and Do Not
Do
- Use the exact filter for the model.
- Follow the airflow arrow or orientation diagram.
- Refit every clip and the pre-filter after cleaning.
- Latch the cover until it clicks.
- Store spare filters flat and dry.
Do not
- Do not use fits-most or universal filters.
- Do not tape, glue or wedge a loose filter.
- Do not run the unit with the cover ajar.
- Do not force a warped cover closed.
- Do not install a filter with plastic or inserts still on.
Who Should Skip This
If the cover will not latch with the filter removed, skip the filter troubleshooting; the cover or latch is the problem and the maker’s replacement part is the fix. Running the unit with a cover propped shut is unsafe and leaves the filter unsealed.
If the filter is genuine, correctly oriented, fully unwrapped and still loose, skip further adjustment and contact the maker. Housing tabs or clips are likely damaged, and that is a parts or warranty conversation.
Honest Limits
- Filter housings differ by model; the manual’s diagram overrides general guidance.
- A visually seated filter can still bypass if the gasket is damaged or missing; inspect it.
- Third-party filters may fit the bay but seal poorly; dust on the clean side is the tell.
- Structural parts such as clips, covers and tabs are maker items, and improvised fixes compromise safety and sealing.
- A loose filter is a performance problem, not usually a safety one, unless the cover switch is bypassed.
- Nothing here applies to internal components; those are not owner serviceable.
When to See a Professional
Contact the maker’s support line for broken clips or tabs, a cracked or warped cover, a deformed housing, a cover switch that no longer stops the fan, or any burning smell, sparking or grinding; stop using the unit for the safety symptoms. Replacement covers and clips are commonly available under warranty or as parts.
See a doctor or allergist if symptoms persist in a room where a correctly seated, correctly sized purifier is running; the trigger may not be airborne. Nothing on this page is medical advice.
Frequently Asked Questions
Why does my air purifier filter keep falling out?
Usually because the replacement is not the exact part for the model and sits slightly small, or because it is installed backwards, the retaining clips or pre-filter were left out after cleaning, or the cover is not latched. Check the part number, orientation, clips and cover in that order.
Does a loose filter affect how well the purifier works?
Yes, a lot. HEPA media captures nearly everything that passes through it, so a gap around a loose filter becomes the easiest path for air, and much of the room’s air bypasses the filter unfiltered. Fit and sealing matter as much as filter grade.
How do I know which way the filter goes in?
Look for an airflow arrow or label on the frame, a locating tab, or an open versus closed end on cylindrical filters, and compare with the manual or the diagram inside the filter door. The arrow usually points toward the fan. A filter that will not seat flush is often simply reversed.
Can I tape or glue a loose filter in place?
No. Tape and glue can block airflow, hide a bypass gap, foul the gasket and leave residue that stops the correct filter seating later. Fit the exact filter and engage the clips and cover; if clips or tabs are broken, order the maker’s part.
Why will the cover not close with the new filter in?
Most often the filter is the wrong part and too thick, shipping plastic or a cardboard insert is still on it, the pre-filter has been doubled or misplaced, or the filter is oriented wrongly so the frame sits on a tab. Remove, inspect, unwrap fully and reinstall per the manual.
Are third-party filters more likely to fall out?
They can be. Some are made slightly undersized to fit several models, and dimensions vary between makers. If you use one, confirm it is labeled for your exact model, check the gasket contact all the way around and watch for dust on the clean side, which signals bypass.
The filter rattles when the fan starts. What should I check?
Press the filter to see if it moves; if so, reseat it with the airflow arrow correct and confirm every clip is locked. Then re-latch the cover until it clicks and check it sits flat. A rattle that persists with a seated genuine filter points to a loose cover, worn latch or debris.
What if the retaining clips are broken?
Contact the maker; clips, bars and covers are commonly sold as parts or supplied under warranty. Do not glue or improvise a replacement, since a filter held by anything other than the designed clips and cover may not seal, and a cover that no longer latches may defeat the safety switch.
Can a damp filter cause it to fit loosely?
Yes. Cardboard-framed filters that have been damp swell and soften, losing the rigidity the clips rely on, and may smell musty. Replace a damp or warped filter rather than forcing it, remove the moisture source, and store spares flat and dry in their packaging.
How do I make sure the filter is seated after a change?
Press the frame flush against the gasket with the arrow oriented correctly, lock every clip, refit the pre-filter, latch the cover until it clicks and check it sits flat. Run on high for a minute and listen for a steady fan sound with no rattle, then reset the indicator.
Bottom Line
A filter that falls out or rattles is held by one thing too few. Either it is not the exact part, it is facing the wrong way, a clip or pre-filter was left on the counter, the cover is not latched, or packaging is still on it. Work through those in order and the fix is usually a minute’s work with no tools.
Do it properly rather than improvising, because a loose HEPA filter is an unfiltered room. Use the exact part, follow the arrow, lock every clip, latch the cover until it clicks and listen for a steady fan. Broken clips, warped covers and anything electrical go to the maker, not to tape and glue.
Related reading: Air purifier replacement parts, Why isn’t my air purifier working, Air purifier maintenance checklist.